osTicket Ticketing System Lab
In this lab, I deployed and configured the open-source ticketing system osTicket on Ubuntu Server using Apache2, MariaDB, and PHP. I also outlined the lifecycle of a ticket and walked through an example ticket scenario from intake to resolution. The goal was to simulate a real-world helpdesk environment and gain hands-on experience with ticketing systems.
Technologies Used
- Oracle VirtualBox
- Ubuntu Server 24.04.4 LTS
- Windows 11 25H2
- Apache2
- MariaDB
- PHP
- osTicket v1.18.1
Installation
These are the steps I took to install osTicket and its prerequisites on Ubuntu Server.
Step 1: Update and Upgrade System
The first thing I did was update and upgrade the system with the following command:
1
sudo apt update && sudo apt upgrade -y
Step 2: Install Apache
Next, I installed the Apache web server.
1
sudo apt install apache2 -y
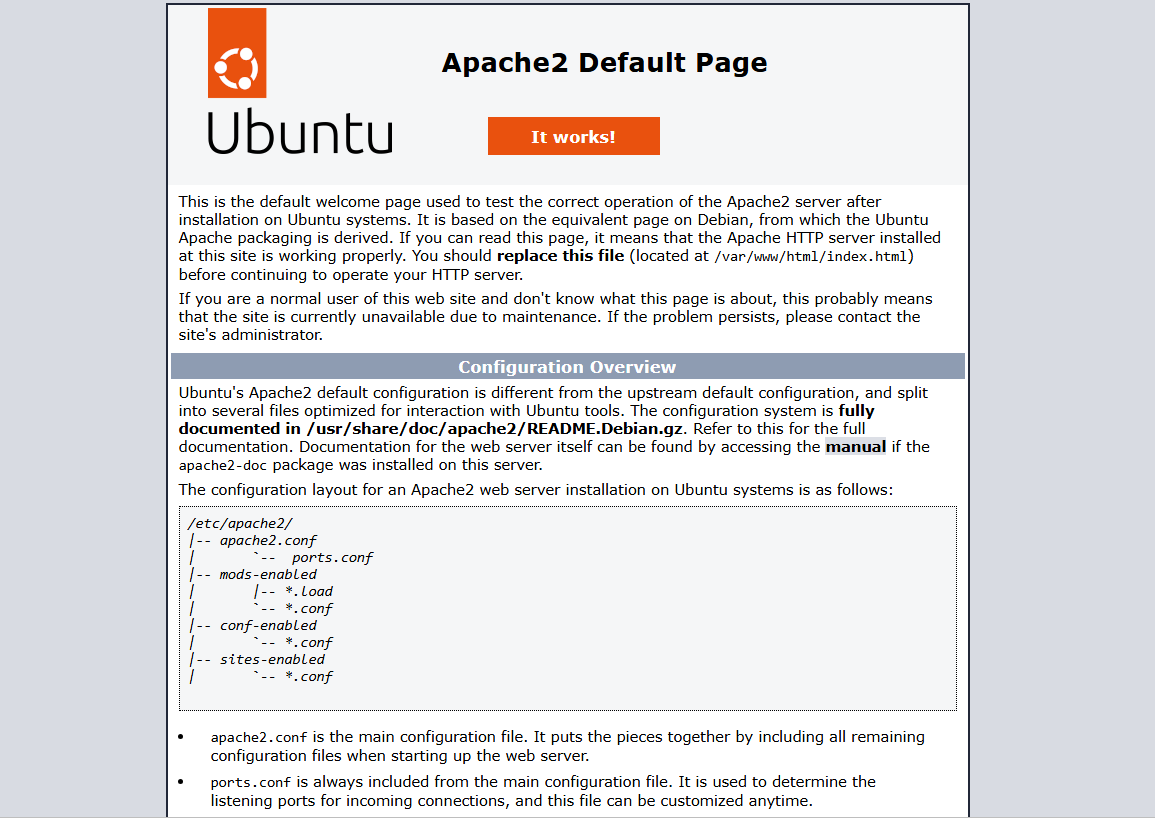
The Apache2 default page confirmed that the installation was successful and the web server was up and running.
Step 3: Install and Secure MariaDB
To install MariaDB, I ran:
1
sudo apt install mariadb-server -y
Then, I hardened the MariaDB installation by running the mysql_secure_installation script.
1
sudo mysql_secure_installation
Step 4: Create osTicket Database and User
The next step was to create the osTicket database and user.
First, I logged in to MariaDB.
1
sudo mysql
I then ran the following SQL statements, replacing StrongPasswordHere with my own password:
1
2
3
4
5
CREATE DATABASE osticket;
CREATE USER 'osticketuser'@'localhost' IDENTIFIED BY 'StrongPasswordHere';
GRANT ALL PRIVILEGES ON osticket.* TO 'osticketuser'@'localhost';
FLUSH PRIVILEGES;
EXIT;
Step 5: Install PHP and Extensions
Next, I installed PHP and the required extensions.
1
sudo apt install php php-cli php-common php-imap php-mysql php-gd php-xml php-mbstring php-curl php-intl php-zip php-apcu libapache2-mod-php -y
Step 6: Download and Configure osTicket
First, I downloaded osTicket from GitHub with wget.
1
wget https://github.com/osTicket/osTicket/releases/download/v1.18.1/osTicket-v1.18.1.zip
Once the download was complete, I extracted the files.
1
unzip osTicket-v1.18.1.zip
I then moved and renamed the upload folder to osticket.
1
sudo mv upload /var/www/html/osticket
Next, I set the ownership and permissions for the osticket directory.
1
2
sudo chown -R www-data:www-data /var/www/html/osticket
sudo chmod -R 755 /var/www/html/osticket
After that, I copied the config file and changed its permissions.
1
2
sudo cp /var/www/html/osticket/include/ost-sampleconfig.php /var/www/html/osticket/include/ost-config.php
sudo chmod 666 /var/www/html/osticket/include/ost-config.php
Finally, I enabled the Apache rewrite module and restarted Apache.
1
2
sudo a2enmod rewrite
sudo systemctl restart apache2
Step 7: Complete Installation
The last step was to complete the installation via the web installer.
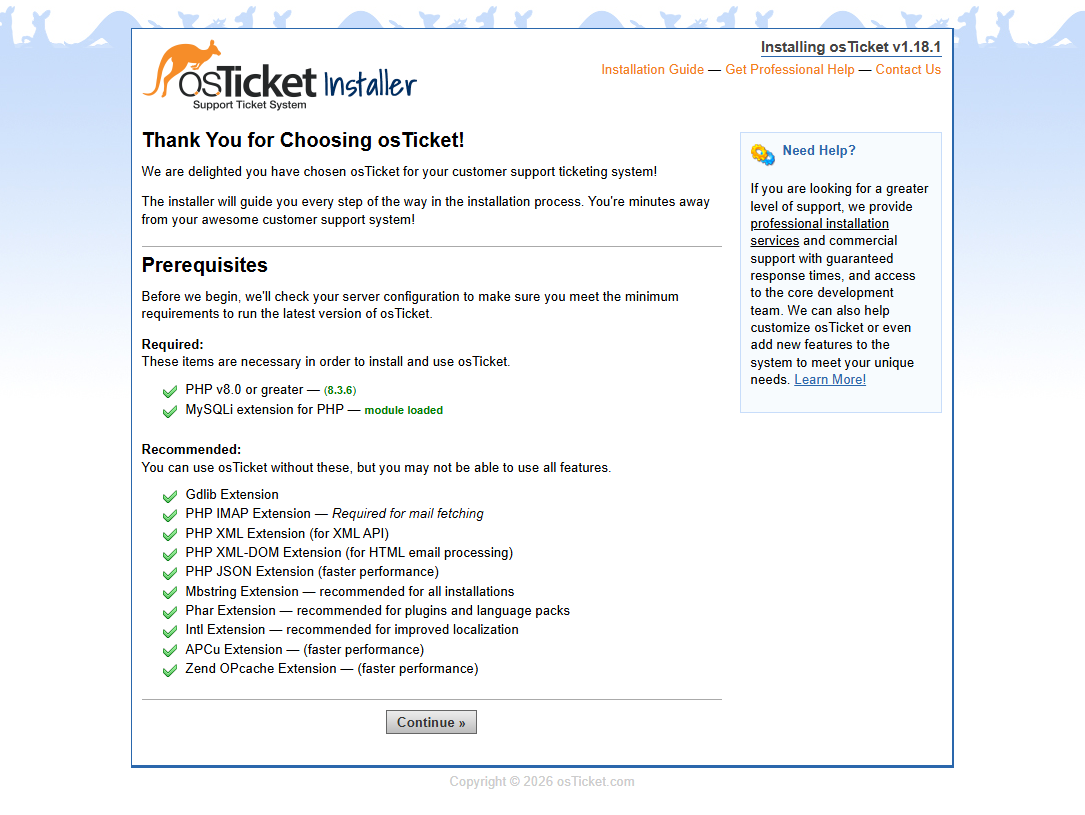
First, I opened the web browser and went to http://10.0.2.4/osticket. After verifying the prerequisites, I clicked Continue.
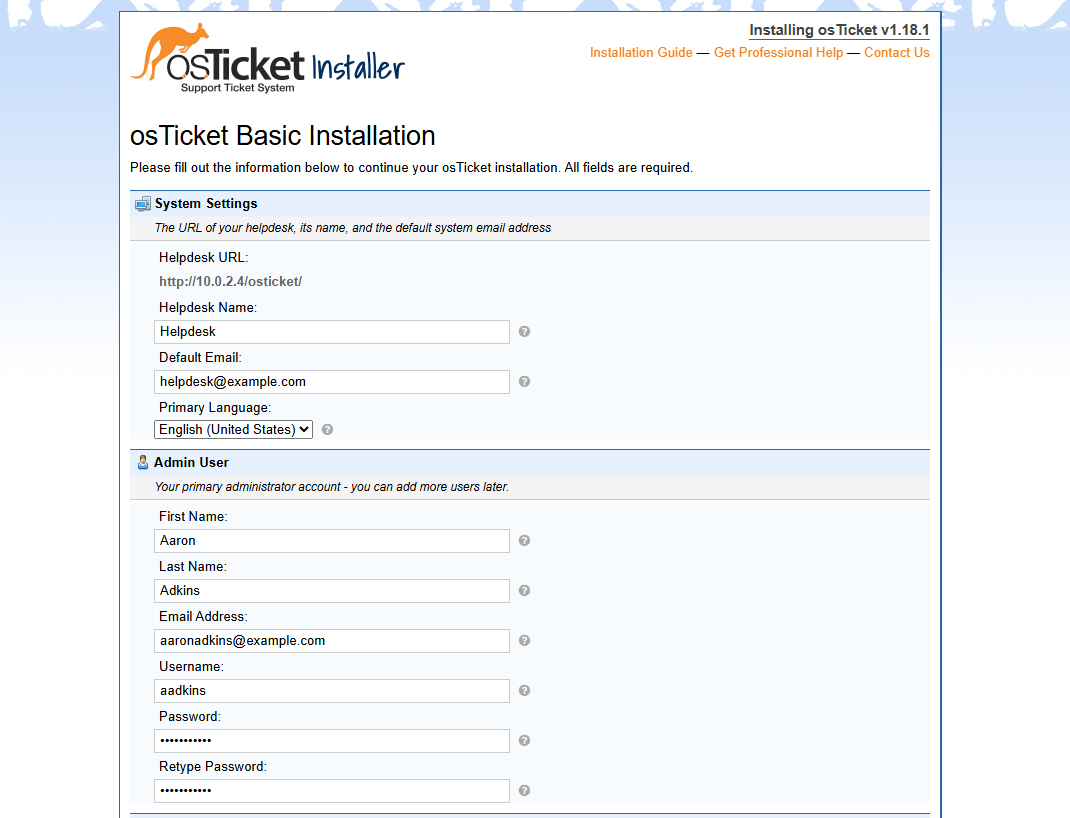
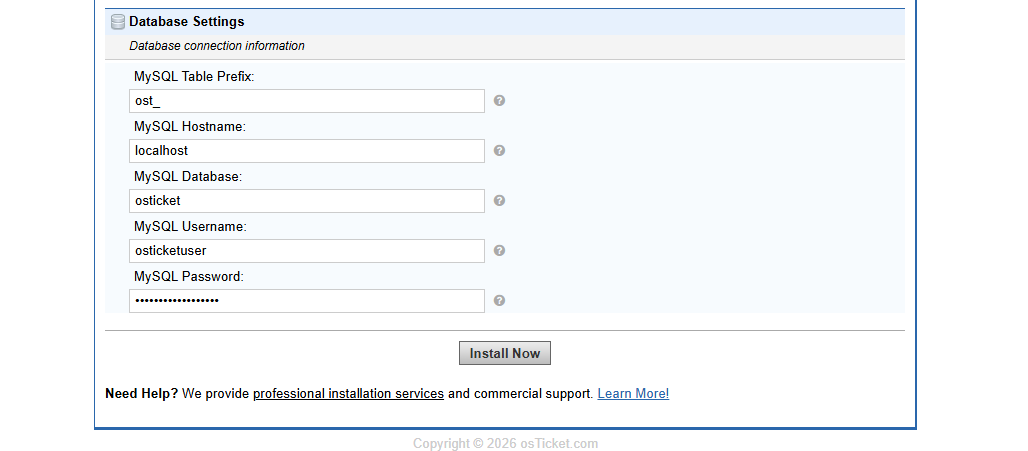
On the next page, I filled out the required information and then clicked Install Now.
Once the installation was complete, the following page appeared:
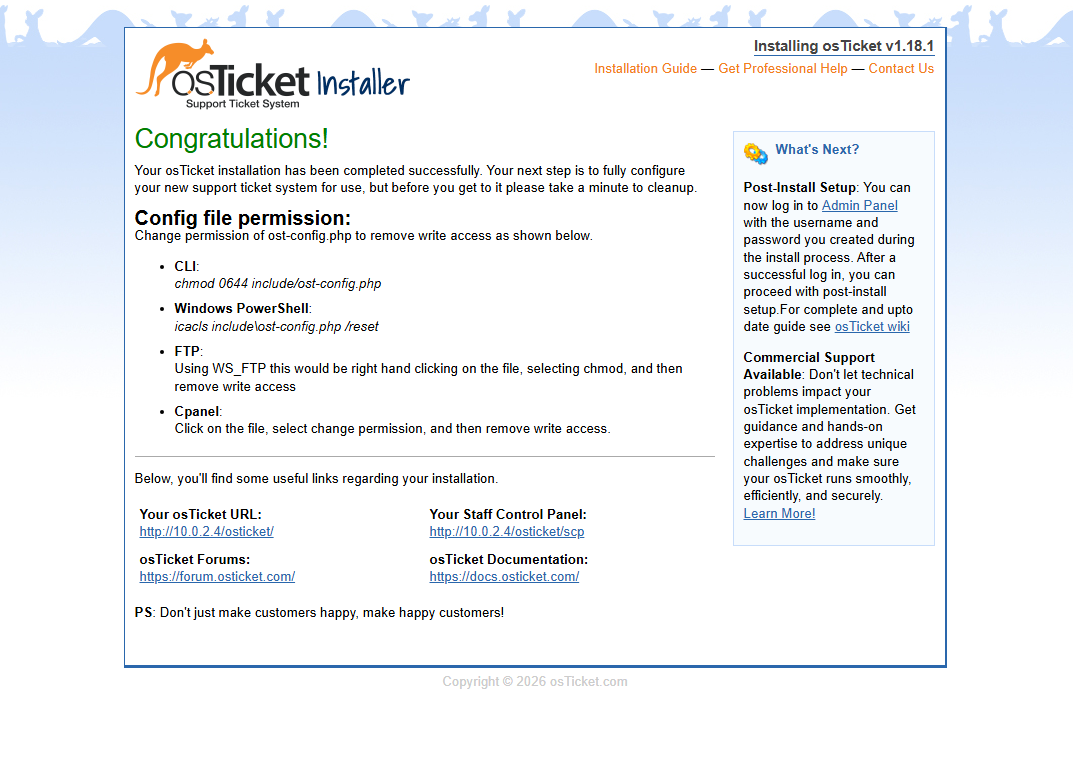
Finally, I changed the permissions of the config file and removed the setup directory.
1
2
sudo chmod 644 /var/www/html/osticket/include/ost-config.php
sudo rm -rf /var/www/html/osticket/setup
Post-Installation Configuration
With osTicket successfully installed, the next step was to do some system configuration.
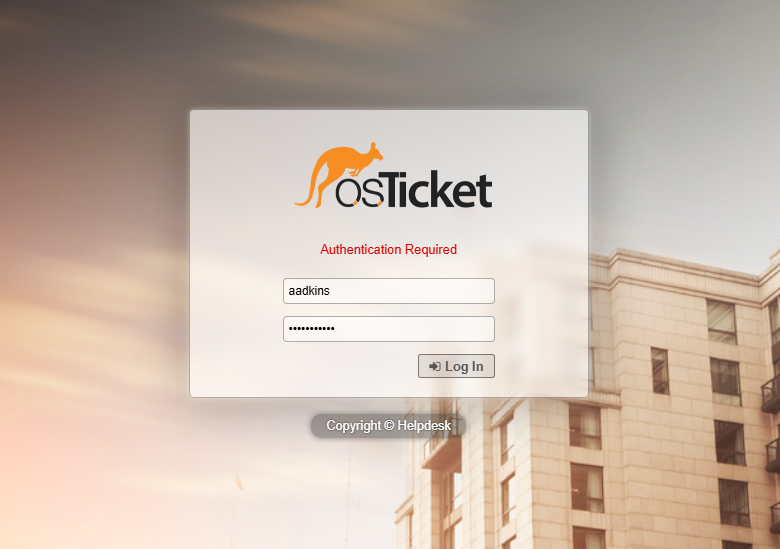
First, I logged in to the staff control panel using the admin credentials I created during the installation.
Configure Roles
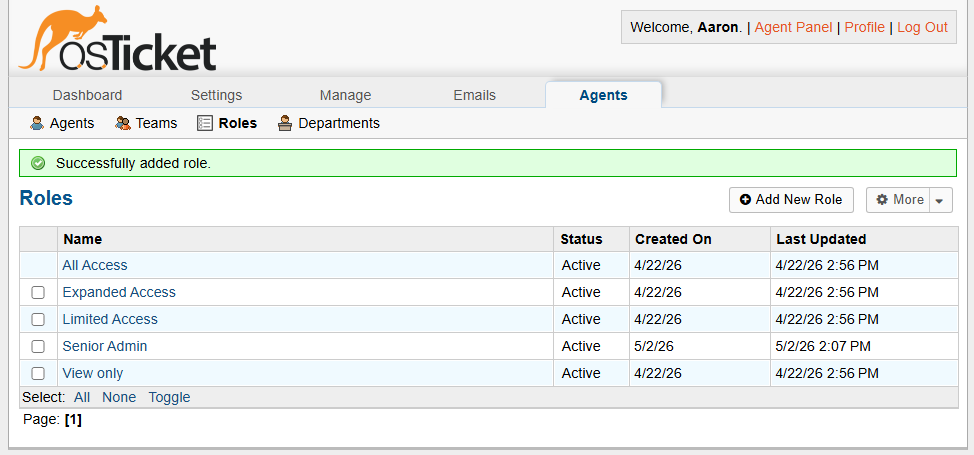
In osTicket, roles are the permissions that are given to agents for specific departments. To add a new role, I made sure I was in the Admin Panel and then selected Agents > Roles > Add New Role. For this scenario, I named the new role Senior Admin and enabled all permissions.
Configure Departments
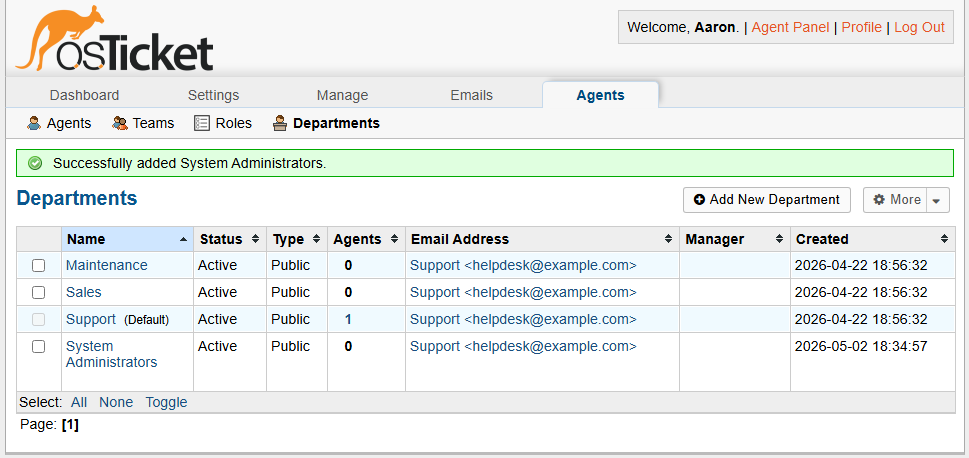
Departments are used for ticket routing, and each department can have its own customized settings. I added a new department named System Administrators by selecting the Departments tab > Add New Department.
Configure Teams
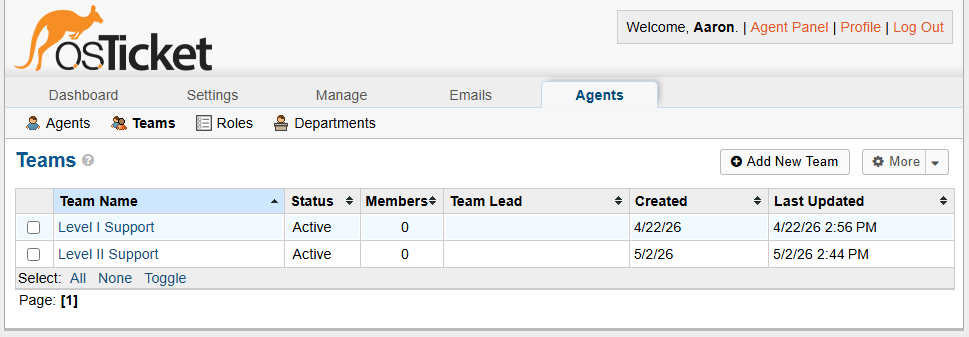
The next step was to configure teams, which are collections of agents from different departments. To add a new team, I went to the Teams tab and then clicked on Add New Team. In this situation, I named the team Level II Support.
Configure Agents
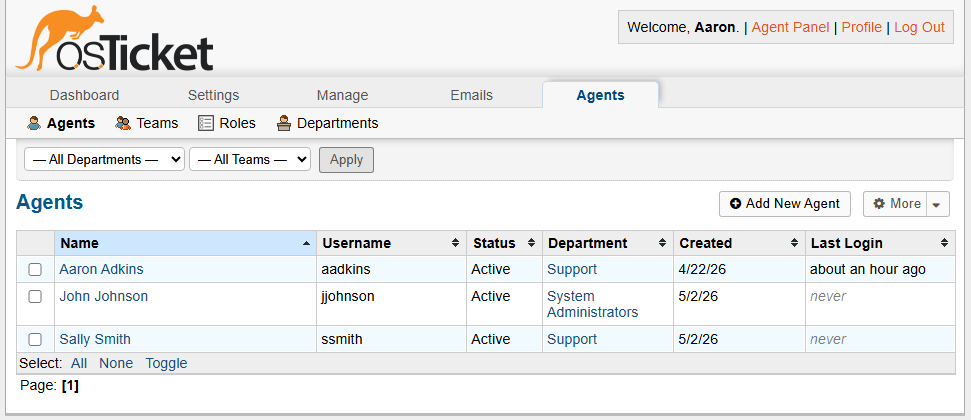
Next, I added two new agents responsible for handling tickets. To add the agents, I navigated to the Agents tab and selected Add New Agent. Here are the names of the agents I created, along with their configurations:
John Johnson
- Department: System Administrators
- Role: Senior Admin
- Team: Level II Support
Sally Smith
- Department: Support
- Role: Expanded Access
- Team: Level I Support
Configure Help Topics
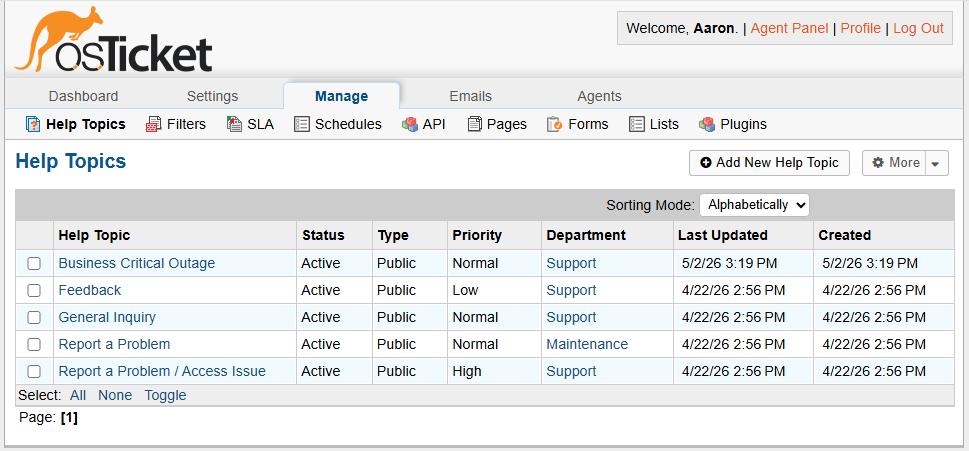
Help topics are categories used to organize incoming support tickets. For this scenario, I added a new help topic named Business Critical Outage by navigating to Manage > Help Topics > Add New Help Topic.
Configure Service Level Agreements
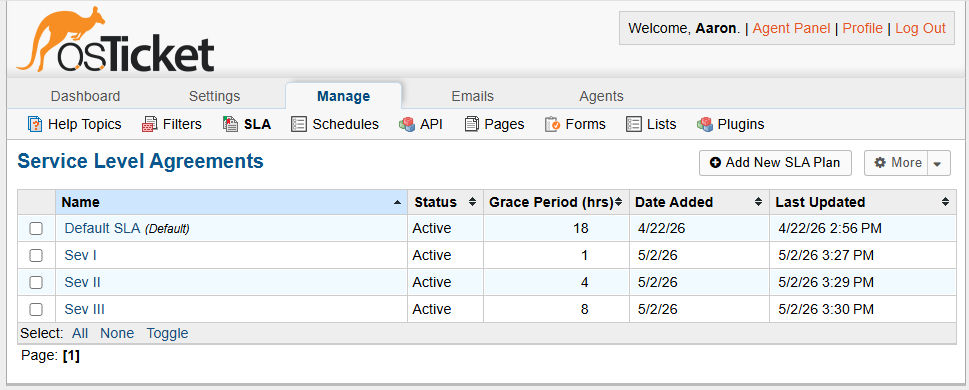
The purpose of SLA plans is to set expected timeframes for ticket resolution. To add a new SLA plan, I navigated to the SLA tab and selected Add New SLA Plan. I added the following three SLA plans with varying severity levels:
Sev I
- Grace Period: 1 hour
- Schedule: 24/7
Sev II
- Grace Period: 4 hours
- Schedule: 24/7
Sev III
- Grace Period: 8 hours
- Schedule: Monday-Friday 8am-5pm with U.S. Holidays
Configure Users
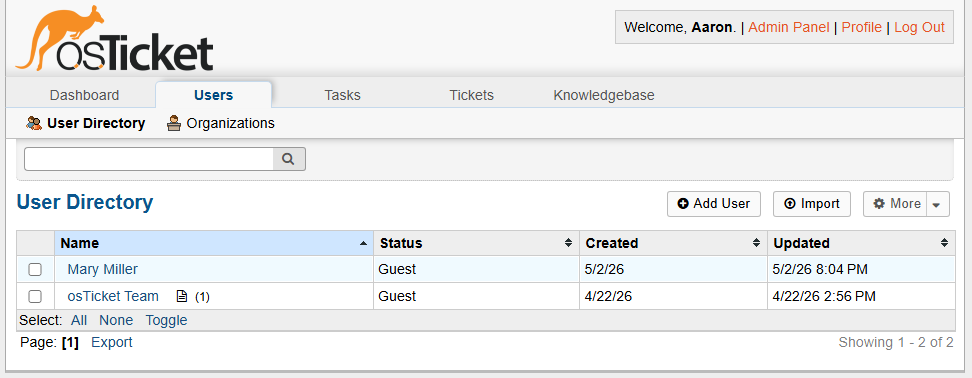
The last step was to configure users, who are the customers or employees that will create tickets. To add a user, I navigated to the Agent Panel > Users > User Directory > Add User. For the lab scenario, I created a new user named Mary Miller to act as the end user for ticket creation.
Ticket Lifecycle Example
This section outlines the lifecycle of a ticket and walks through an example ticket scenario.
Ticket Lifecycle Stages
- Intake
- Assignment
- Working the Issue
- Resolution
Intake
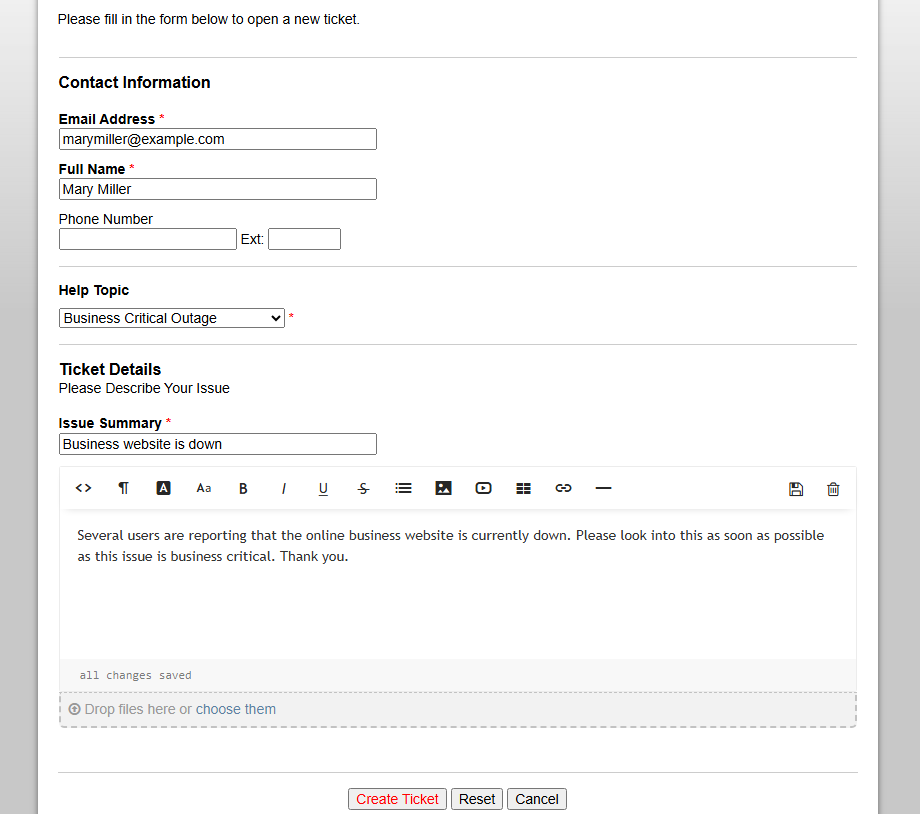
The ticket lifecycle begins with the intake stage when a new ticket is created. In the example scenario, I created a new ticket on the support center webpage as the user Mary Miller. The ticket reported a business critical outage in which the online business website was down.
Assignment
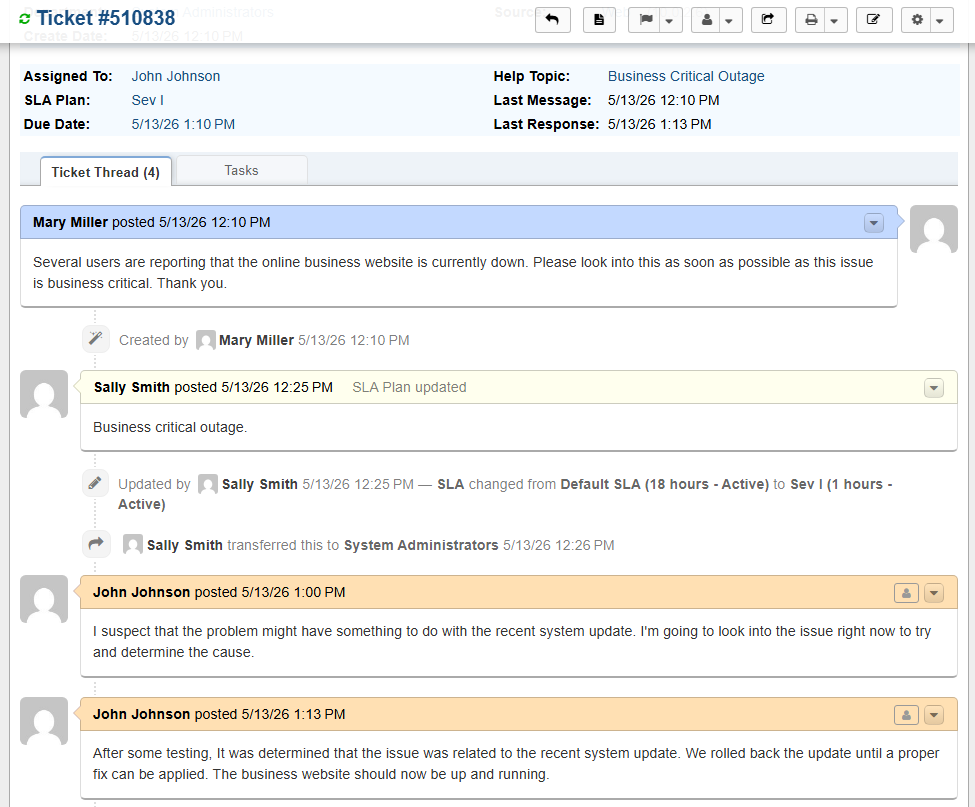
Now that the ticket has been submitted, the next step is to assess the ticket and assign it to the appropriate department. I logged in to the staff control panel as support agent Sally Smith and saw the new ticket from Mary Miller on the dashboard.
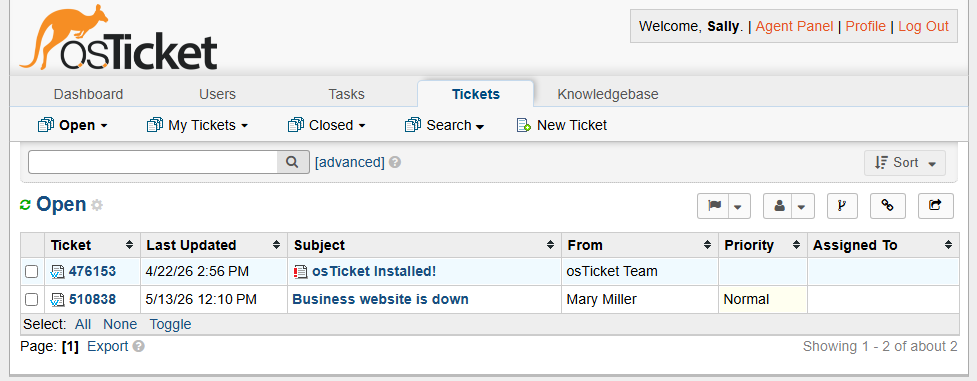
After clicking on the ticket, the SLA plan was updated from the Default SLA to Sev I. The ticket was then assigned to the System Administrators department due to its critical nature. Once the ticket was transferred to the System Administrators department, agent Sally could no longer access it.
Working the Issue
The next step is to start working on resolving the issue. Since the ticket was assigned to the System Administrators department, I logged in as agent John Johnson and began working on it. I then messaged Mary as agent John, letting her know that I would look into the issue to try and determine a cause. Finally, Mary was informed that the issue had been resolved and the business website was back up and running.
Resolution
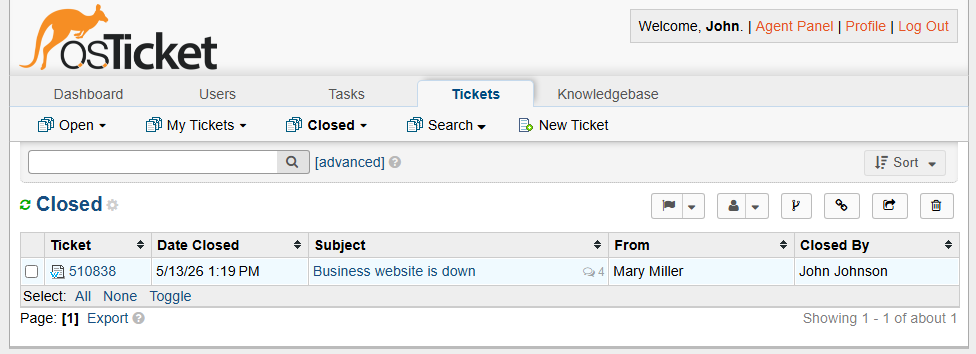
Now that the issue has been resolved, the ticket can be closed. I changed the status of the ticket from open to resolved. The ticket then appeared under the closed tickets tab, showing that it was closed by agent John Johnson.