Setting up my GitHub Pages site
In this post, I’m going to go over how I set up my website with Jekyll and GitHub Pages. I’ve always been curious about GitHub, so I figured this project would be a fun way to create my site and learn more about GitHub in the process. Since this is the first website I have created, I knew it was going to be a learning process, but I was up for the challenge.
Prerequisites
To set up a local testing environment I installed the following tools:
Step 1: Install prerequisites
1. First, I installed Git.
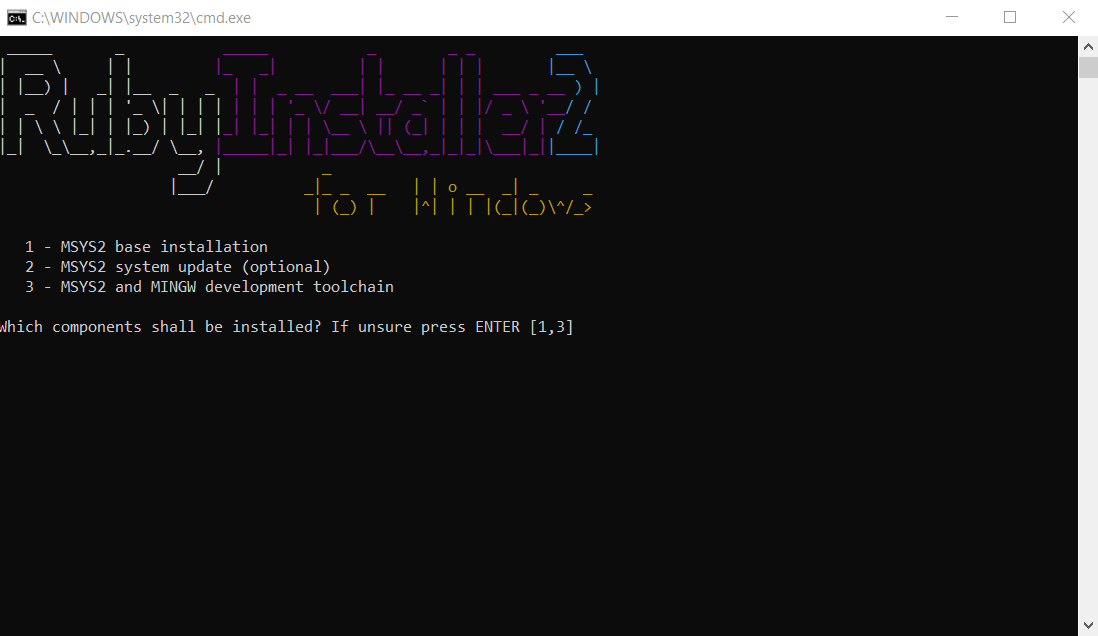
2. Next, I installed Ruby. Once the Ruby installation setup was complete, I chose “Run ridk install” and clicked finish. Then, a command prompt window for Ruby Installer 2 opened, and I installed all 3 components one at a time by entering the corresponding number and pressing enter.
3. Next, I installed Jekyll by opening a command prompt and running the command gem install jekyll.
4. Lastly, I installed VS Code.
Step 2: Create a GitHub account
The next thing I did was create a GitHub account.
Step 3: Create a new repository
Next, I created a new repository using the Chirpy Jekyll theme by going to the chirpy-starter repository and clicking “use this template” and “create a new repository”. You can find other themes by visiting one of the many Jekyll theme sites listed here.
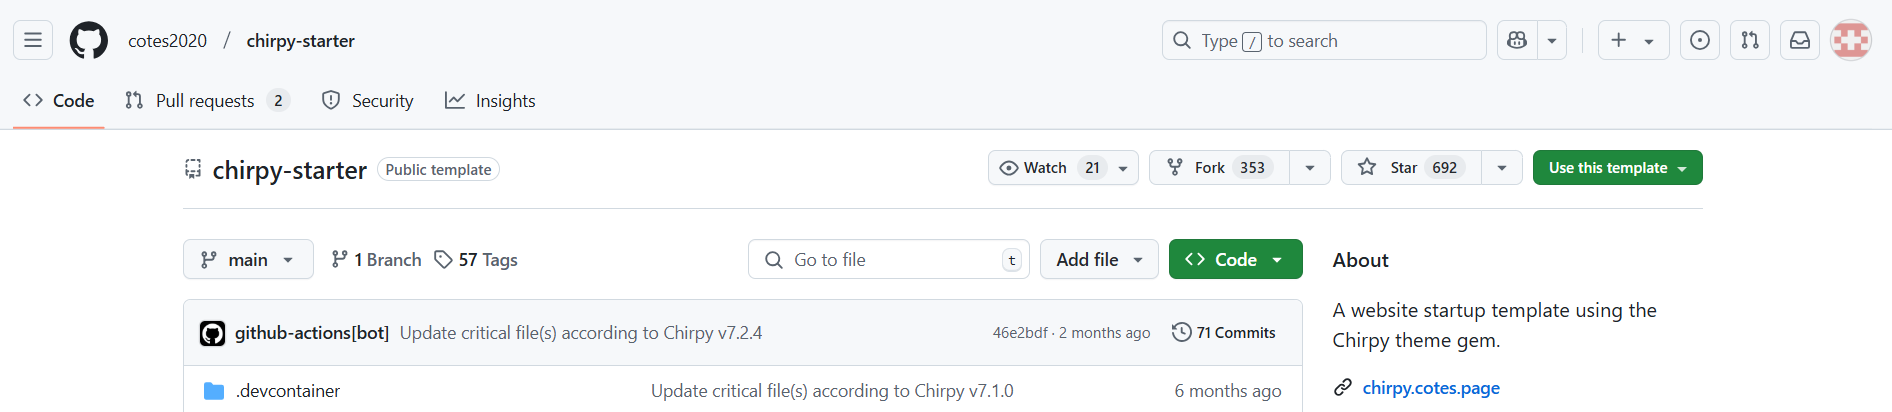
On the “create a new repository from chirpy-starter” page, I named the repository adkinsa.github.io.
Step 4: Make initial configuration changes
Now that the repository was created, I needed to make some initial configuration changes.
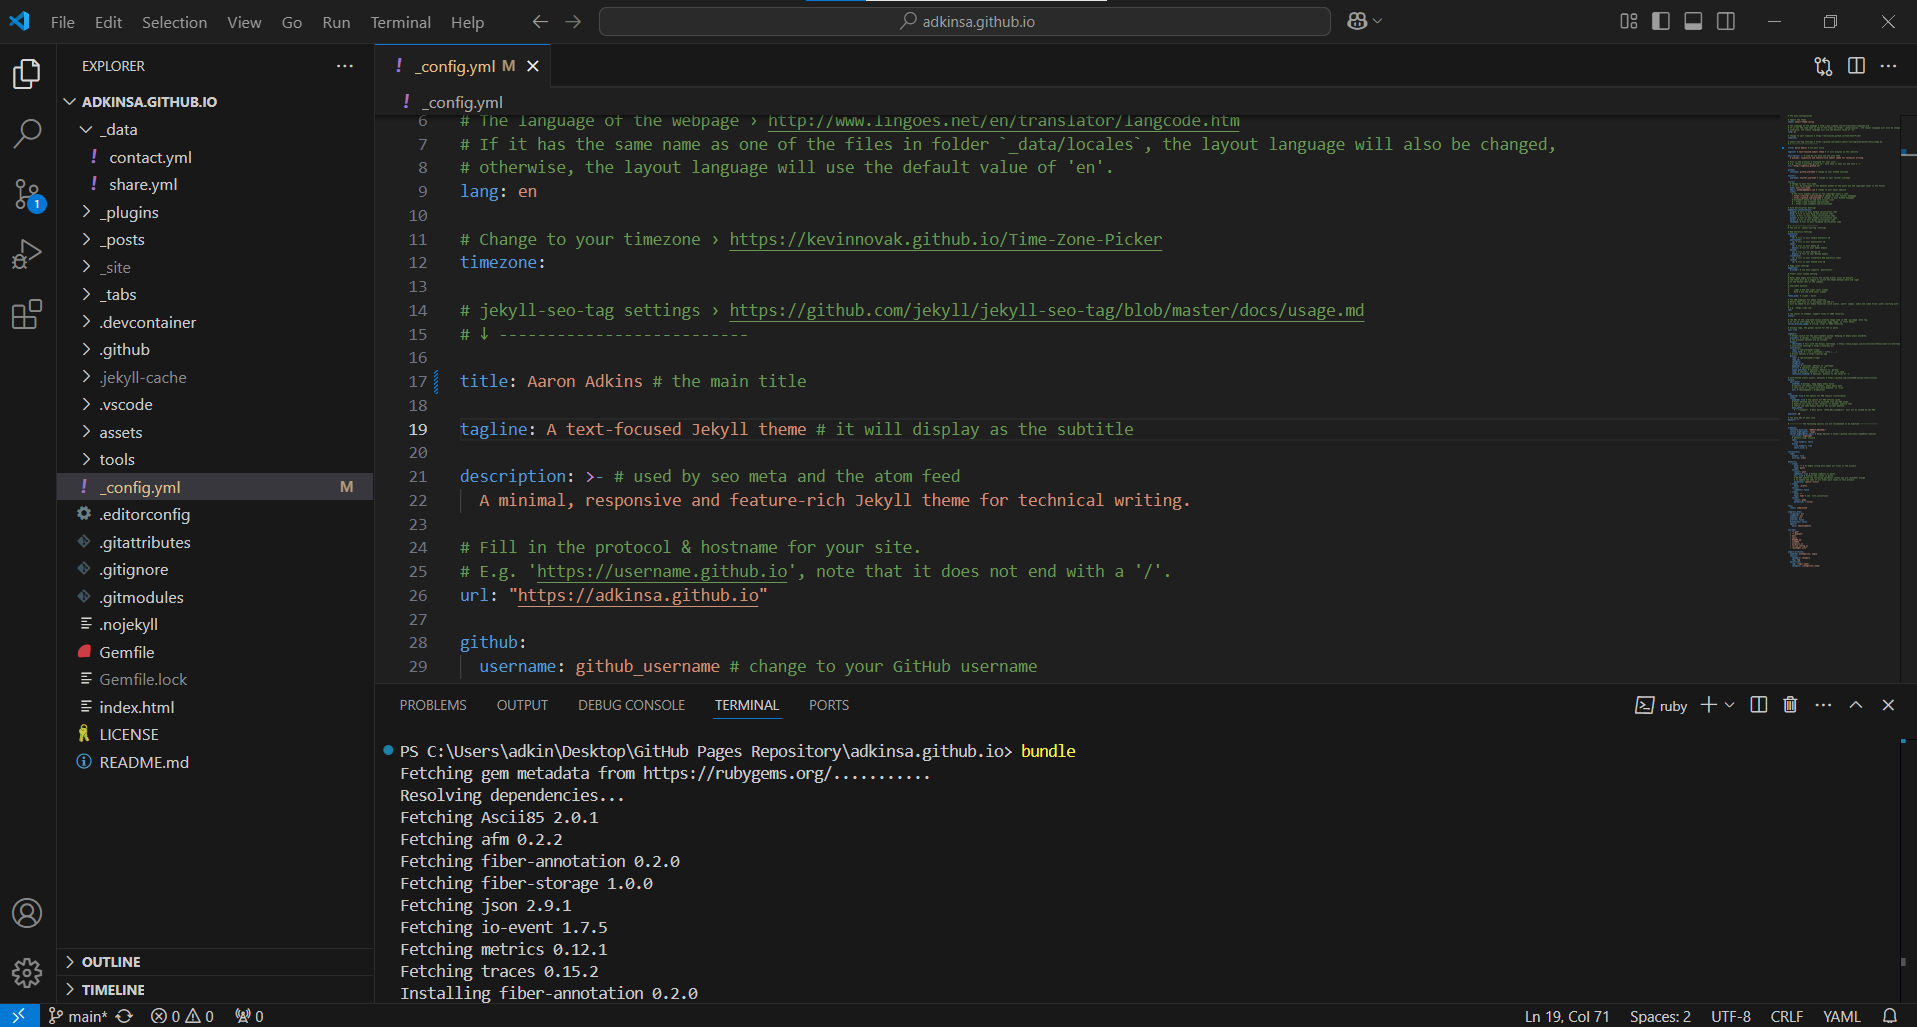
1. First, I added my github pages url to the _config.yml file.
2. Lastly, I went to settings, pages, and changed the build and deployment source to GitHub Actions.
Step 5: Clone repository
The next thing I did was clone the repository to my local machine. First, I created a folder for the repository, then right clicked the folder and selected “Git Bash Here”. Next, I copied the local clone https link and ran the command git clone https://github.com/adkinsa/adkinsa.github.io.git in the bash terminal. Once the repository was cloned I opened it in VS Code.
Step 6: Install dependencies
To install the necessary dependencies, I opened a terminal in VS Code and ran the command bundle.
Step 7: Test site locally
To preview the site, I ran the command bundle exec jekyll s in the VS Code terminal and went to the local server address http://127.0.0.1:4000/.
Step 8: Push changes to GitHub
Finally, I pushed the changes I made to the site by running the following code:
1
2
3
git add .
git commit -m 'commit message'
git push origin main