My new homelab dashboard with Heimdall
I recently installed a new dashboard in my homelab with Heimdall. Heimdall is an open source application dashboard that provides you with a visually appealing way to manage all your applications and links. It’s basically just a fancy dashboard for your bookmarks. As my homelab has grown, it’s become harder to keep track of all the IP addresses and port numbers used by various services. Having a dashboard such as Heimdall allows me to access my homelab services without having to remember specific IP addresses and port numbers.
One of the main reasons I chose Heimdall is its simplicity. Although it’s not as fancy or customizable as other dashboards, it’s easy to use and supports a large number of applications. Despite its simplicity, it has a nice-looking web UI and makes for the perfect homelab dashboard.
Deploying Heimdall
Like a lot of my homelab services, I deployed Heimdall using Docker and Portainer. I created a new volume in Portainer named heimdall_config. Then I deployed a new stack in Portainer named heimdall with the following Docker Compose file:
1
2
3
4
5
6
7
8
9
10
11
12
13
14
15
16
17
18
services:
  heimdall:
    image: lscr.io/linuxserver/heimdall:latest
    container_name: heimdall
    environment:
      - PUID=1000
      - PGID=1000
      - TZ=America/New_York
    volumes:
      - heimdall_config:/config
    ports:
      - 8180:80
      - 7443:443
    restart: unless-stopped

volumes:
  heimdall_config:
    external: true
My first attempt at deploying the stack actually resulted in a failure with a warning that the service heimdall refers to undefined volume heimdall_config. After some troubleshooting, I realized that I needed to declare the existing volume heimdall_config in the Docker Compose file with:
1
2
3
volumes:
  heimdall_config:
    external: true
Once I did that, I was able to successfully deploy the stack.
Configuring Heimdall
Heimdall features several options to choose from for configuring your dashboard. You have the ability to add separate user accounts with password authentication if needed. The Settings tab also offers several customization options such as changing the appearance and background image, adding a search bar to the homepage, and adding custom CSS and JavaScript.
Adding Applications
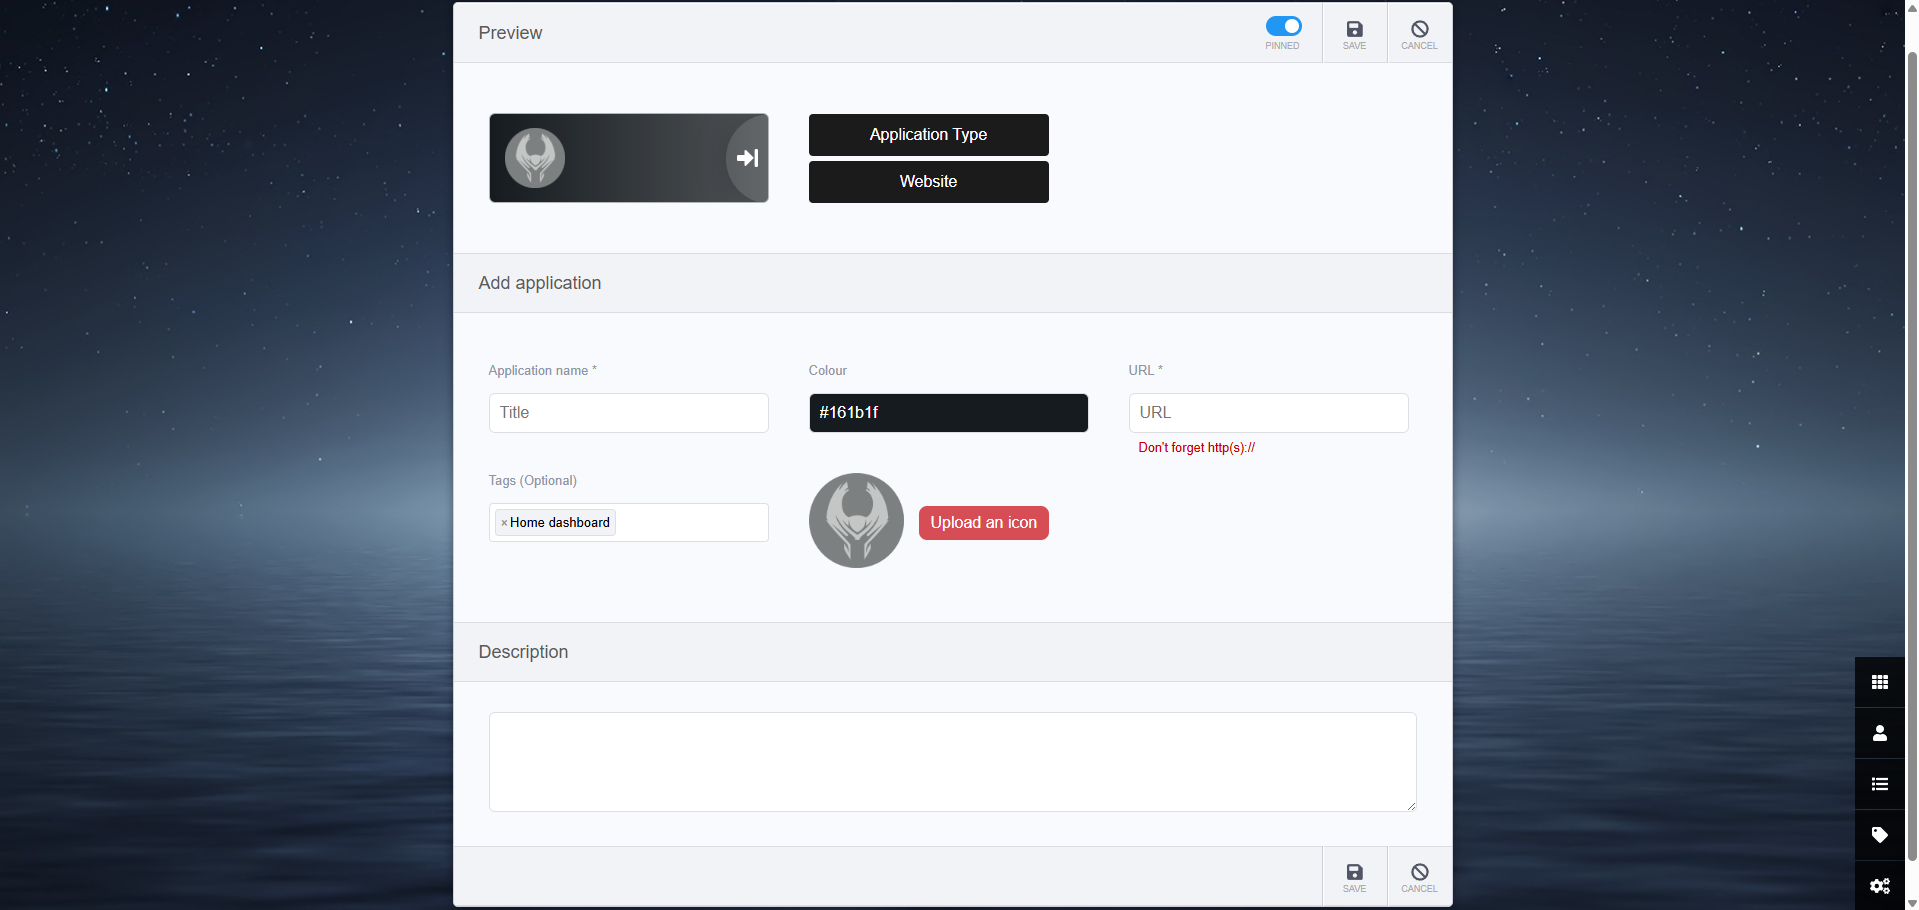
To add an application, you go to the Application list tab > Add. From there, you can add an application by selecting Application Type and choosing the specific application from the dropdown menu. You can also add a website by selecting Website and entering the website URL. Some applications even support the ability to display extra information by entering API credentials.
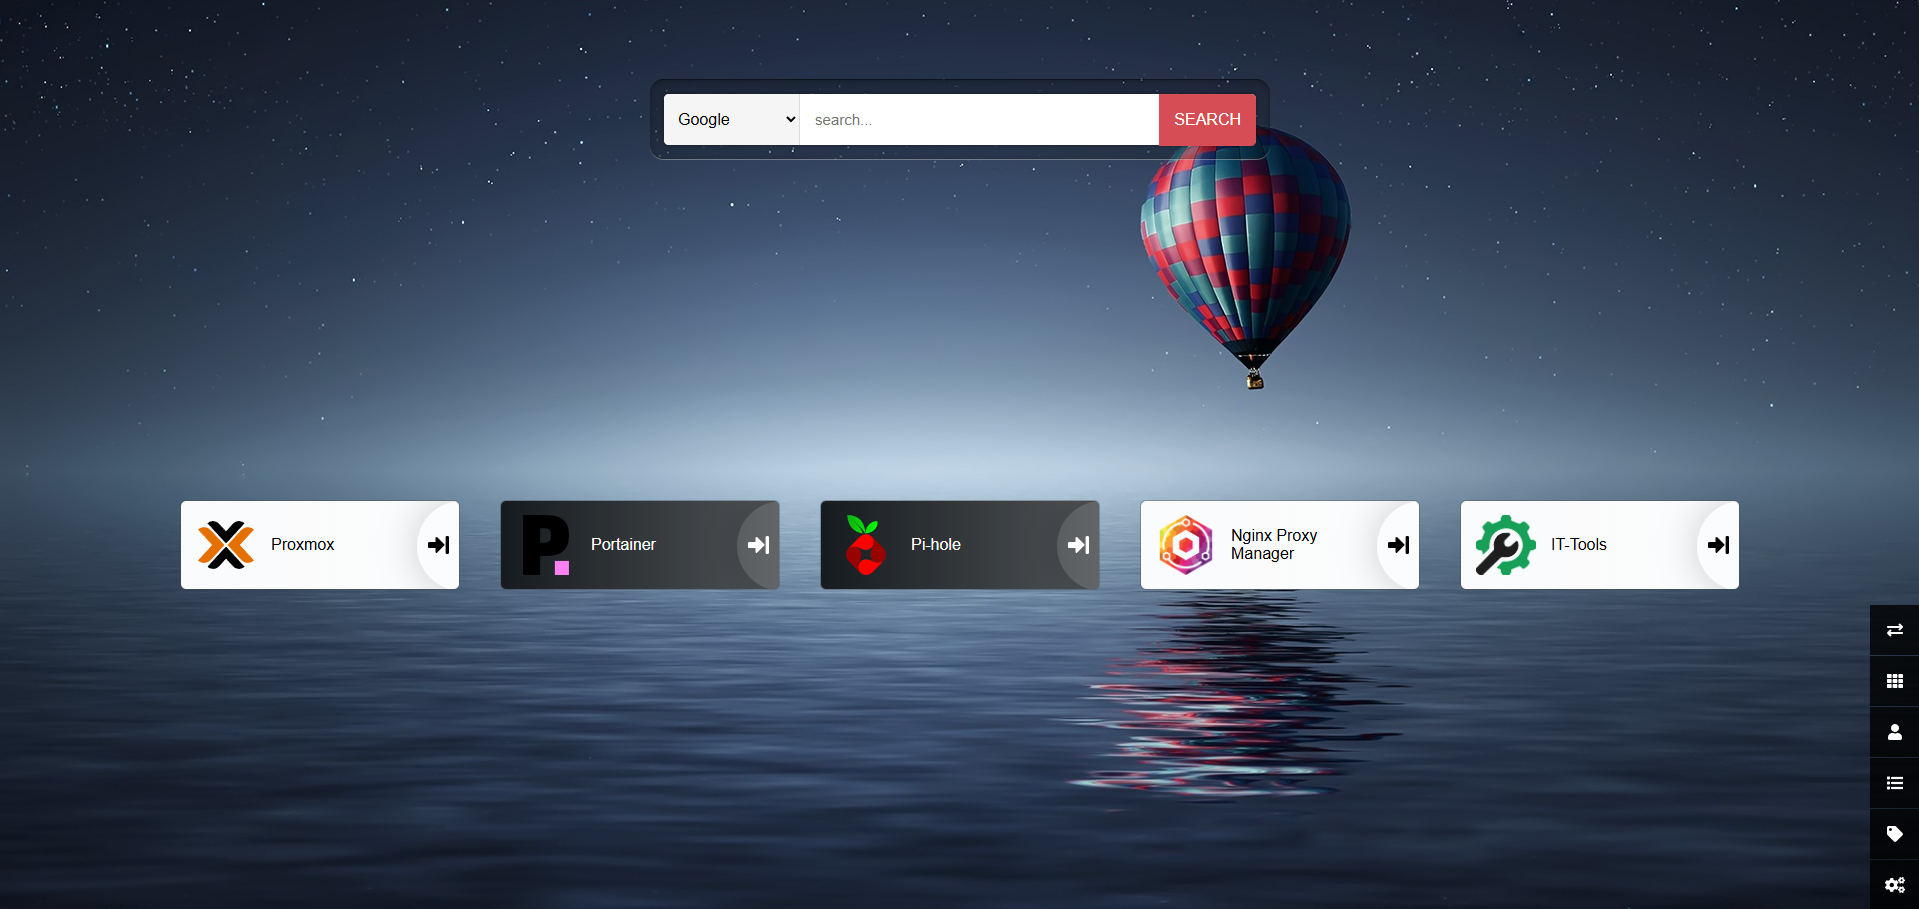
This is a screenshot of my dashboard after adding some applications:
Conclusion
So far, I’m really happy with Heimdall and glad that I chose it as my new homelab dashboard. It’s been a great addition to my homelab and has made accessing all of my homelab services so much easier. If you’re looking for a simple yet stylish-looking dashboard for your homelab, I recommend giving Heimdall a try!