Introducing Proxmox to my homelab
This post provides a quick overview of the steps I took to install and set up Proxmox in my homelab. I chose Proxmox over alternative hypervisors because it’s open source and is widely recommended in the homelab community. There is also a large community to turn to for support, including resources such as the official Proxmox community forum and the subreddit r/Proxmox.
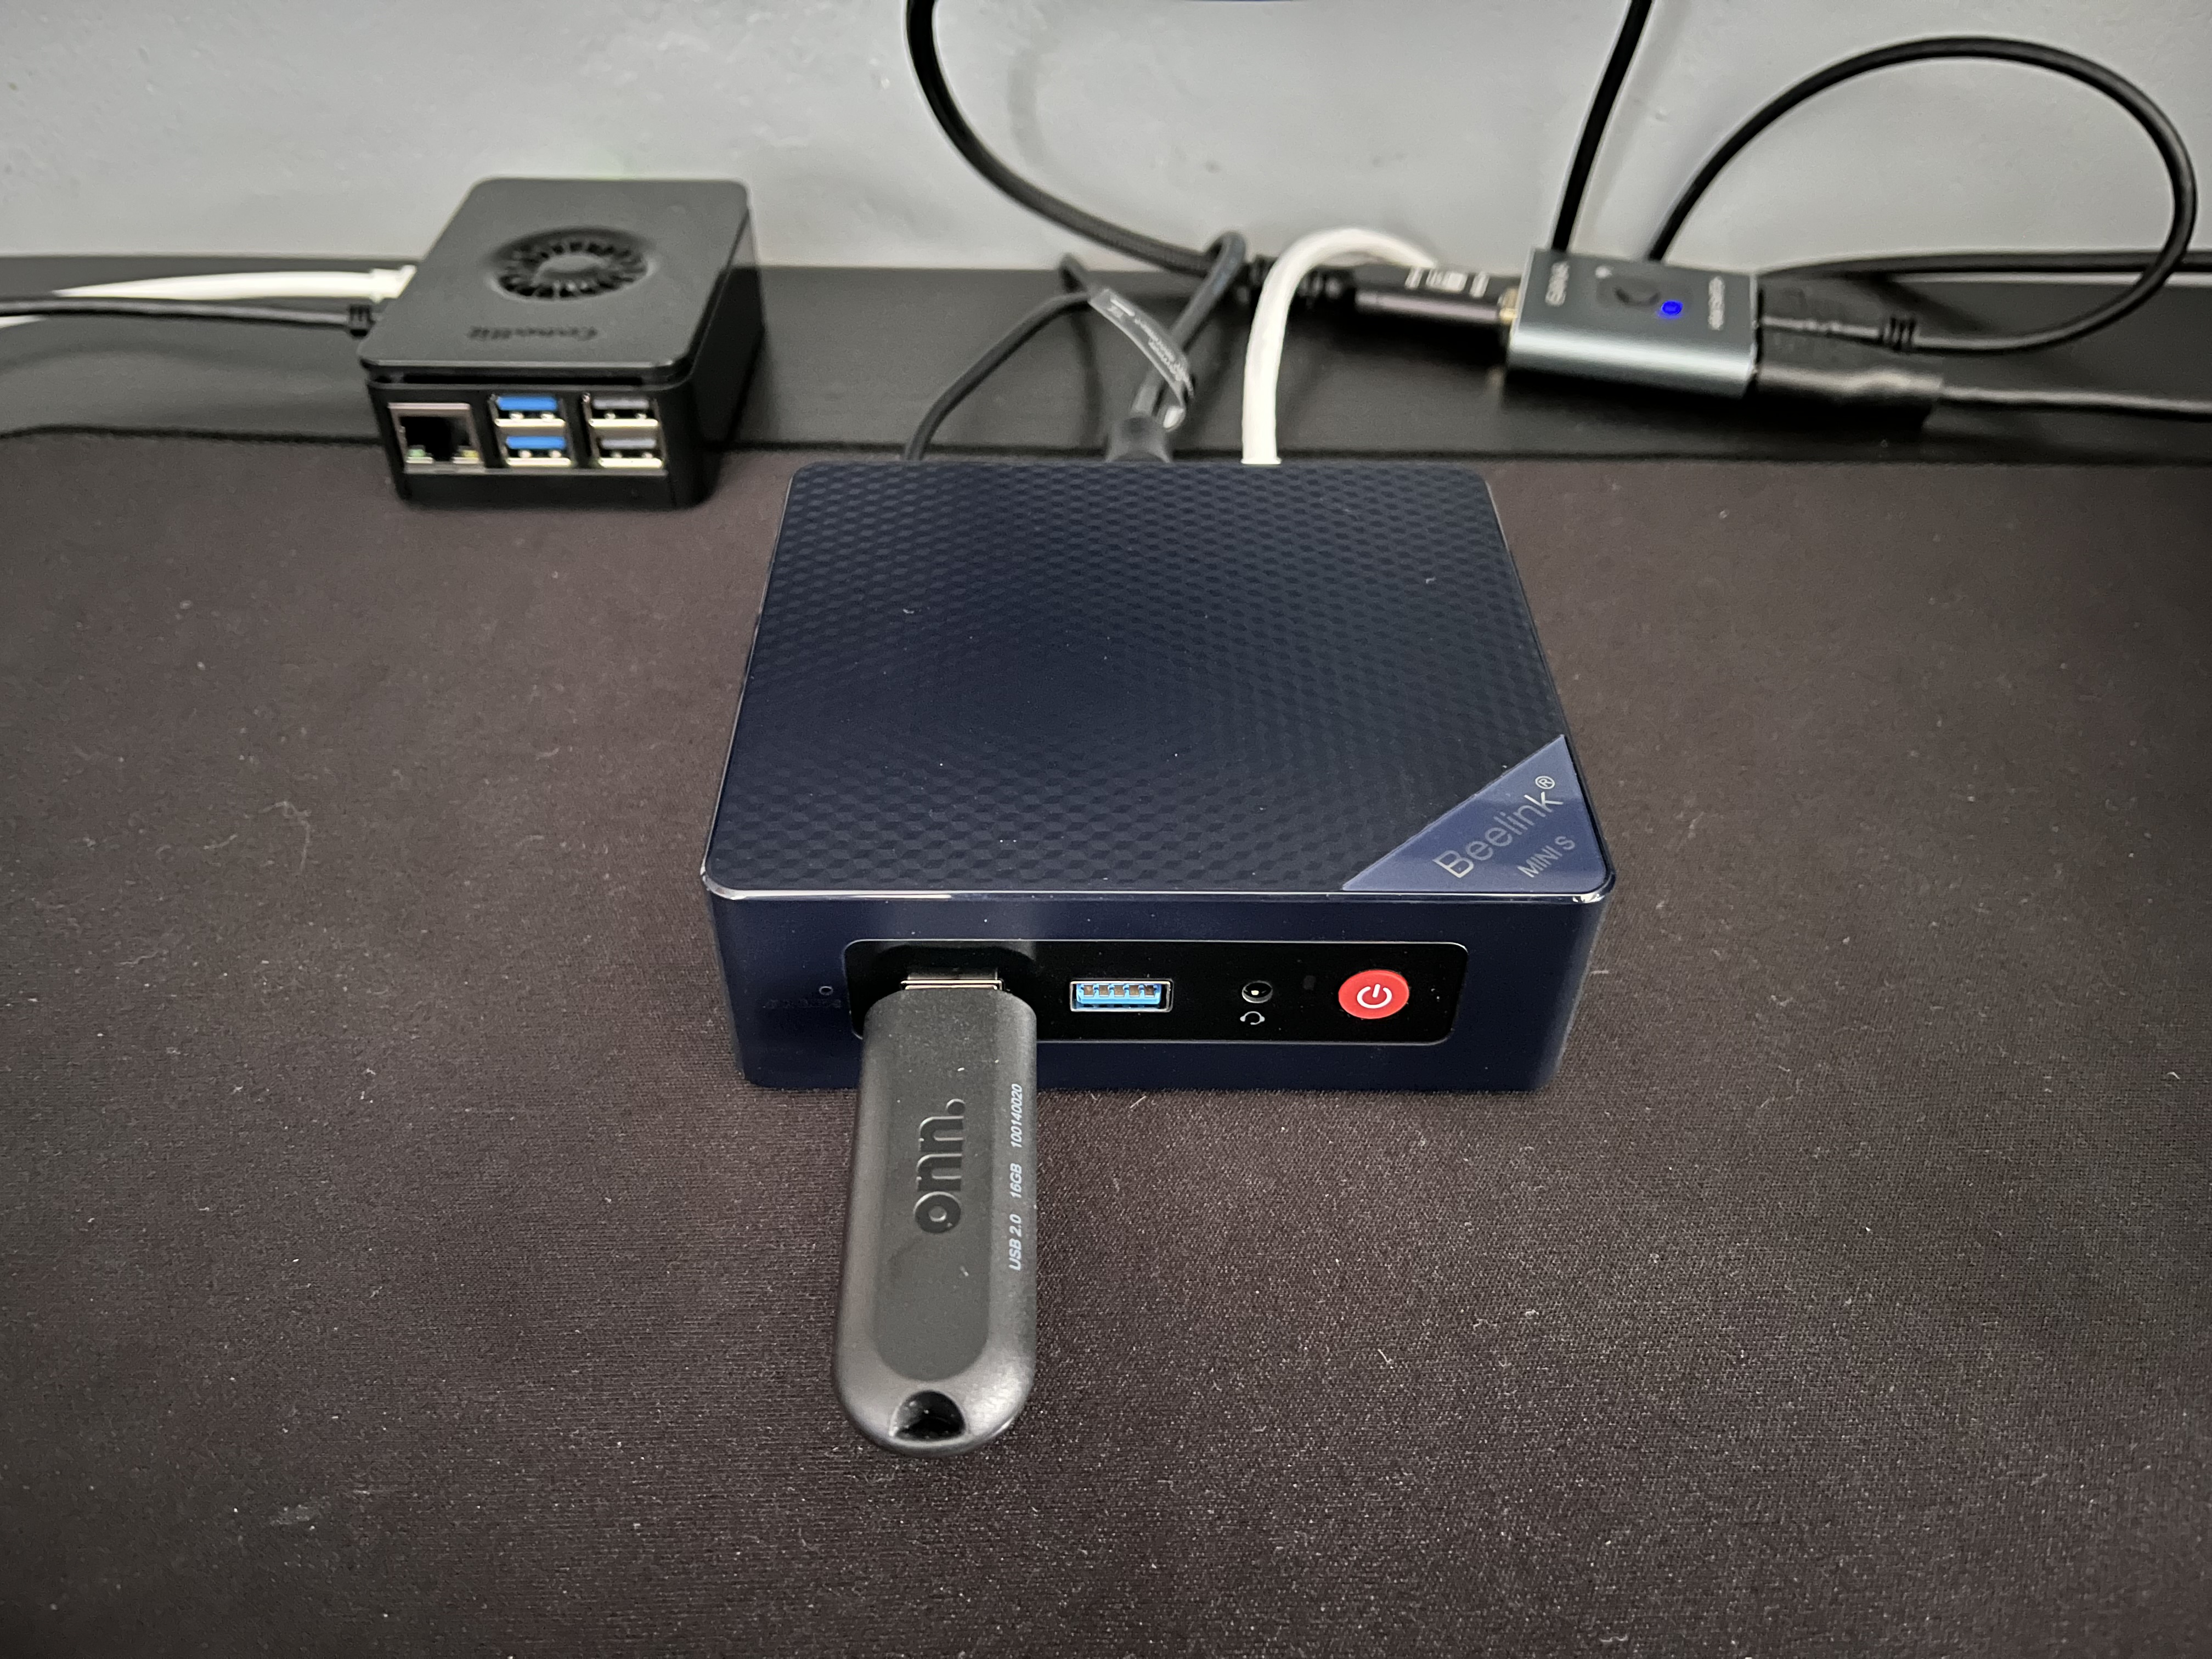
Hardware
The hardware I’m using to run Proxmox is a Beelink Mini S13 Mini PC with an Intel N150 3.6 GHz processor, 16GB of DDR4 RAM, and a 500GB M.2 SSD.
Installing and setting up Proxmox
In this section, I’m going to go over the steps I took to install and set up Proxmox.
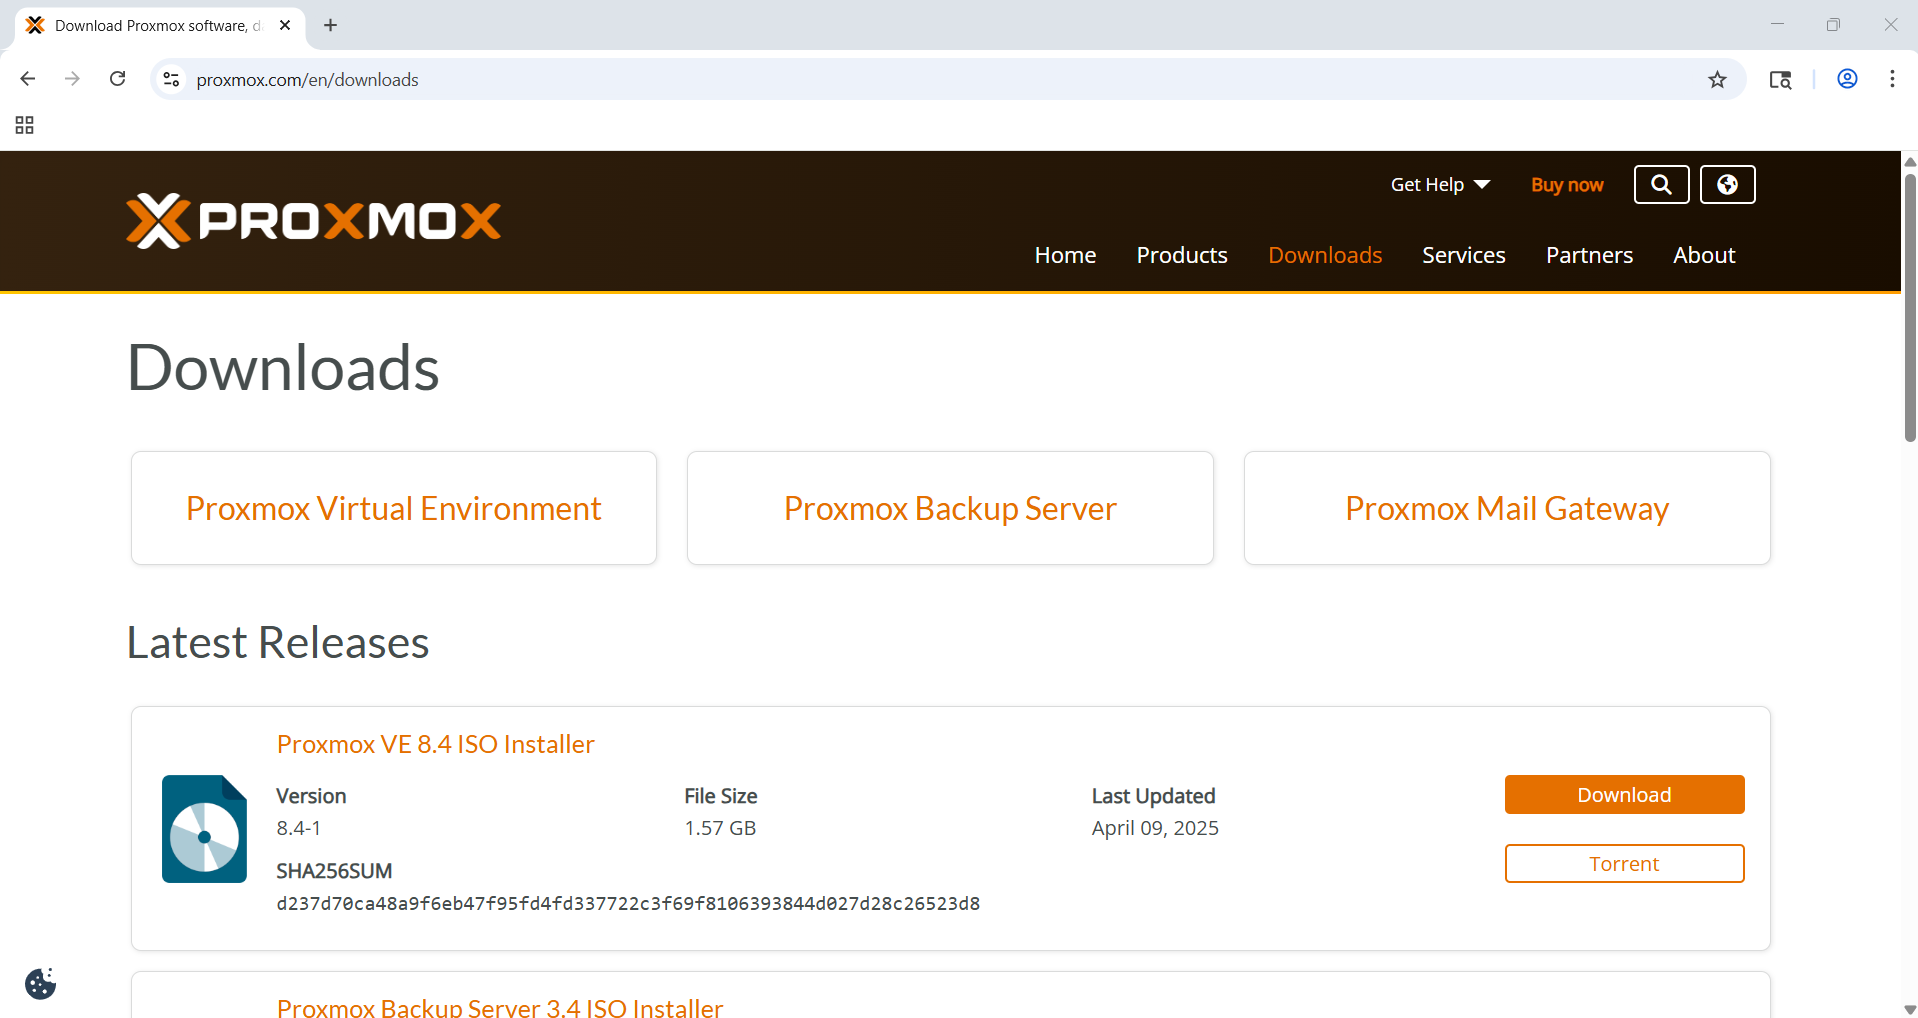
Step 1: Download Proxmox ISO
The first step I took was to download the Proxmox VE 8.4 ISO from proxmox.com/en/downloads.
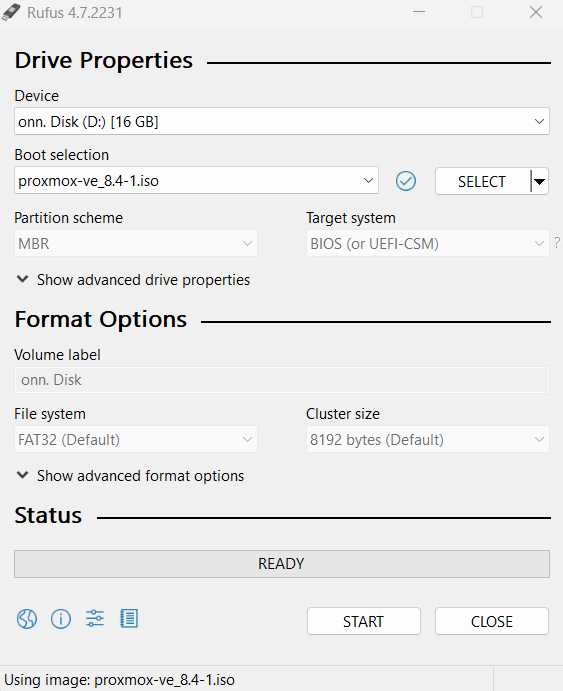
Step 2: Create a bootable flash drive with Proxmox ISO
To create a bootable flash drive, I used Rufus, which can be downloaded from rufus.ie/en/.
Step 3: Boot from the Proxmox flash drive
Next, I plugged the flash drive into the Beelink Mini S13 Mini PC and booted from it.
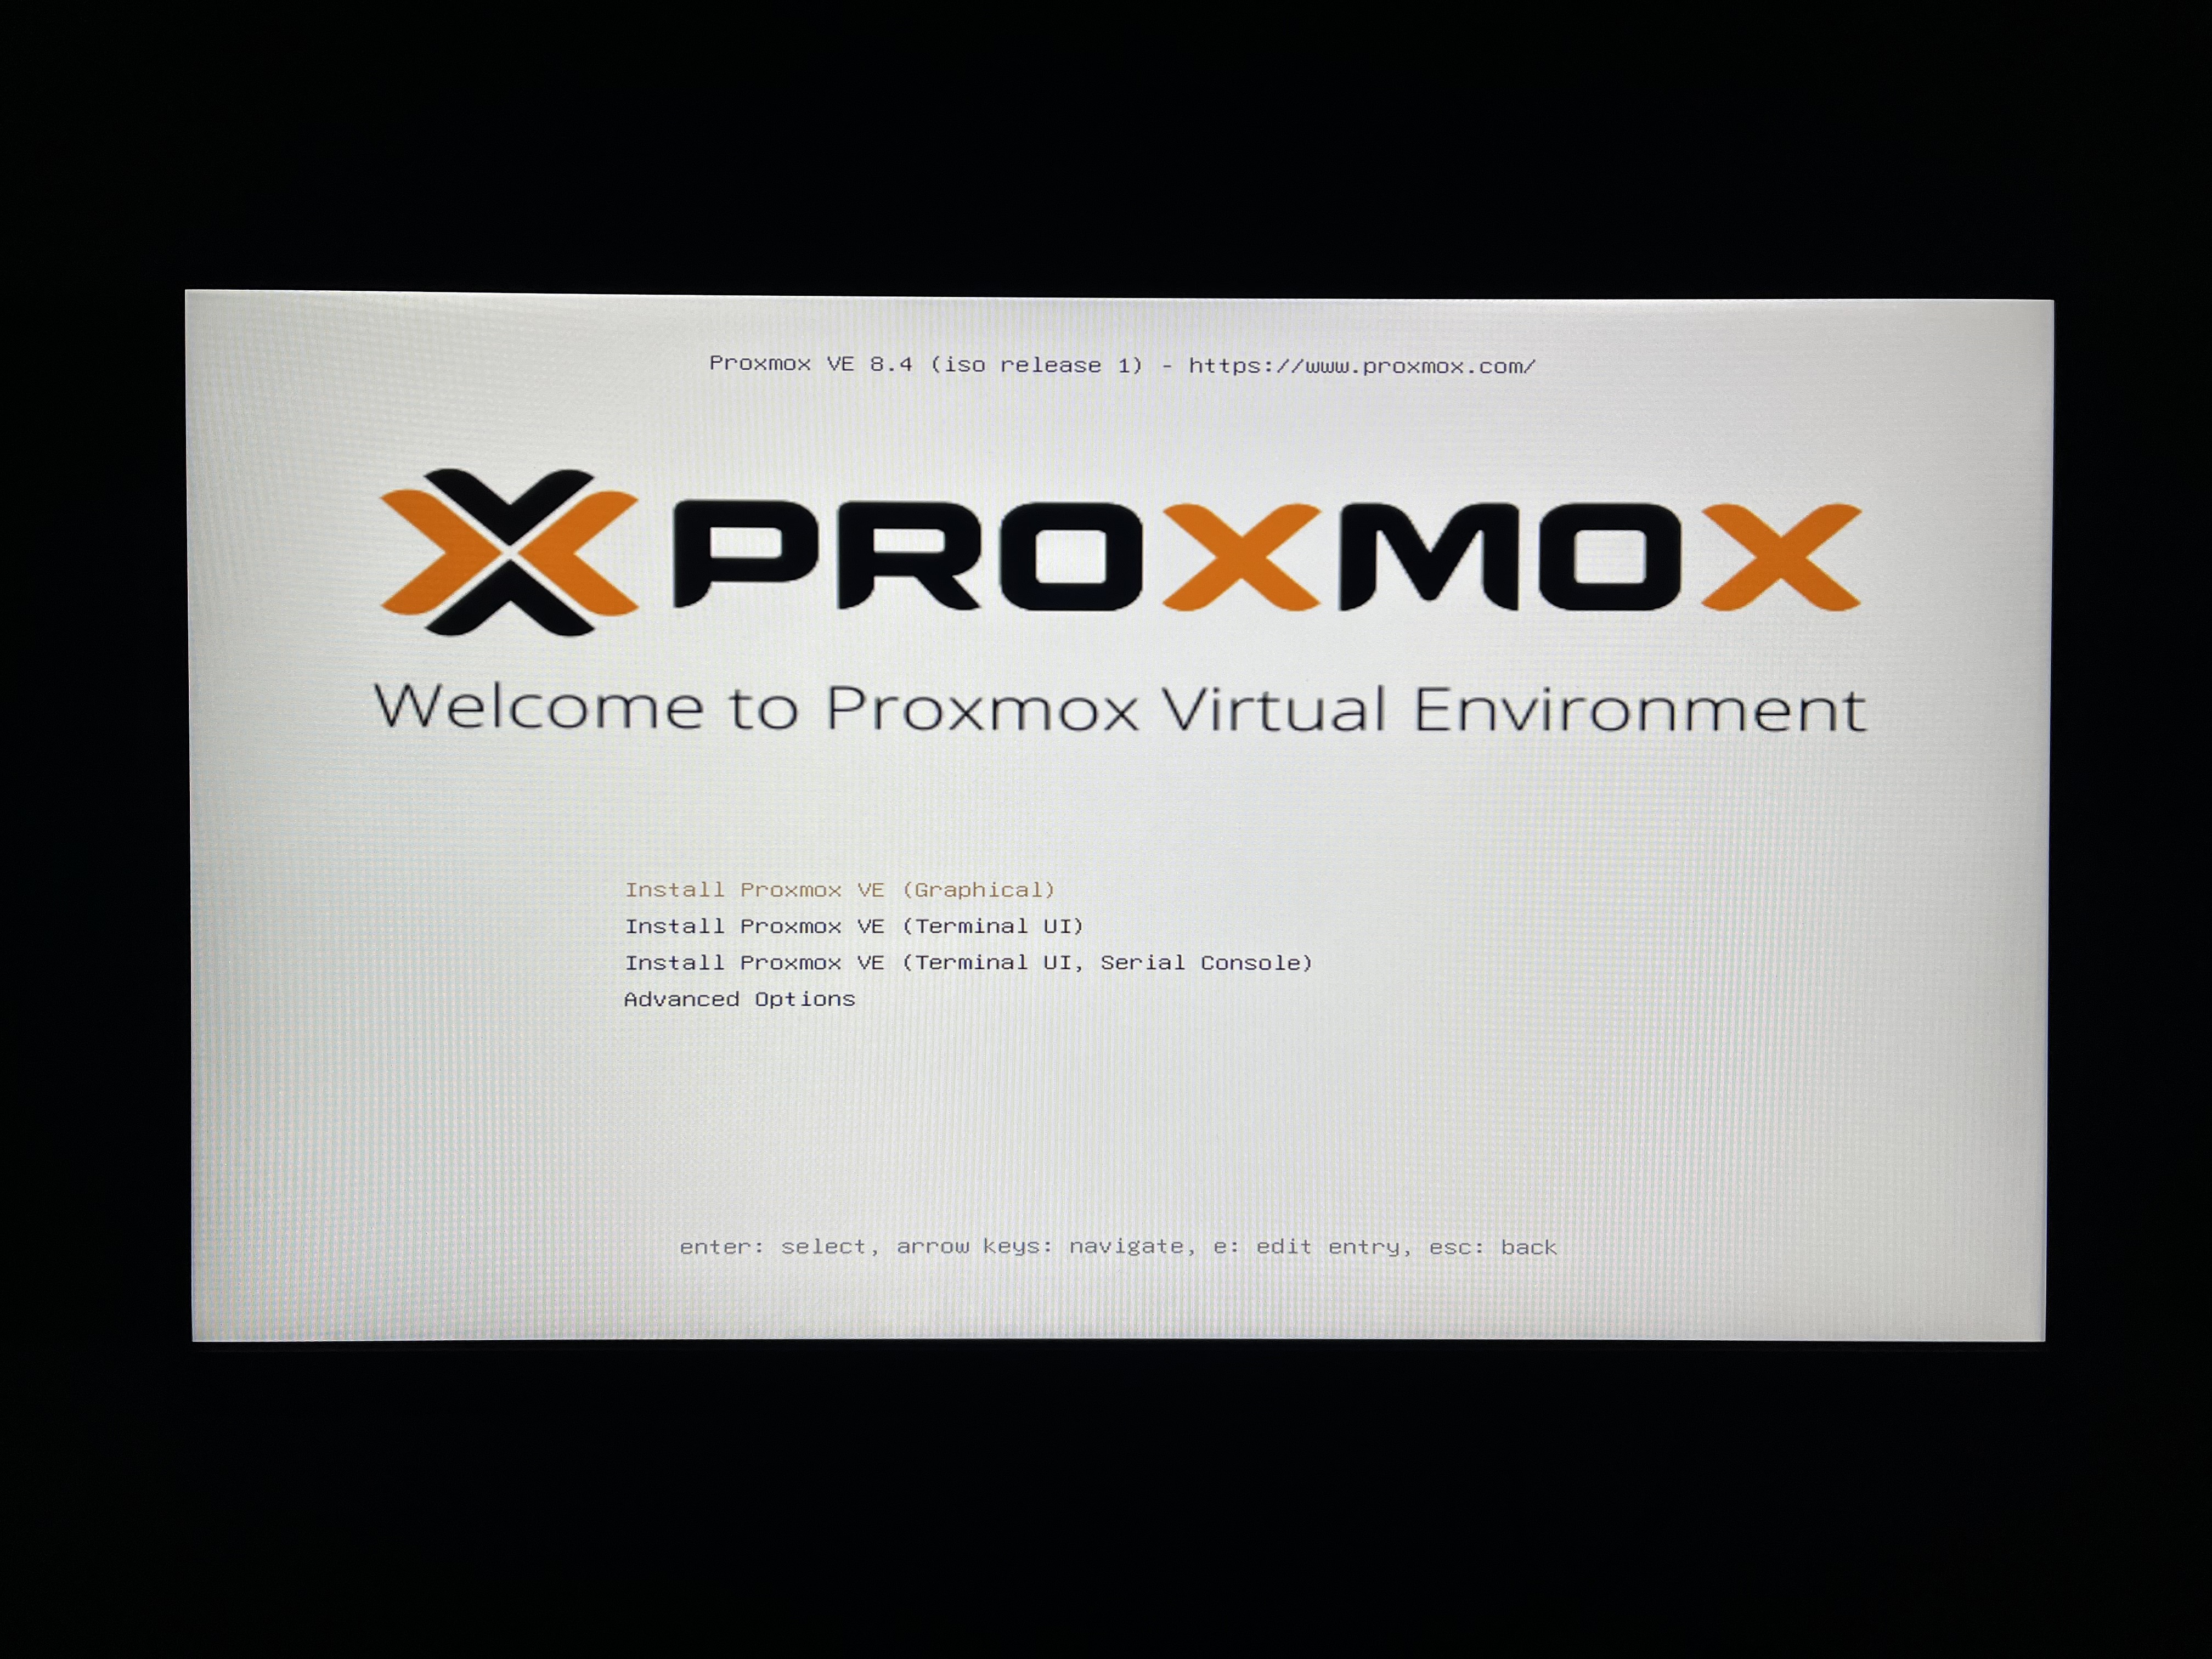
Step 4: Install Proxmox
At the Proxmox installer welcome screen, I chose the option “Install Proxmox VE (Graphical)” and then proceeded with the installation. During the installation process, I assigned the server a static IP address after verifying the DHCP scope of my router to ensure there were no IP address conflicts.
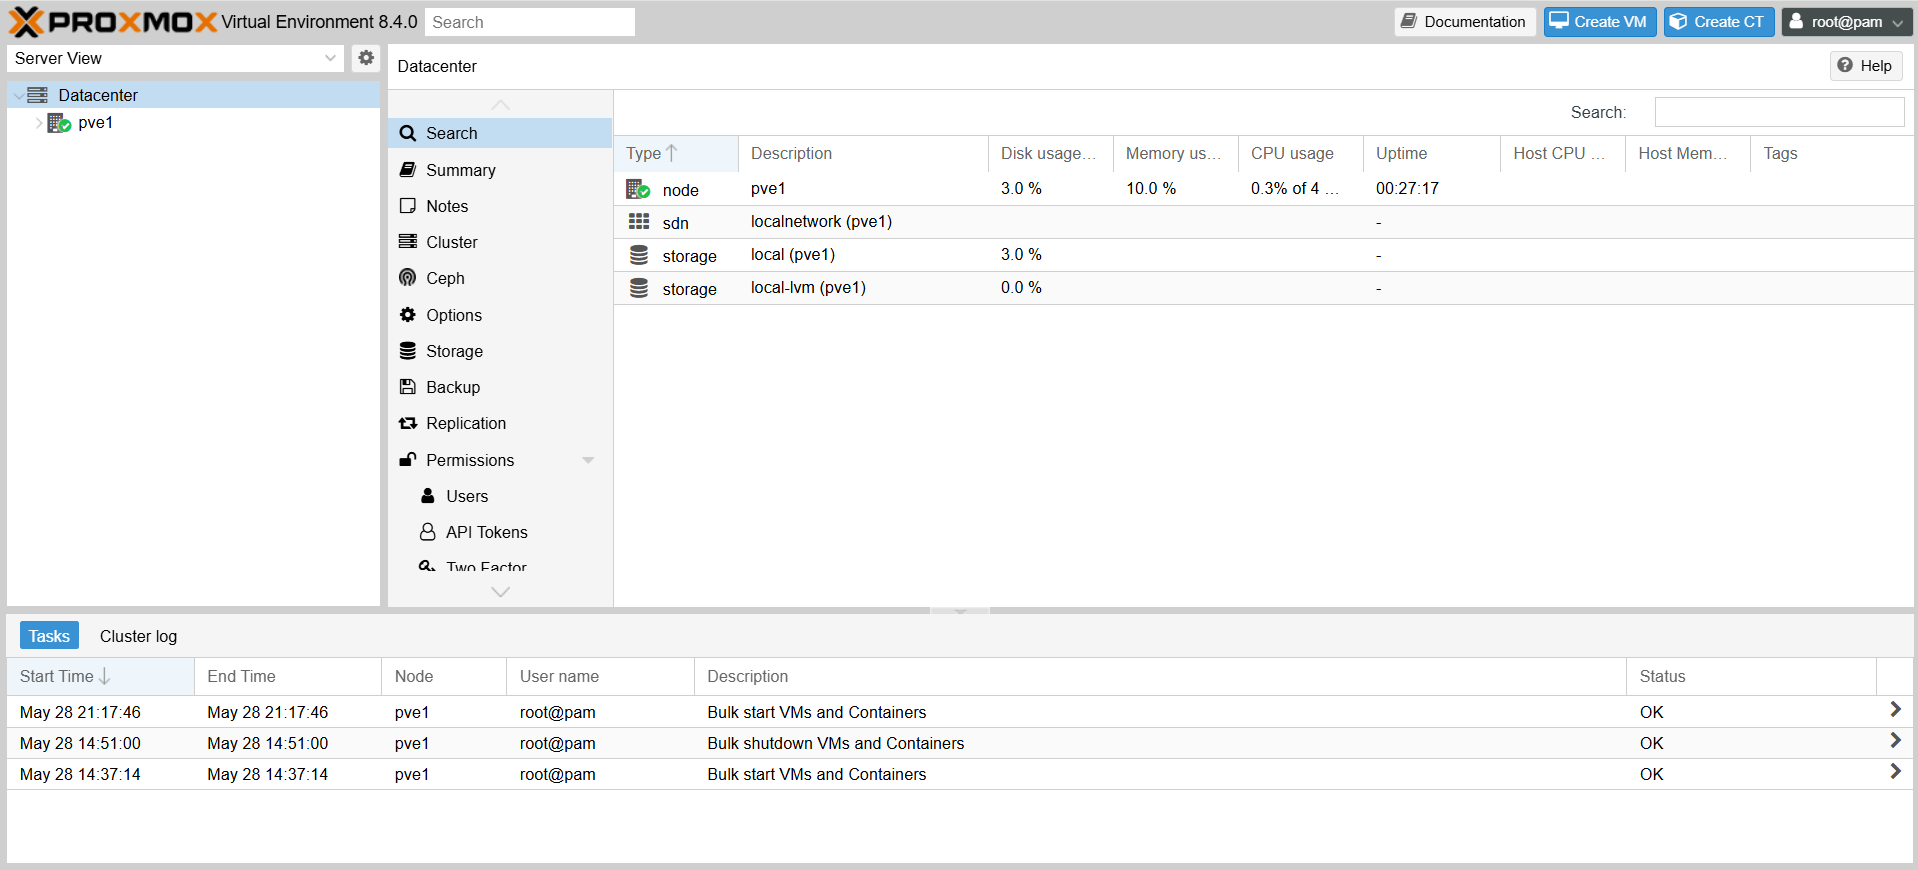
Step 5: Access the Proxmox Server Web UI
After the installation was complete, I accessed the Proxmox Server Web UI by opening a web browser and navigating to the server’s IP address, followed by port number 8006. I then logged in using the credentials I had set during the installation process and was greeted by the Proxmox dashboard.
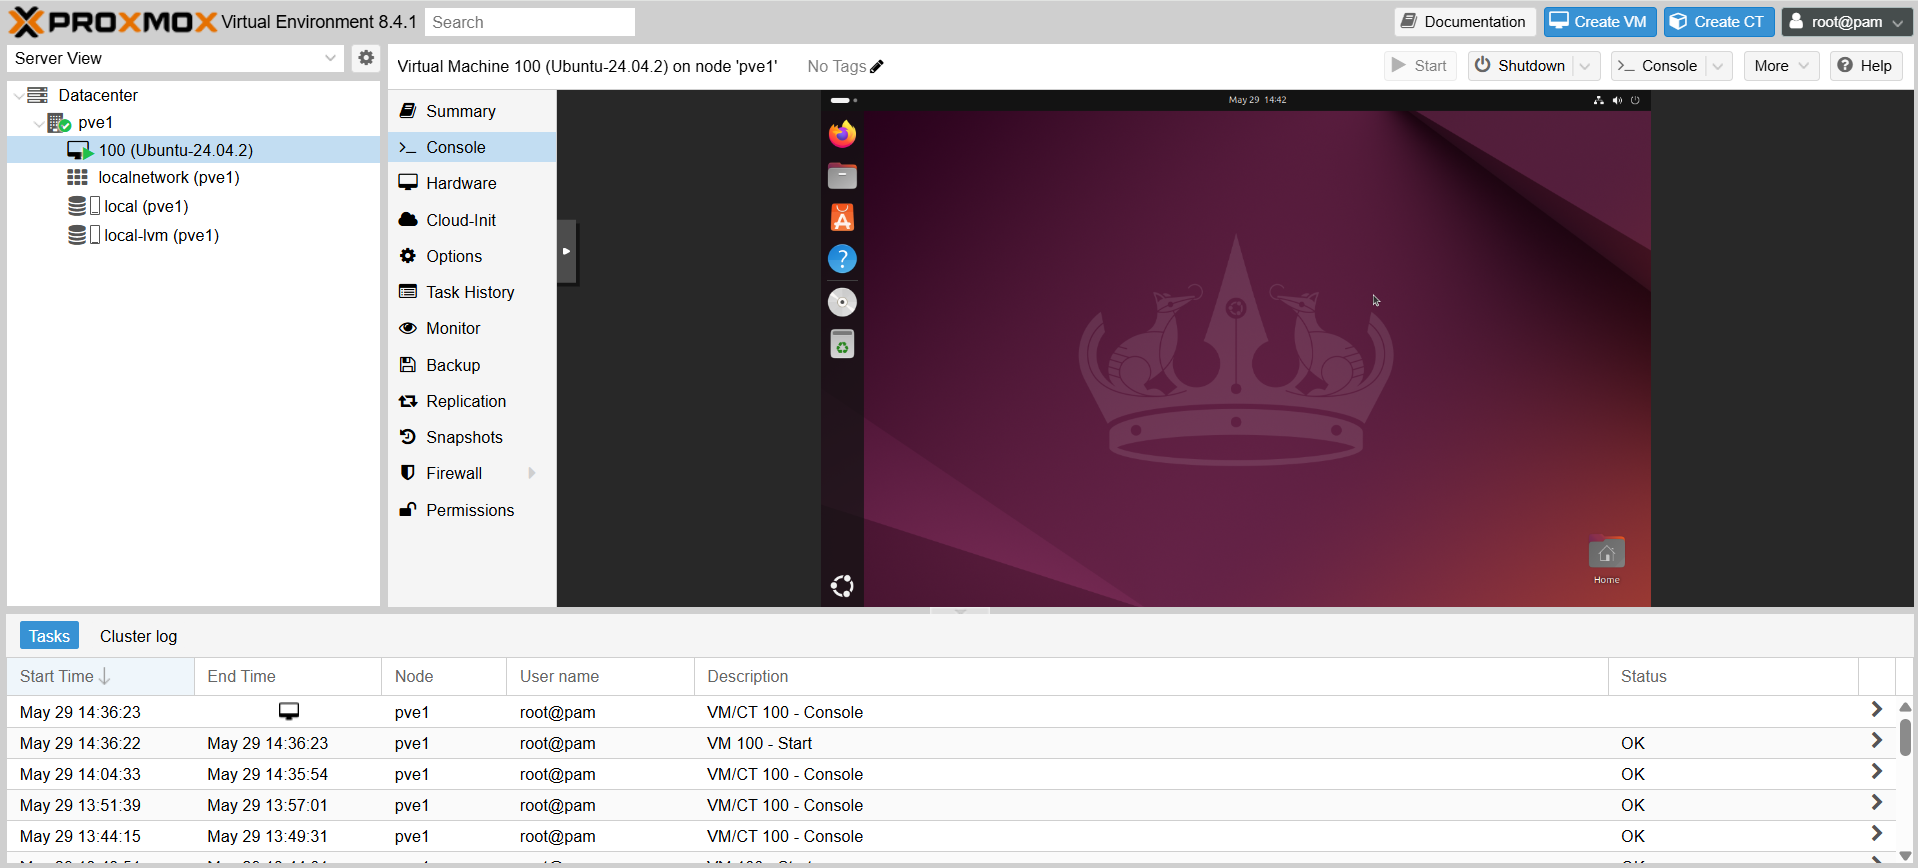
Step 6: Create a virtual machine
The last thing I did was create an Ubuntu Desktop VM. To do this, I first downloaded the Ubuntu 24.04.2 LTS ISO image from ubuntu.com/download/desktop and then followed a tutorial on creating a VM in Proxmox.
That’s all for now.
Next up, I plan to work on adding more virtual machines and containers. So, stay tuned for future updates on some of the changes I’ve made.