Initial setup of the Vilros Raspberry Pi Zero 2 W basic starter kit
In a recent post I mentioned that I purchased the Vilros Raspberry Pi Zero 2 W basic starter kit. I purchased the starter kit on Amazon for $42, and it comes with just about everything needed to get started. I just got around to setting it up and wanted to share my experience with the initial setup process. In this post, I’ll provide you with a quick overview of the starter kit and walk you through the steps I took to set up the Raspberry Pi Zero 2 W.
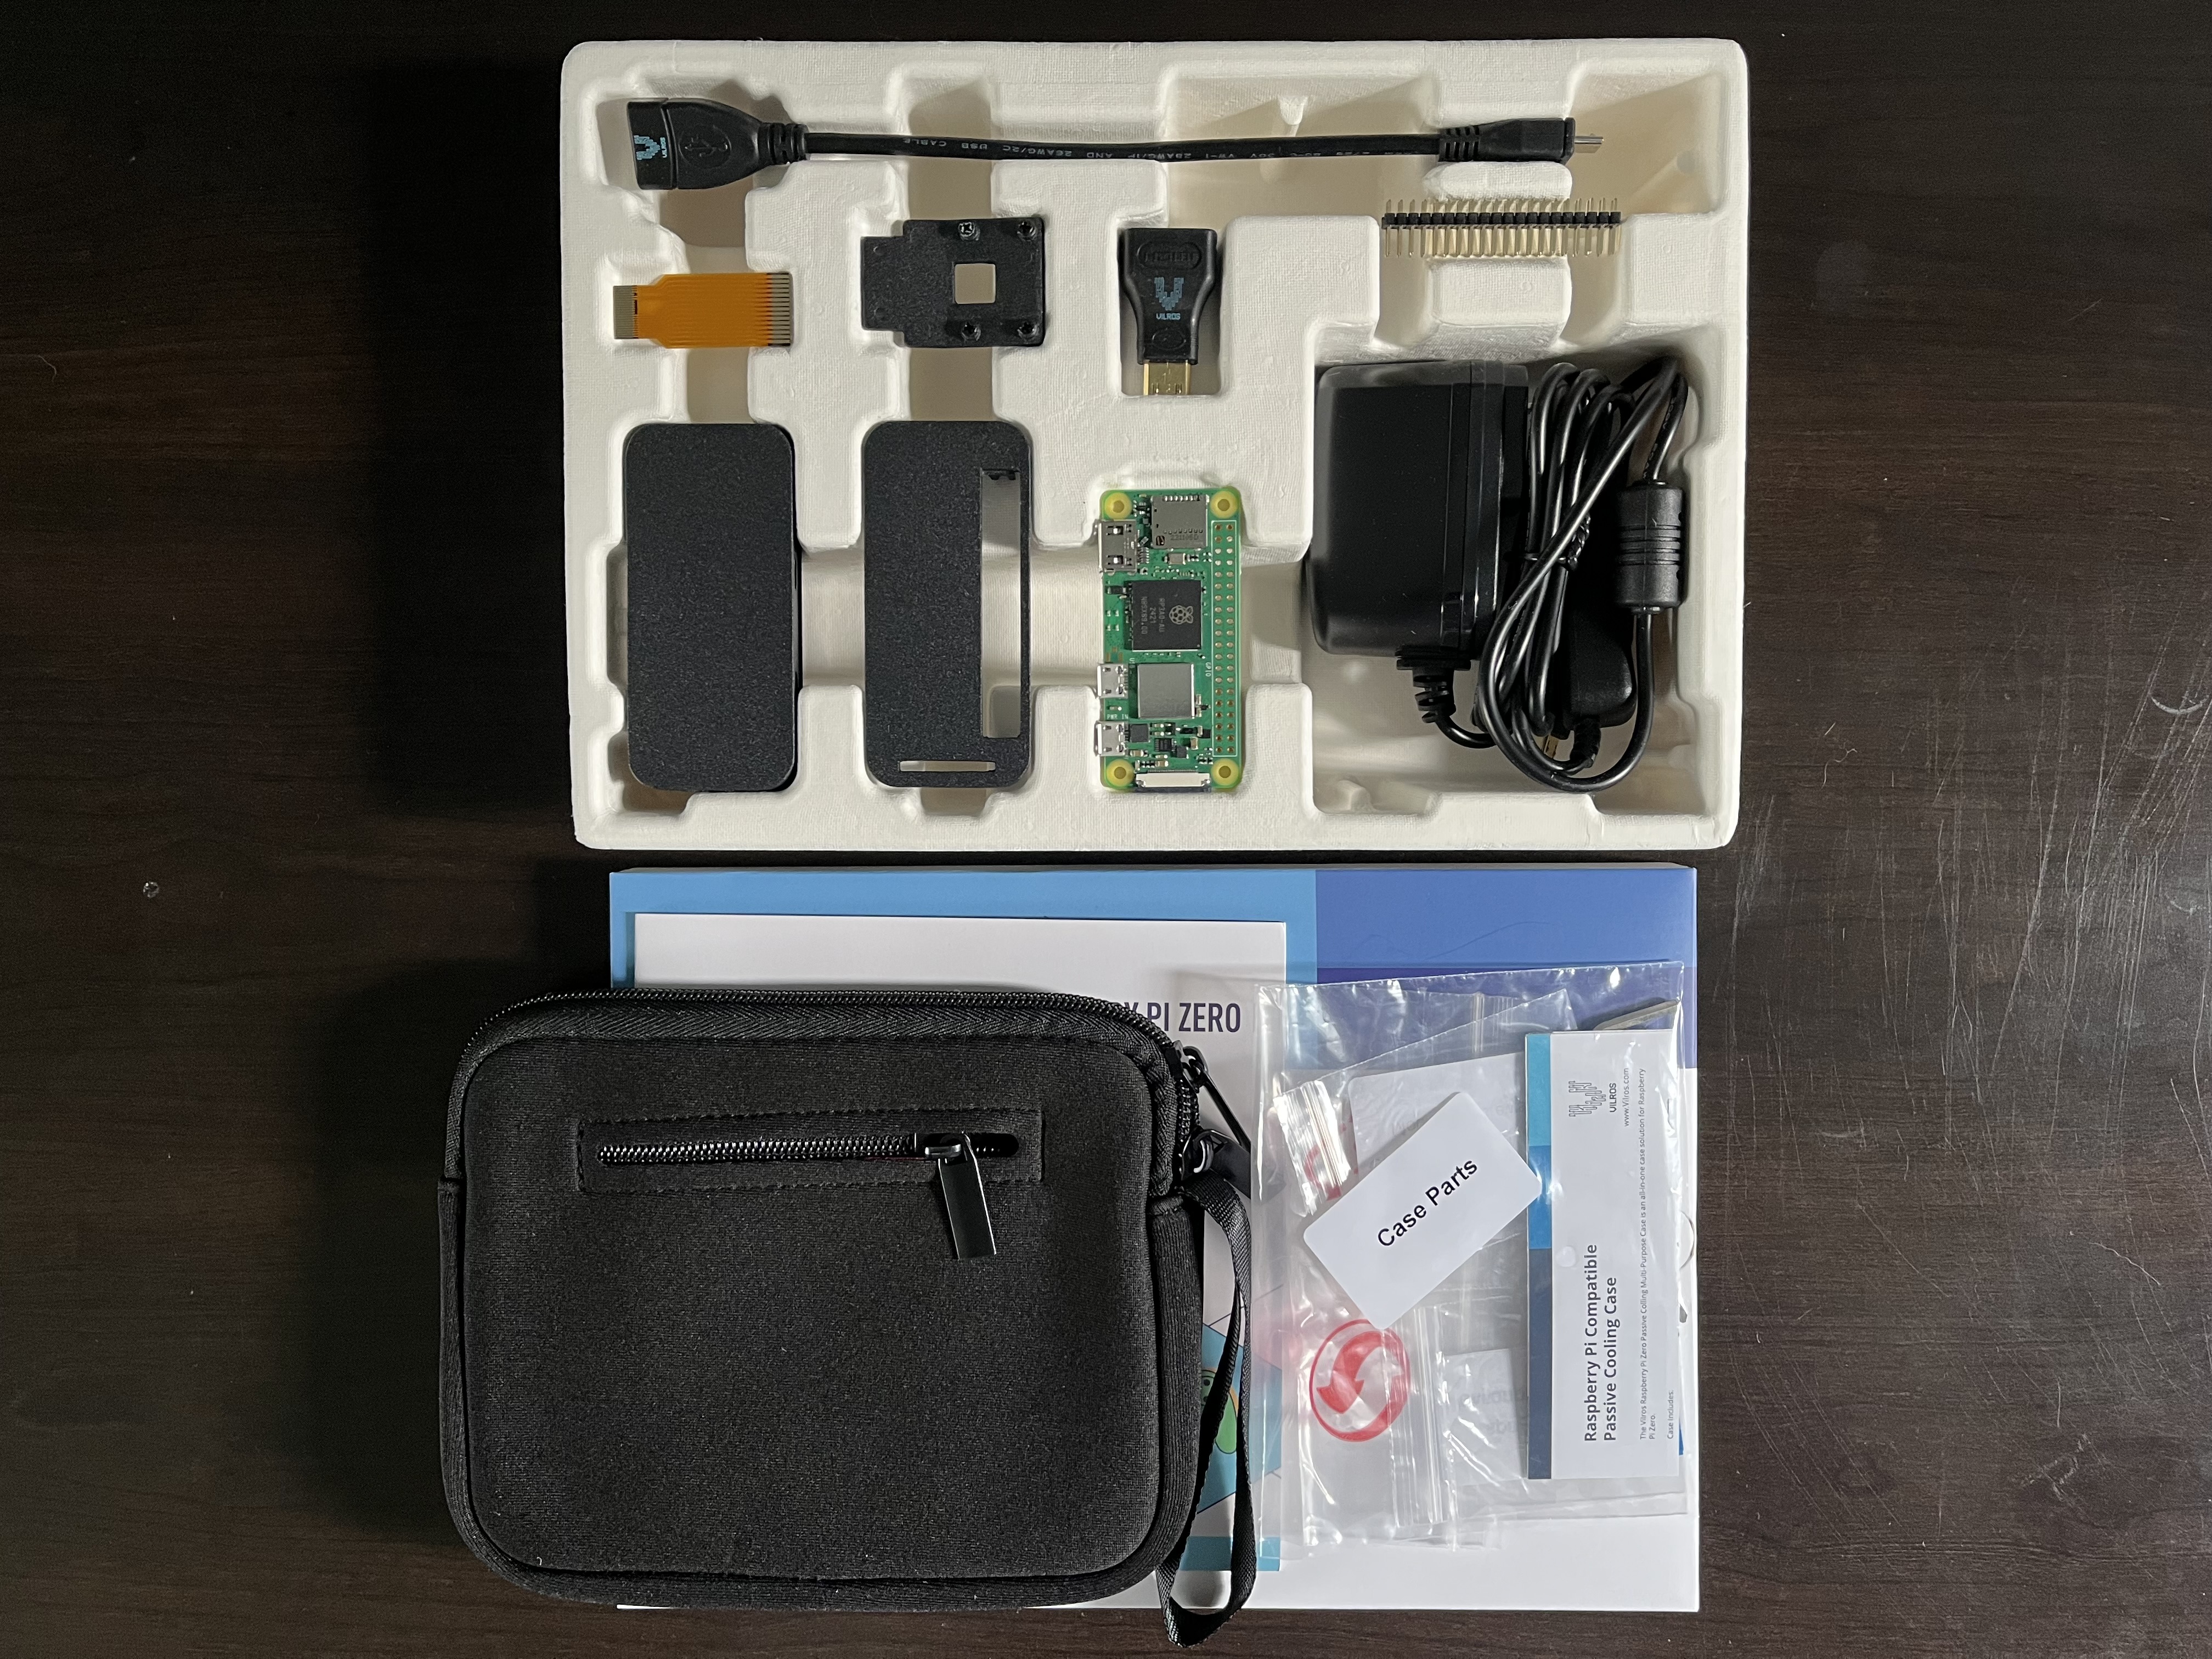
Starter kit contents
Here’s a list of everything that’s included in the starter kit:
- Raspberry Pi Zero 2 W board
- Multi use case
- Micro USB power supply
- Micro USB to USB OTG adapter
- HDMI to mini HDMI adapter
- 40 pin header
- Camera module adapter cable
- Storage bag
Setup
In this section, I’m going to walk you through the steps I took to set up the Raspberry Pi Zero 2 W.
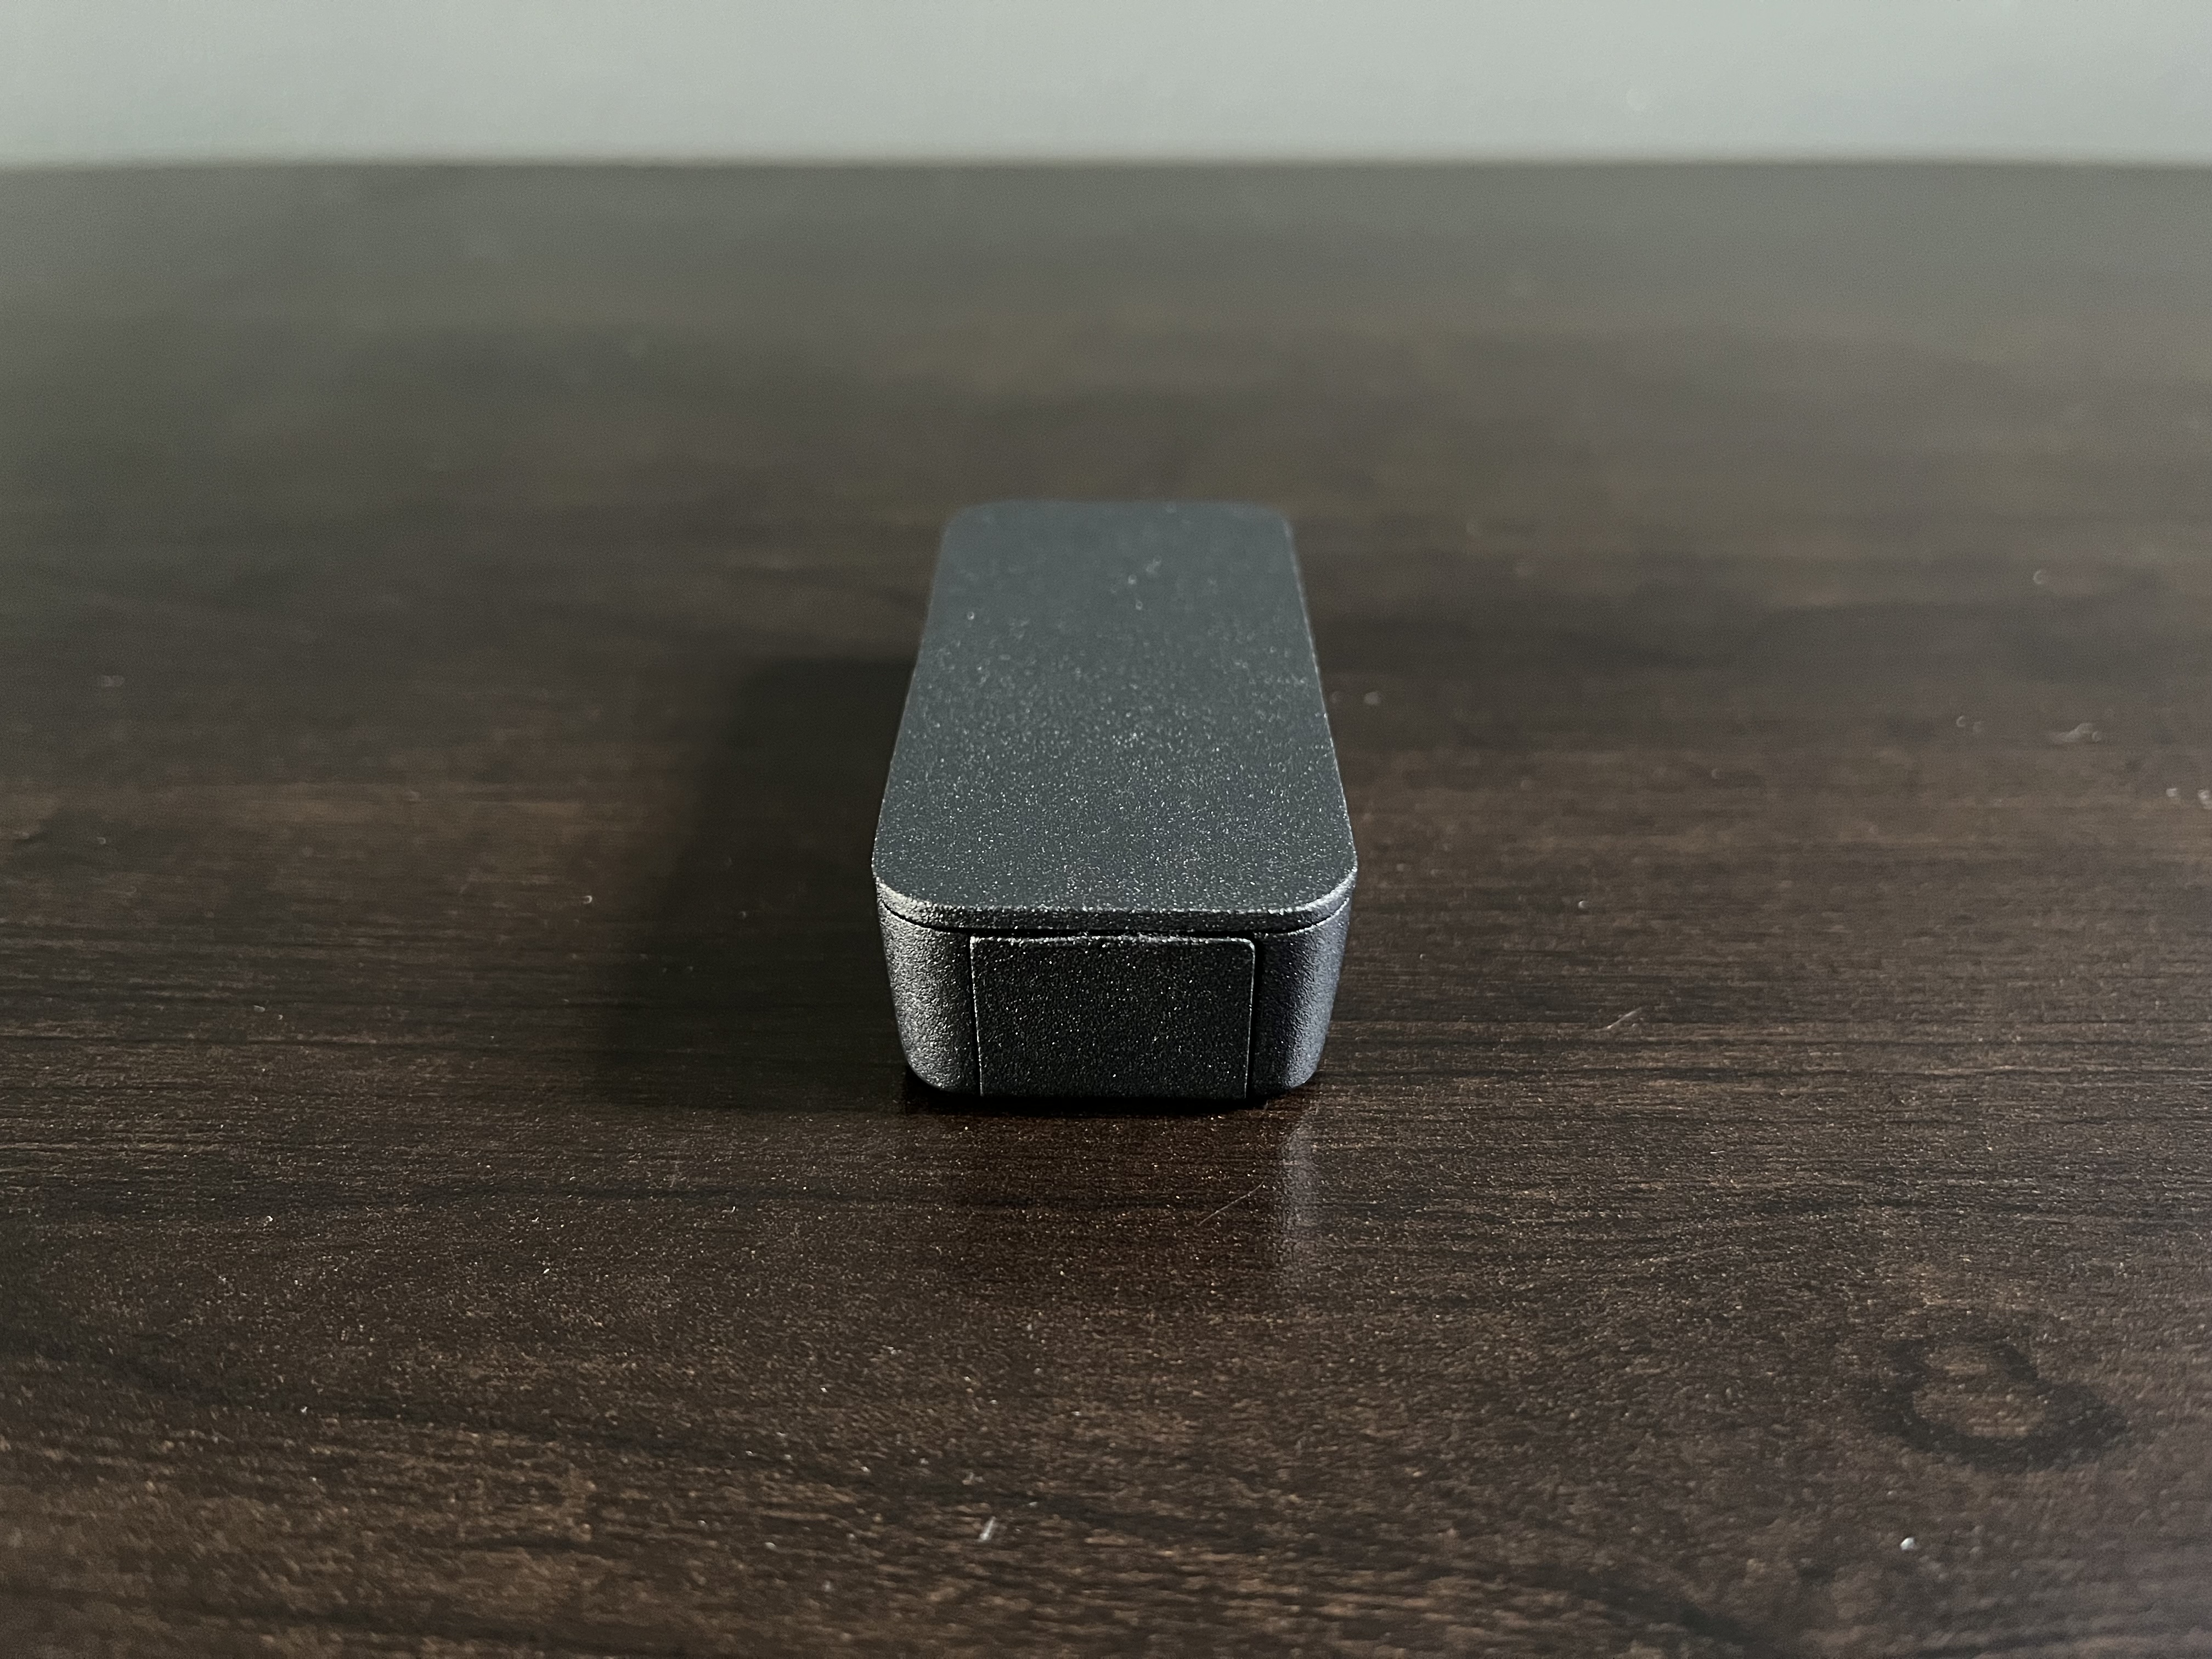
Step 1: Insert Pi board into bottom casing and apply thermal pad
First, I inserted the Pi board into the bottom casing and then applied the thermal pad to the CPU.
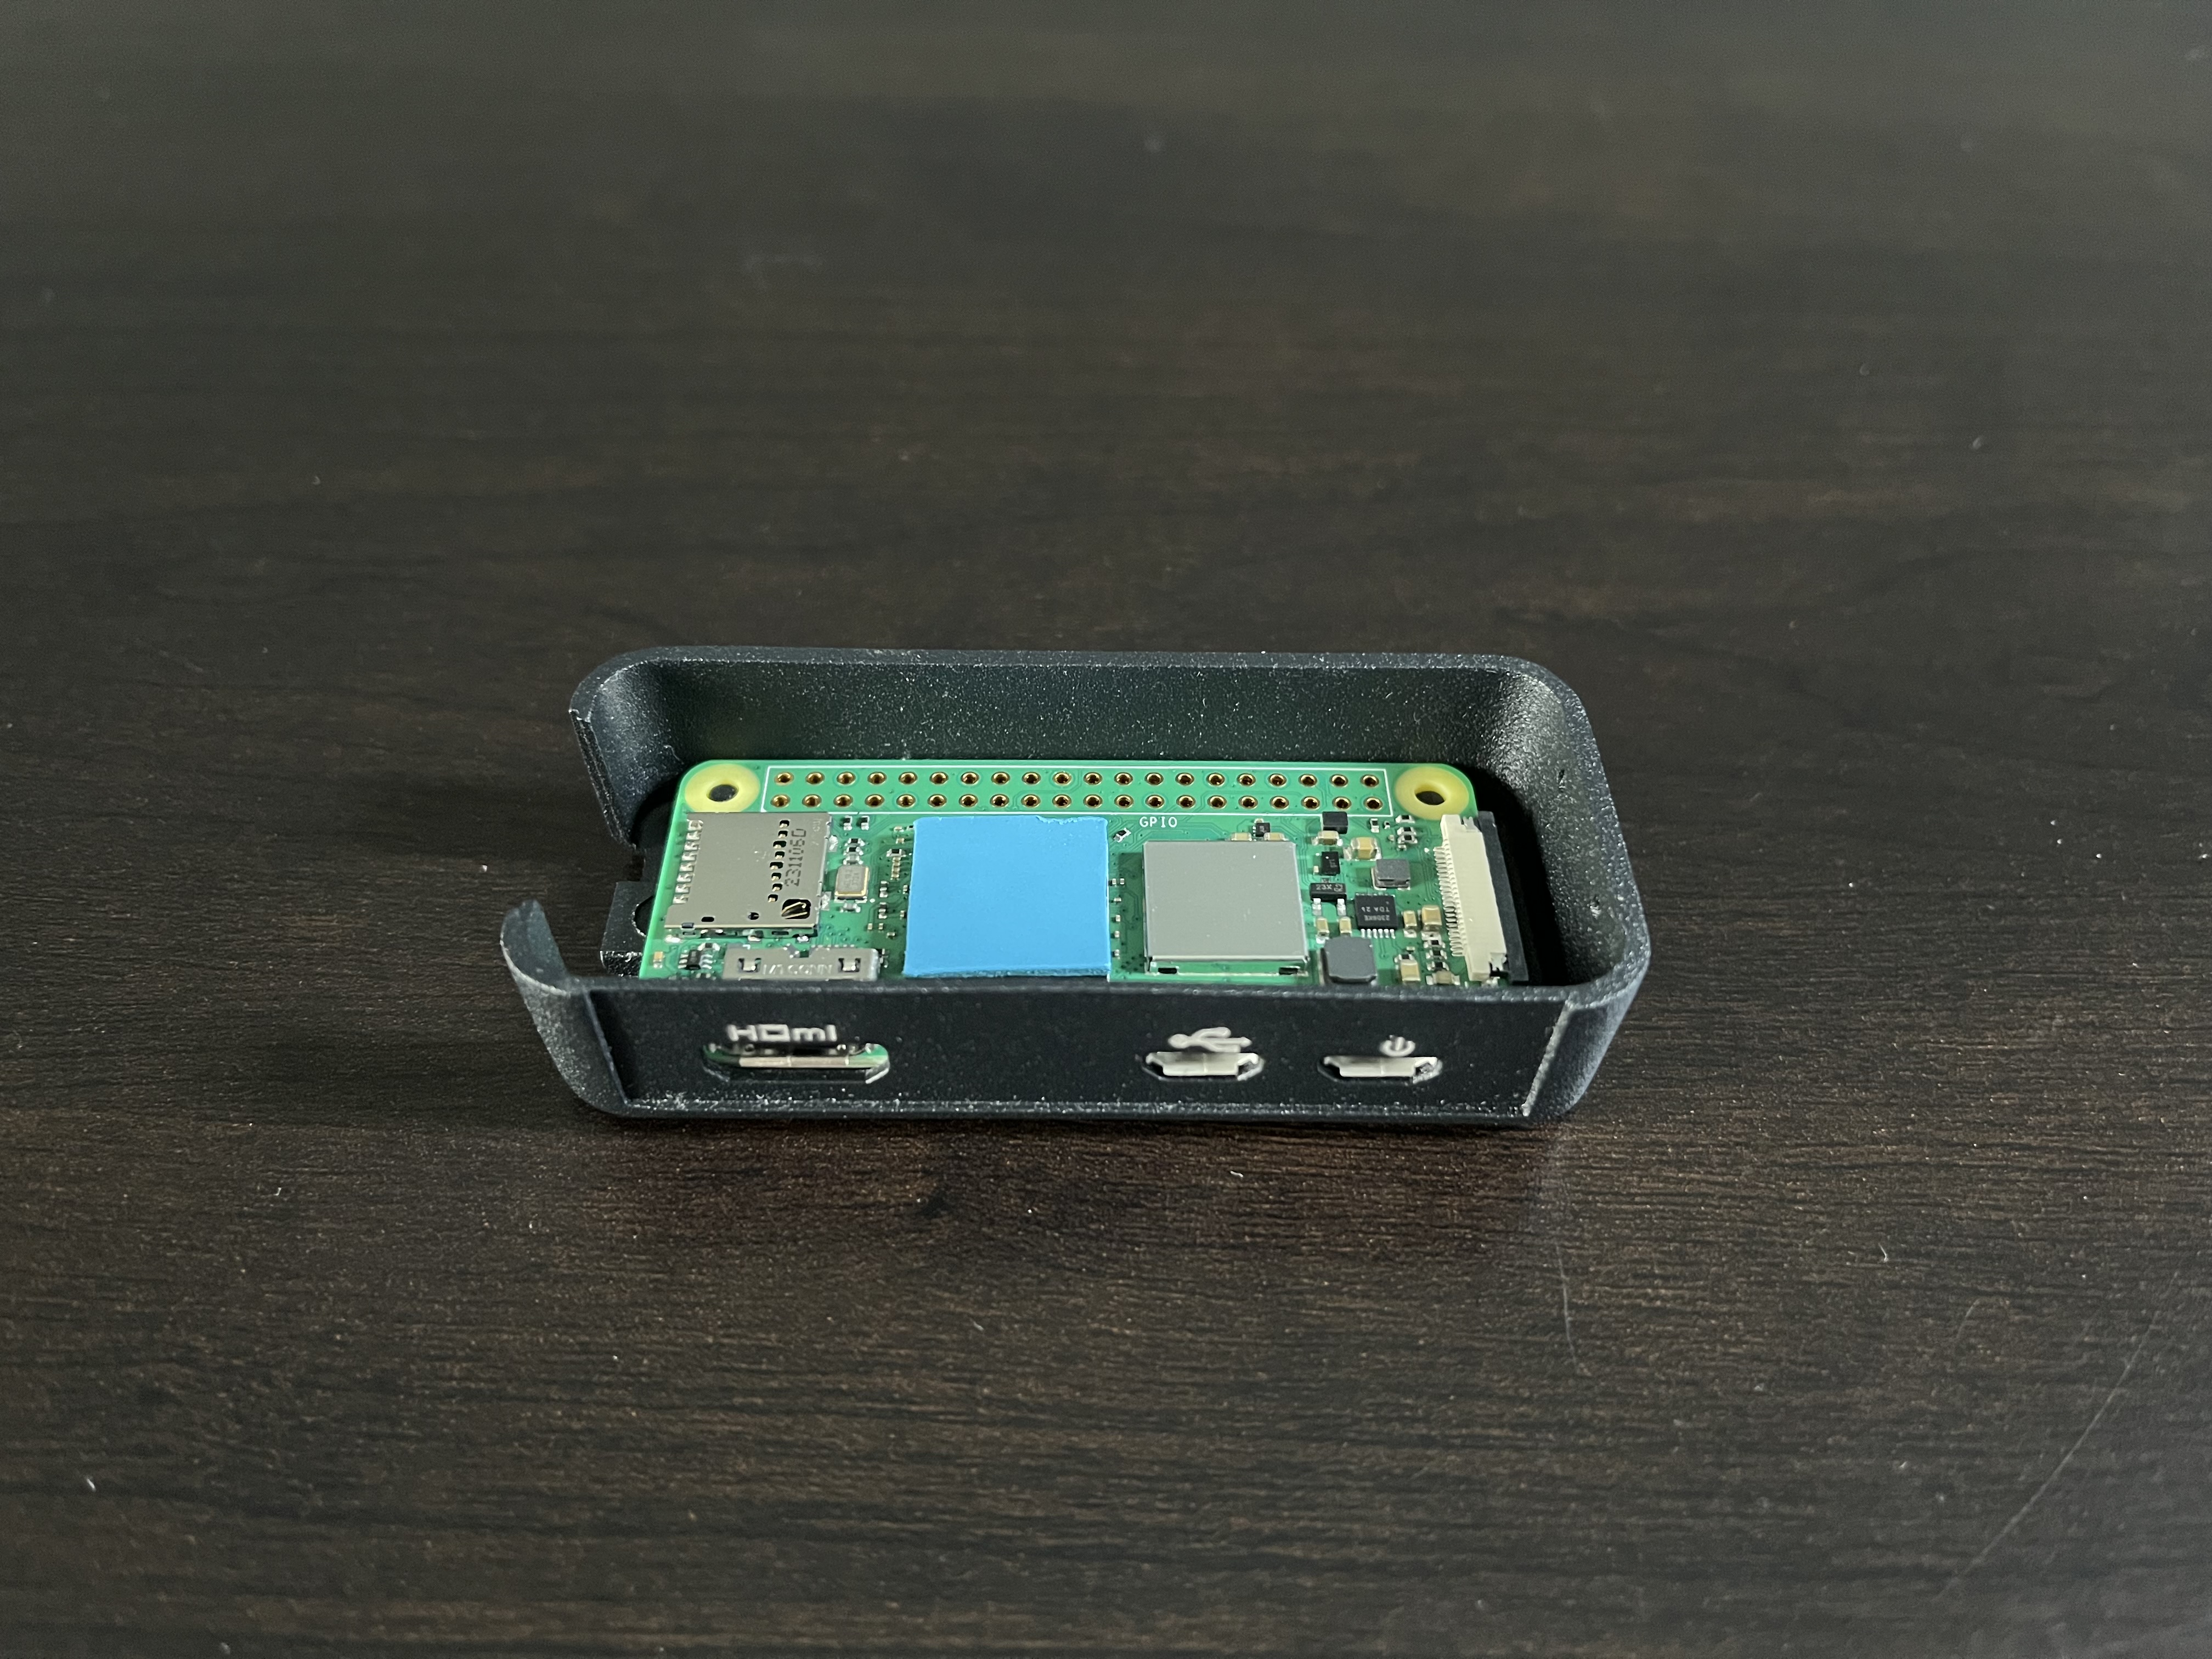
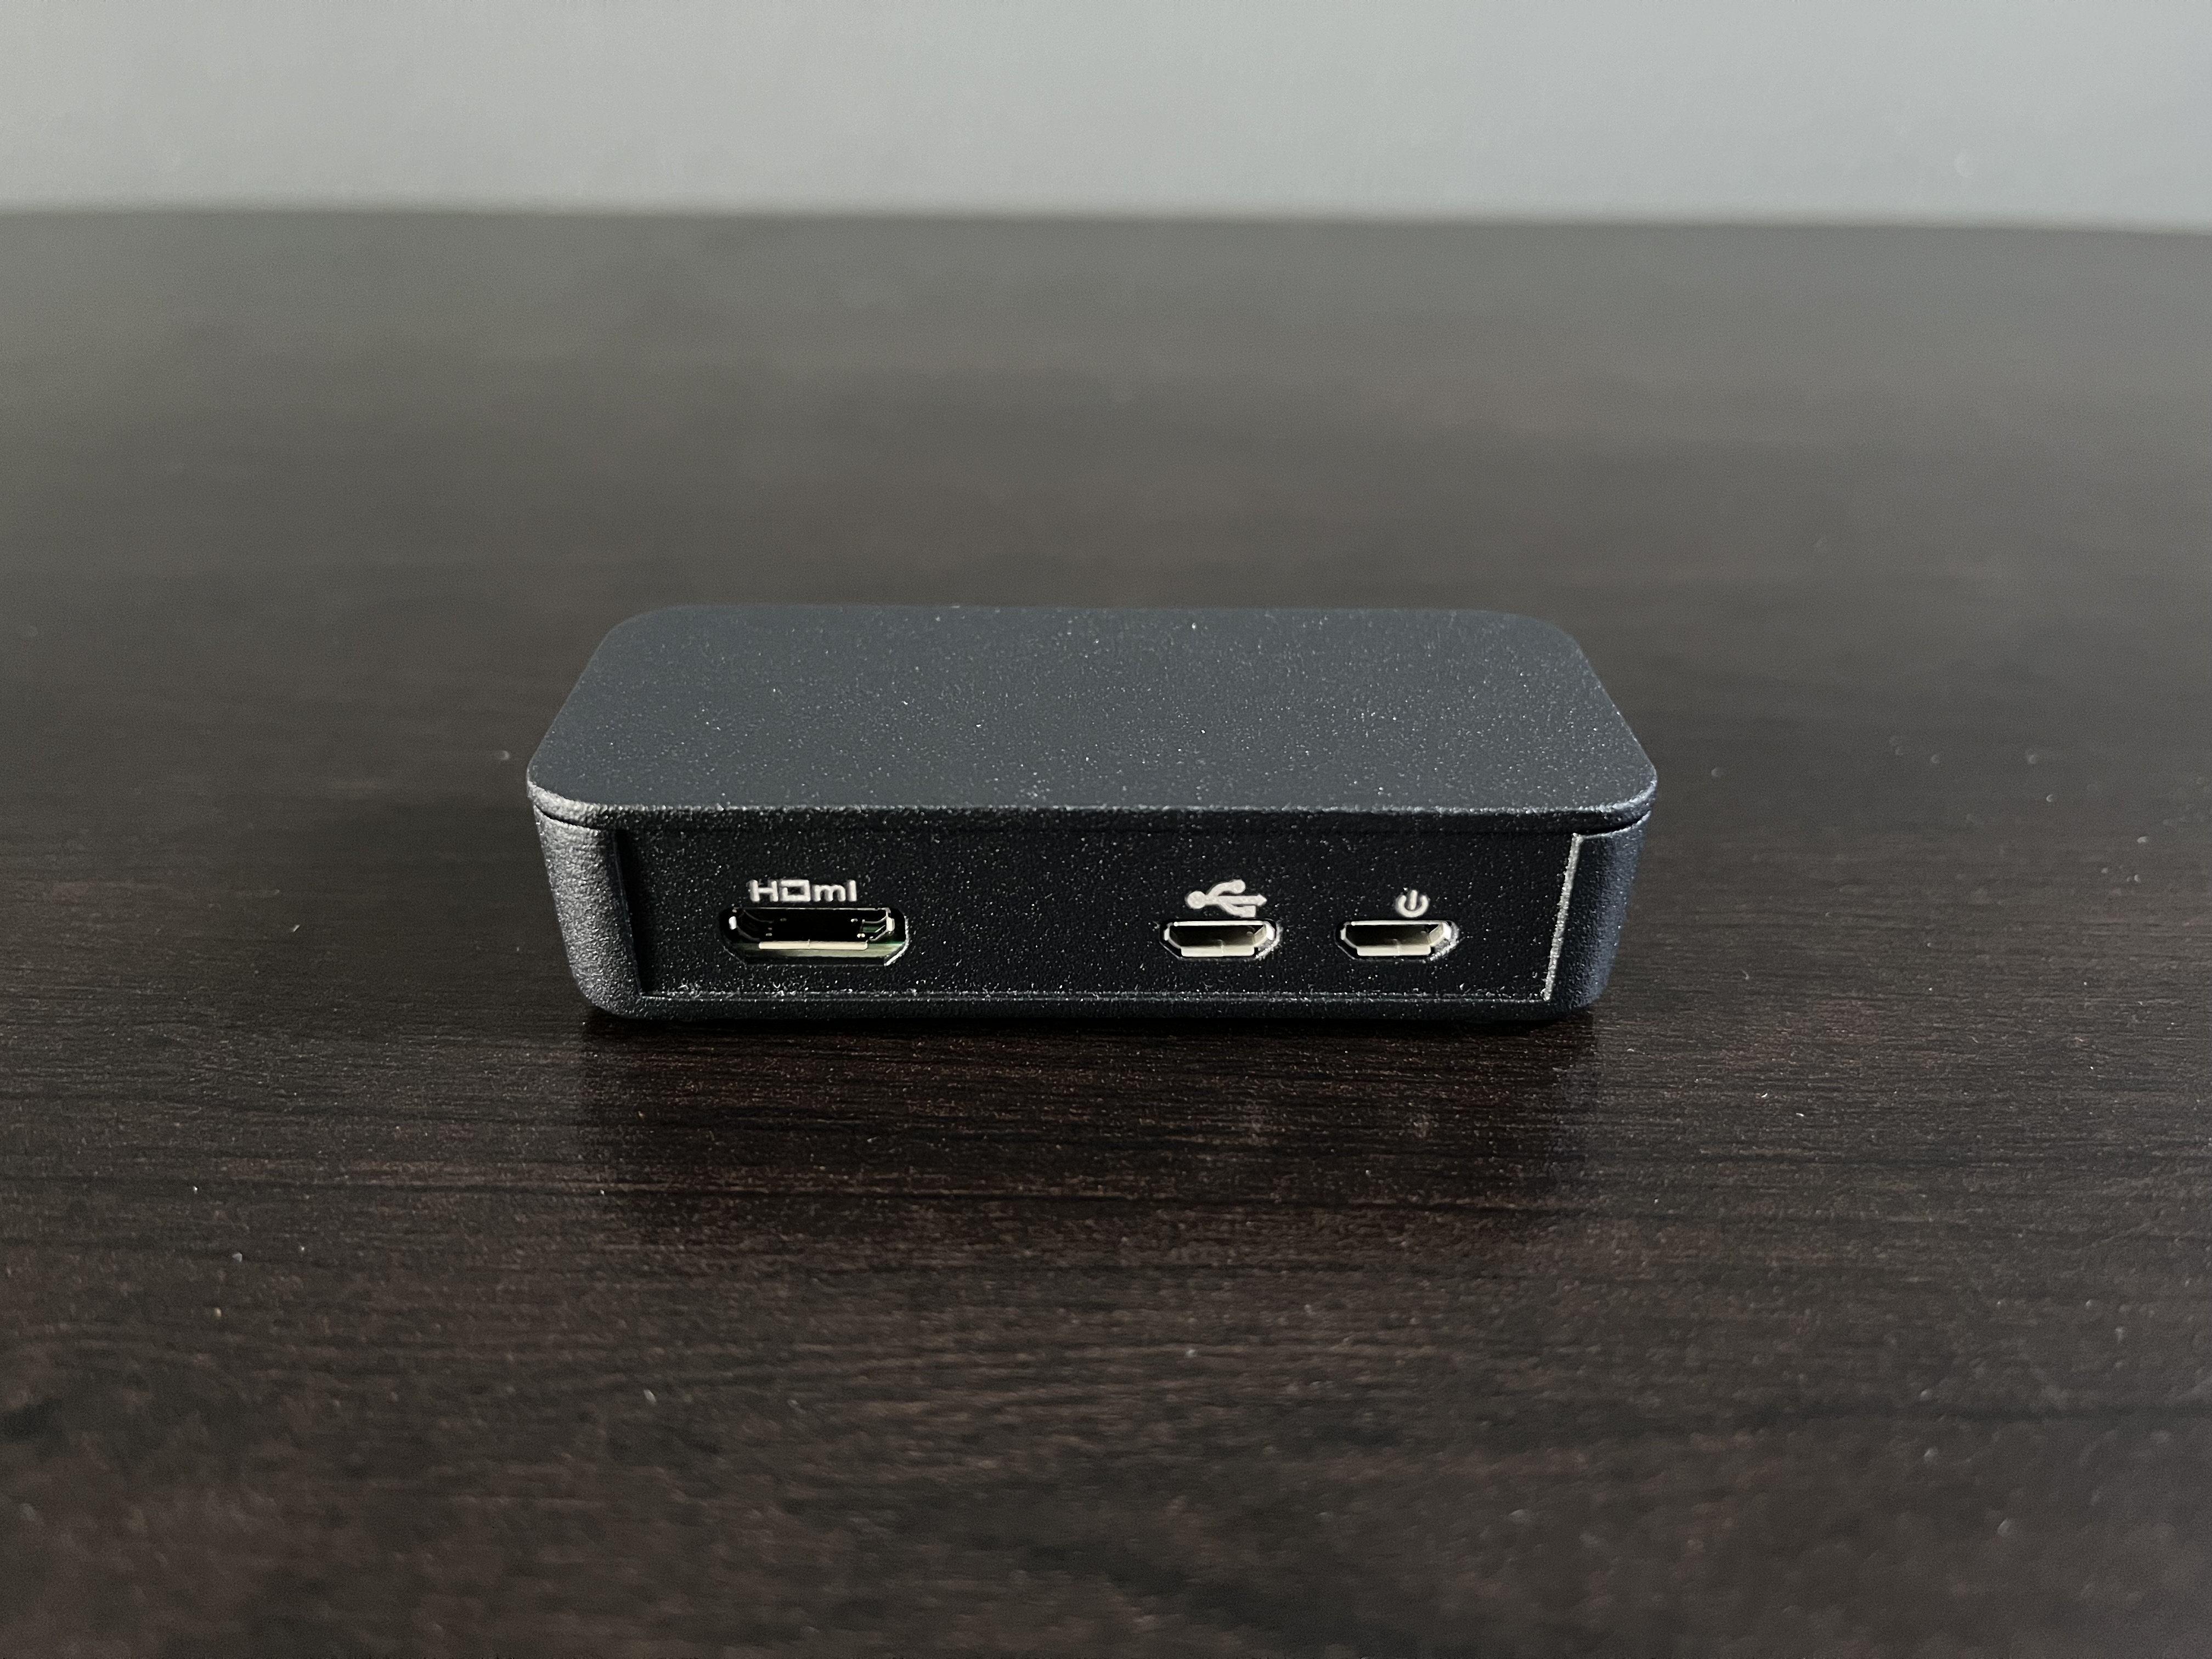
Step 2: Attach top casing
Next, I attached the top part of the case and secured it in place with the screws on the bottom of the case.
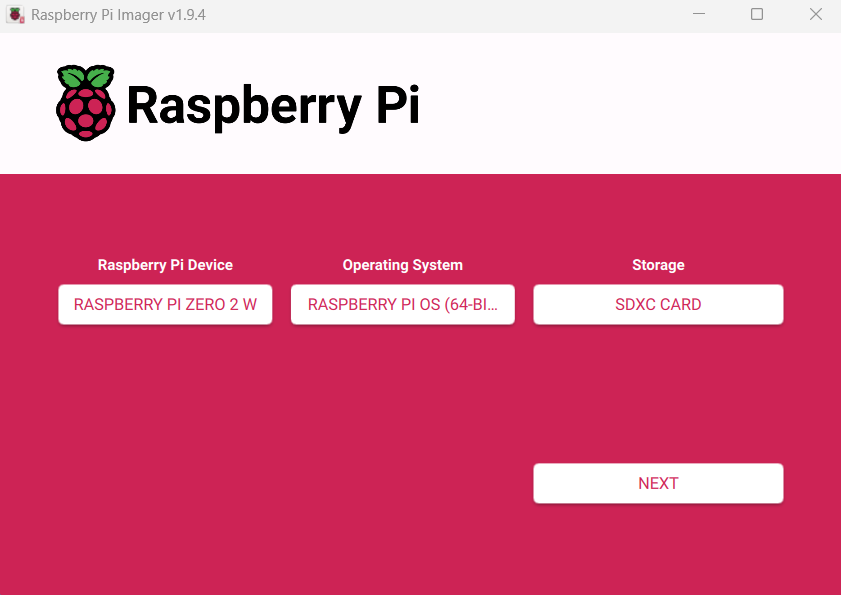
Step 3: Flash Raspberry Pi OS to Micro SD card
I then flashed Raspberry Pi OS to the Micro SD card using the Raspberry Pi Imager.
Step 4: Insert Micro SD card
Once the Micro SD card was ready, I inserted it into the slot on the Pi board.

Step 5: Attach Micro SD card cover
Next, I attached the Micro SD card cover to the side of the case.
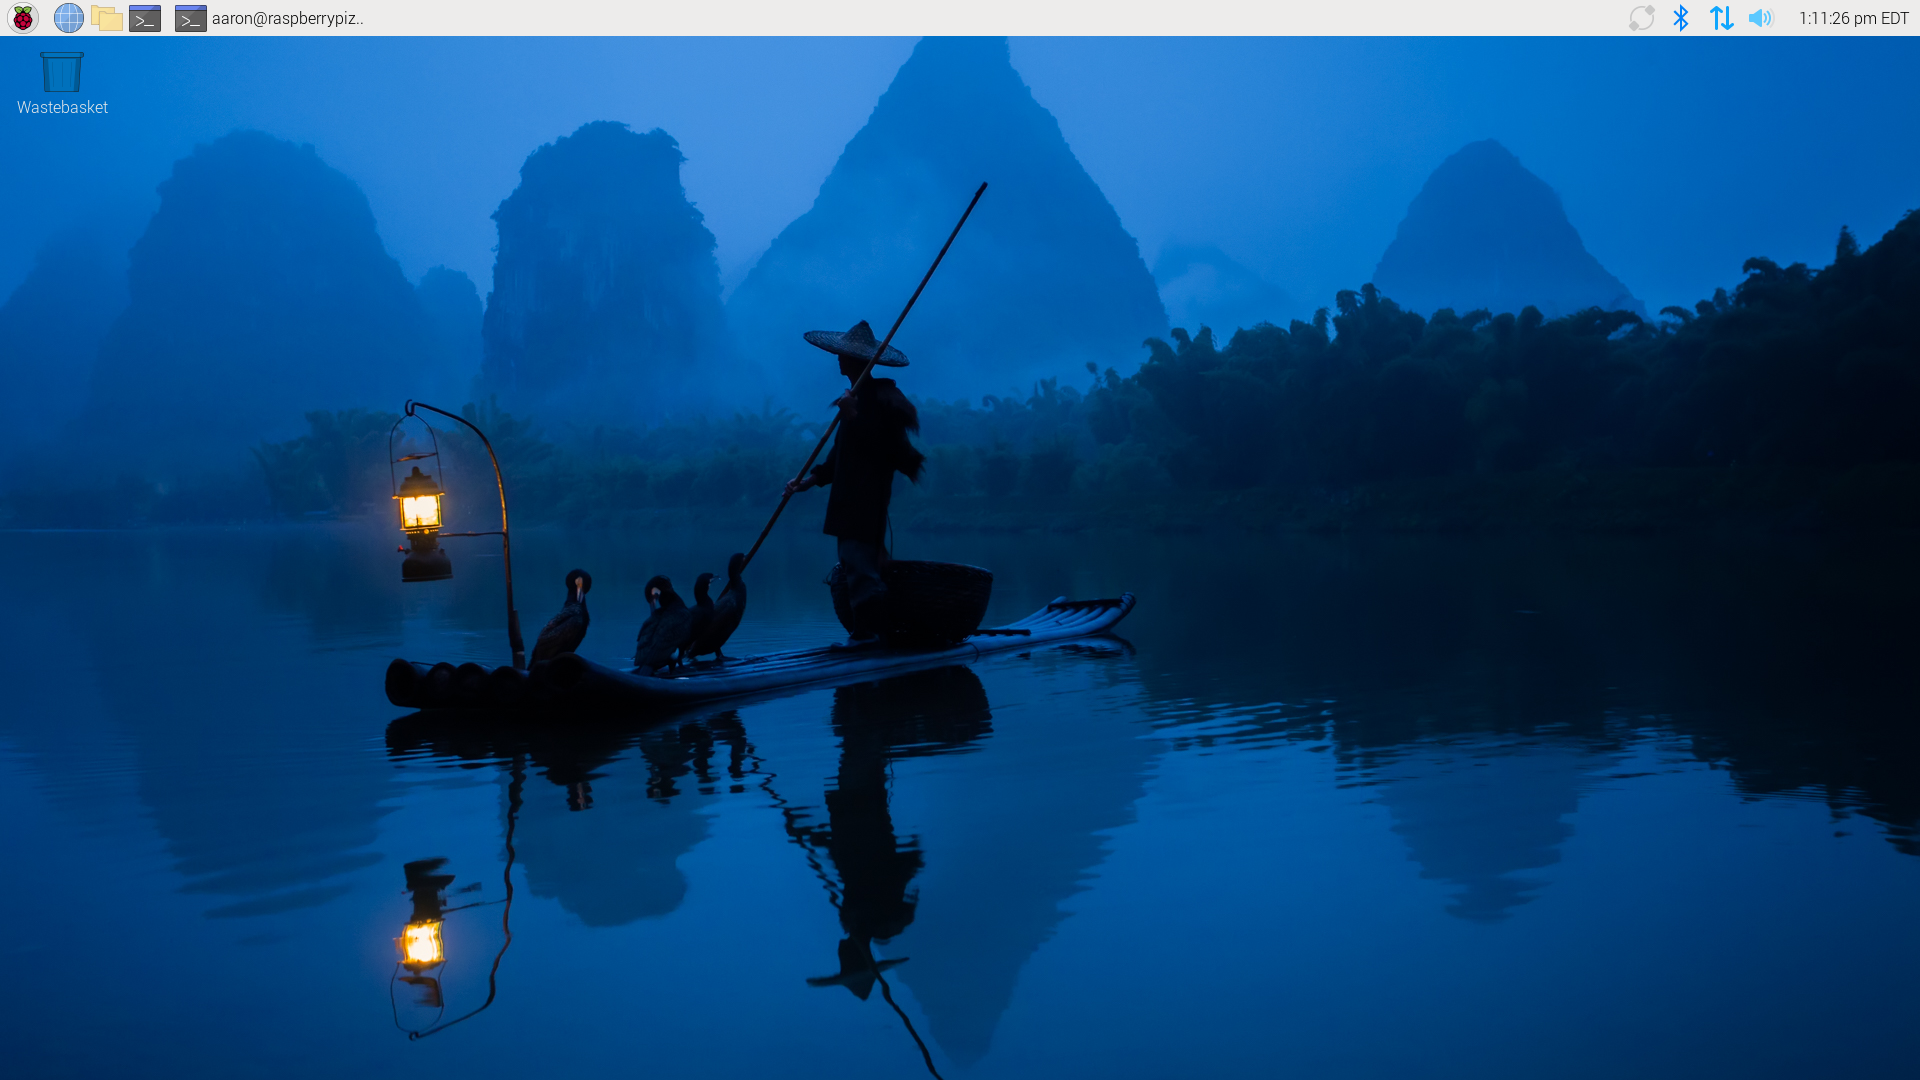
Step 6: Boot Raspberry Pi Zero 2 W
I then booted up the Raspberry Pi Zero 2 W and was greeted by the Raspberry Pi OS desktop.
Step 7: Update system
Finally, I opened a terminal window and ran the following commands to update the system:
1
2
sudo apt update
sudo apt full-upgrade
The setup is now complete, and the Raspberry Pi Zero 2 W is up and running.
Conclusion
All in all, I’m happy with the starter kit. It was a good value for the price and included everything needed to get started, except for a Micro SD card. Setting up the Raspberry Pi Zero 2 W was really simple and I’m looking forward to tinkering with it and seeing what it’s capable of. My plan is to install Pi-hole on it and use it as a local DNS server in my homelab. So, that’s what I’ll be working on next.