How to SSH into your Raspberry Pi
SSH is a network protocol used to establish a secure remote connection between two devices. This is useful because it lets you remotely access and control your Raspberry Pi without needing a monitor, keyboard, or mouse. In this post, I will walk you through the steps on how to SSH into your Raspberry Pi.
Step 1: Enable SSH
The first step is to enable SSH. This can be done using the Raspberry Pi Imager or on the Raspberry Pi.
Enable SSH using the Raspberry Pi Imager
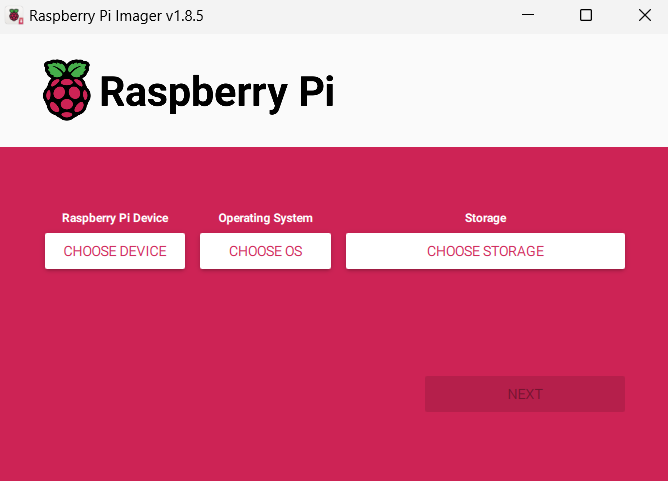
1. Open the Raspberry Pi Imager.
2. Choose your device, operating system, and storage, then click next.
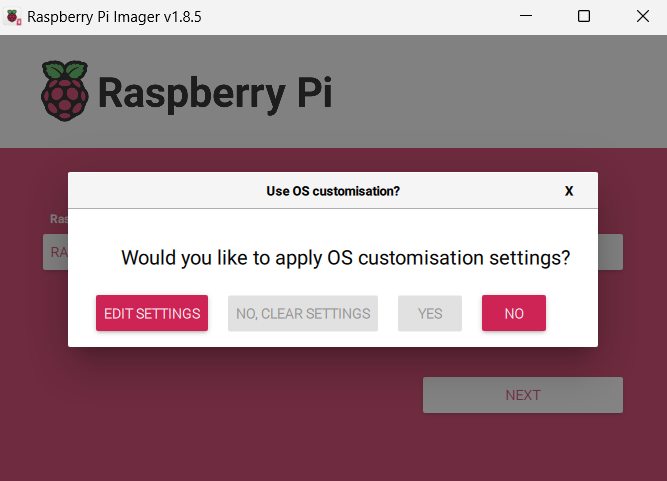
3. Click Edit Settings on the pop-up menu.
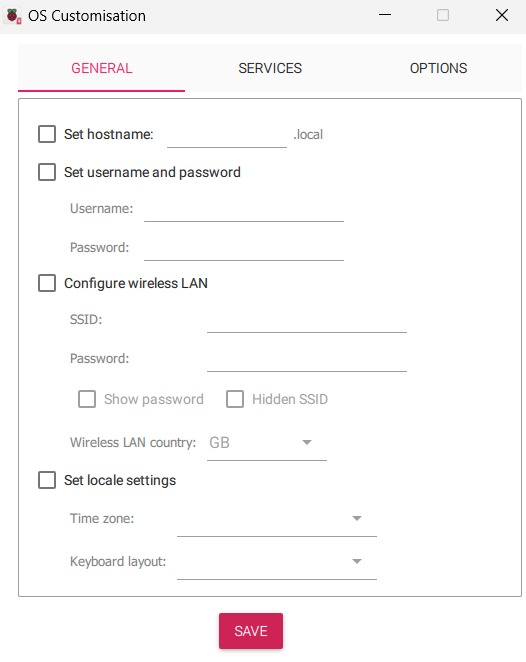
4. On the General tab, fill out the relevant fields.
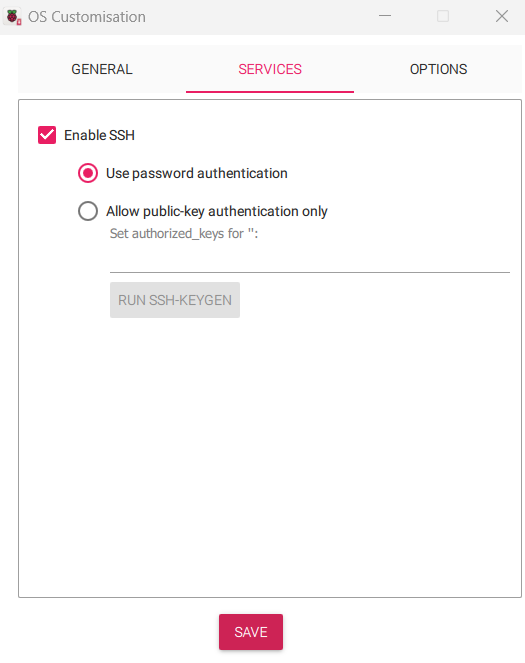
5. Navigate to the Services tab and select Enable SSH.
Enable SSH on the Raspberry Pi
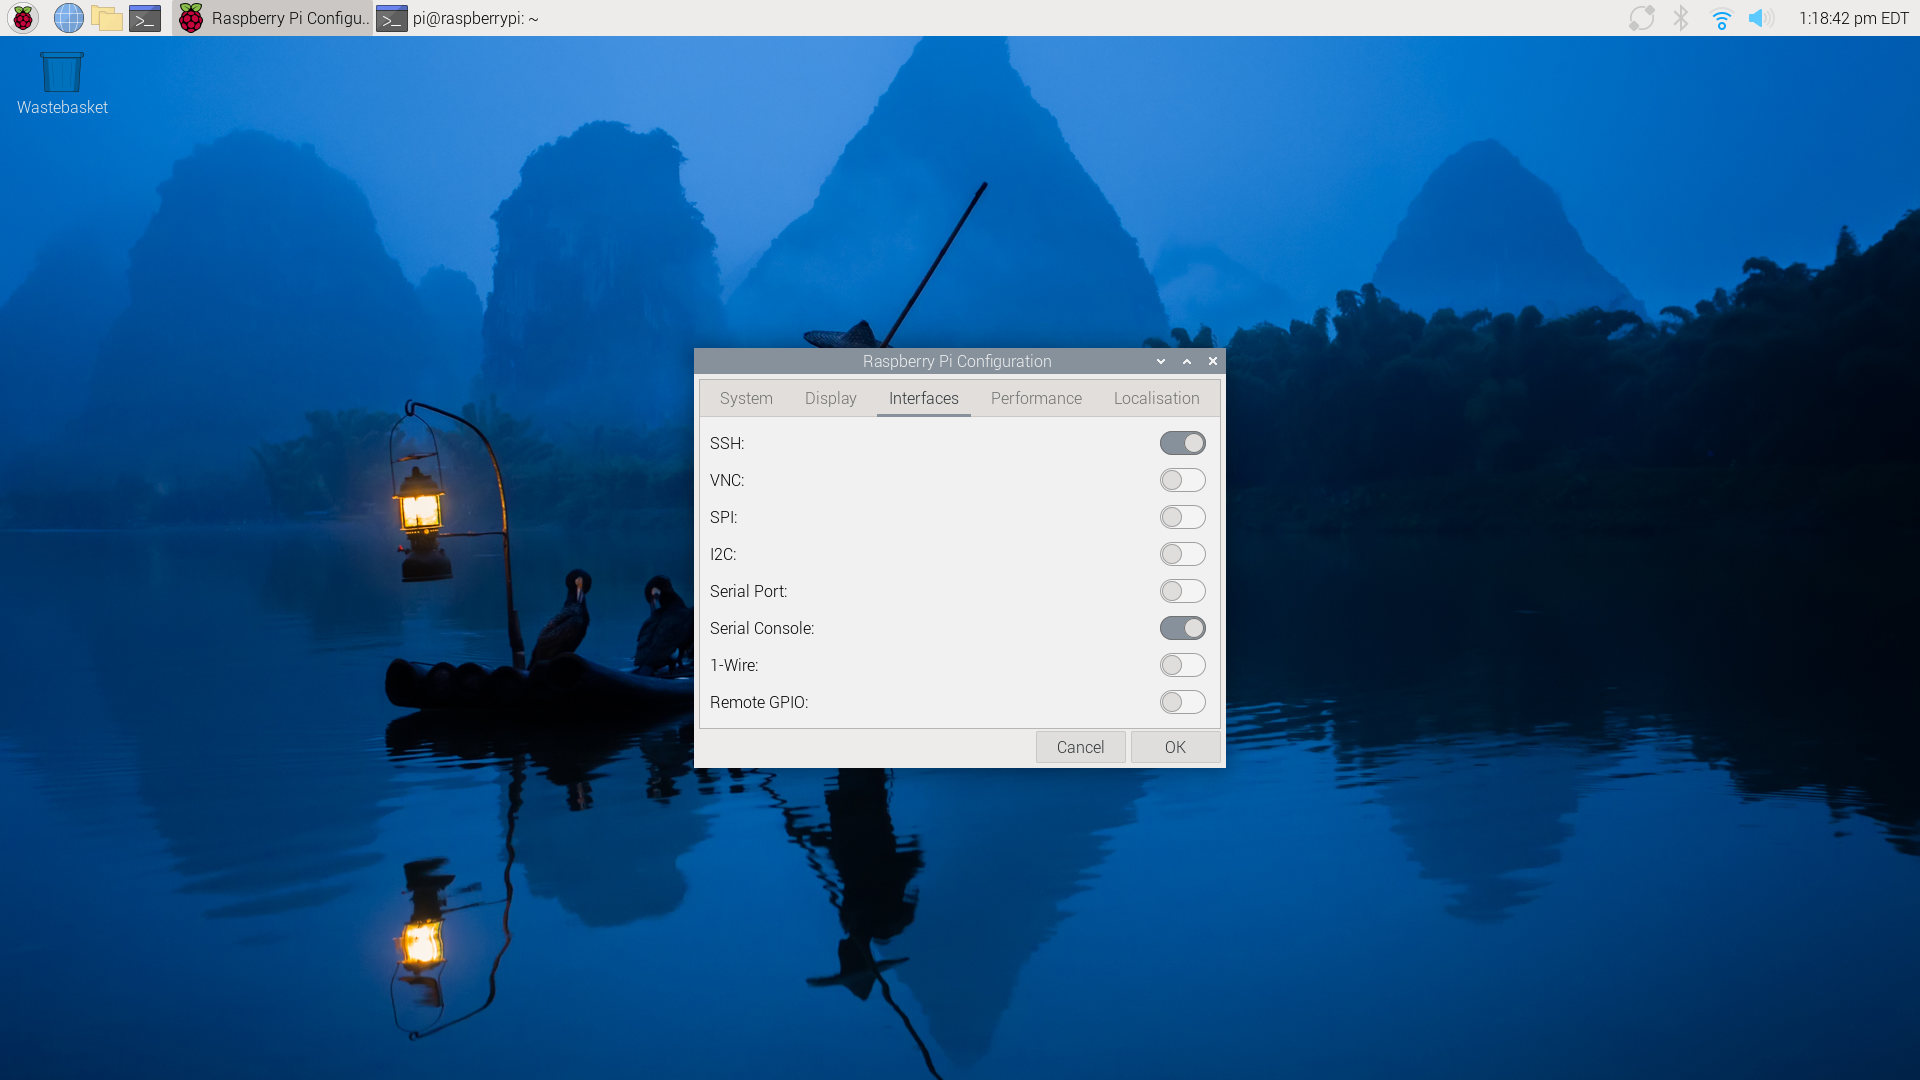
1. On the Raspberry Pi desktop, go to the main menu and select Preferences > Raspberry Pi Configuration.
2. Navigate to the Interfaces tab and enable SSH.
Step 2: Find the Raspberry Pi’s IP Address
You can find out your Raspberry Pi’s IP Address by using one of the following methods:
1. Running the command ifconfig on the Raspberry Pi.
or
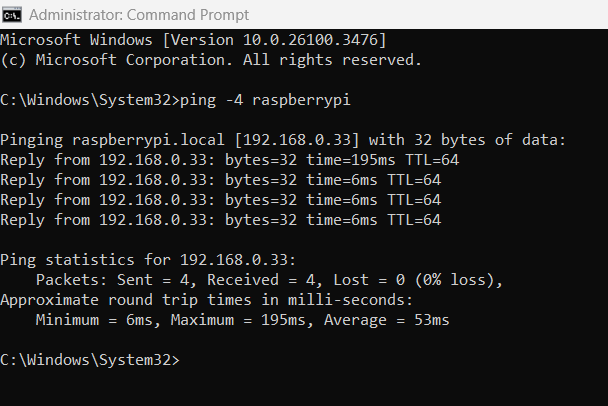
2. Pinging the Raspberry Pi using its hostname by running the command ping [hostname].
Step 3: SSH into Raspberry Pi
We’re now ready to SSH into the Raspberry Pi.
SSH into Raspberry Pi on Mac/Linux
On Mac or Linux, open a terminal and run the command:
ssh [username]@[hostname]
or
ssh [username]@[ip address]
SSH into Raspberry Pi on Windows
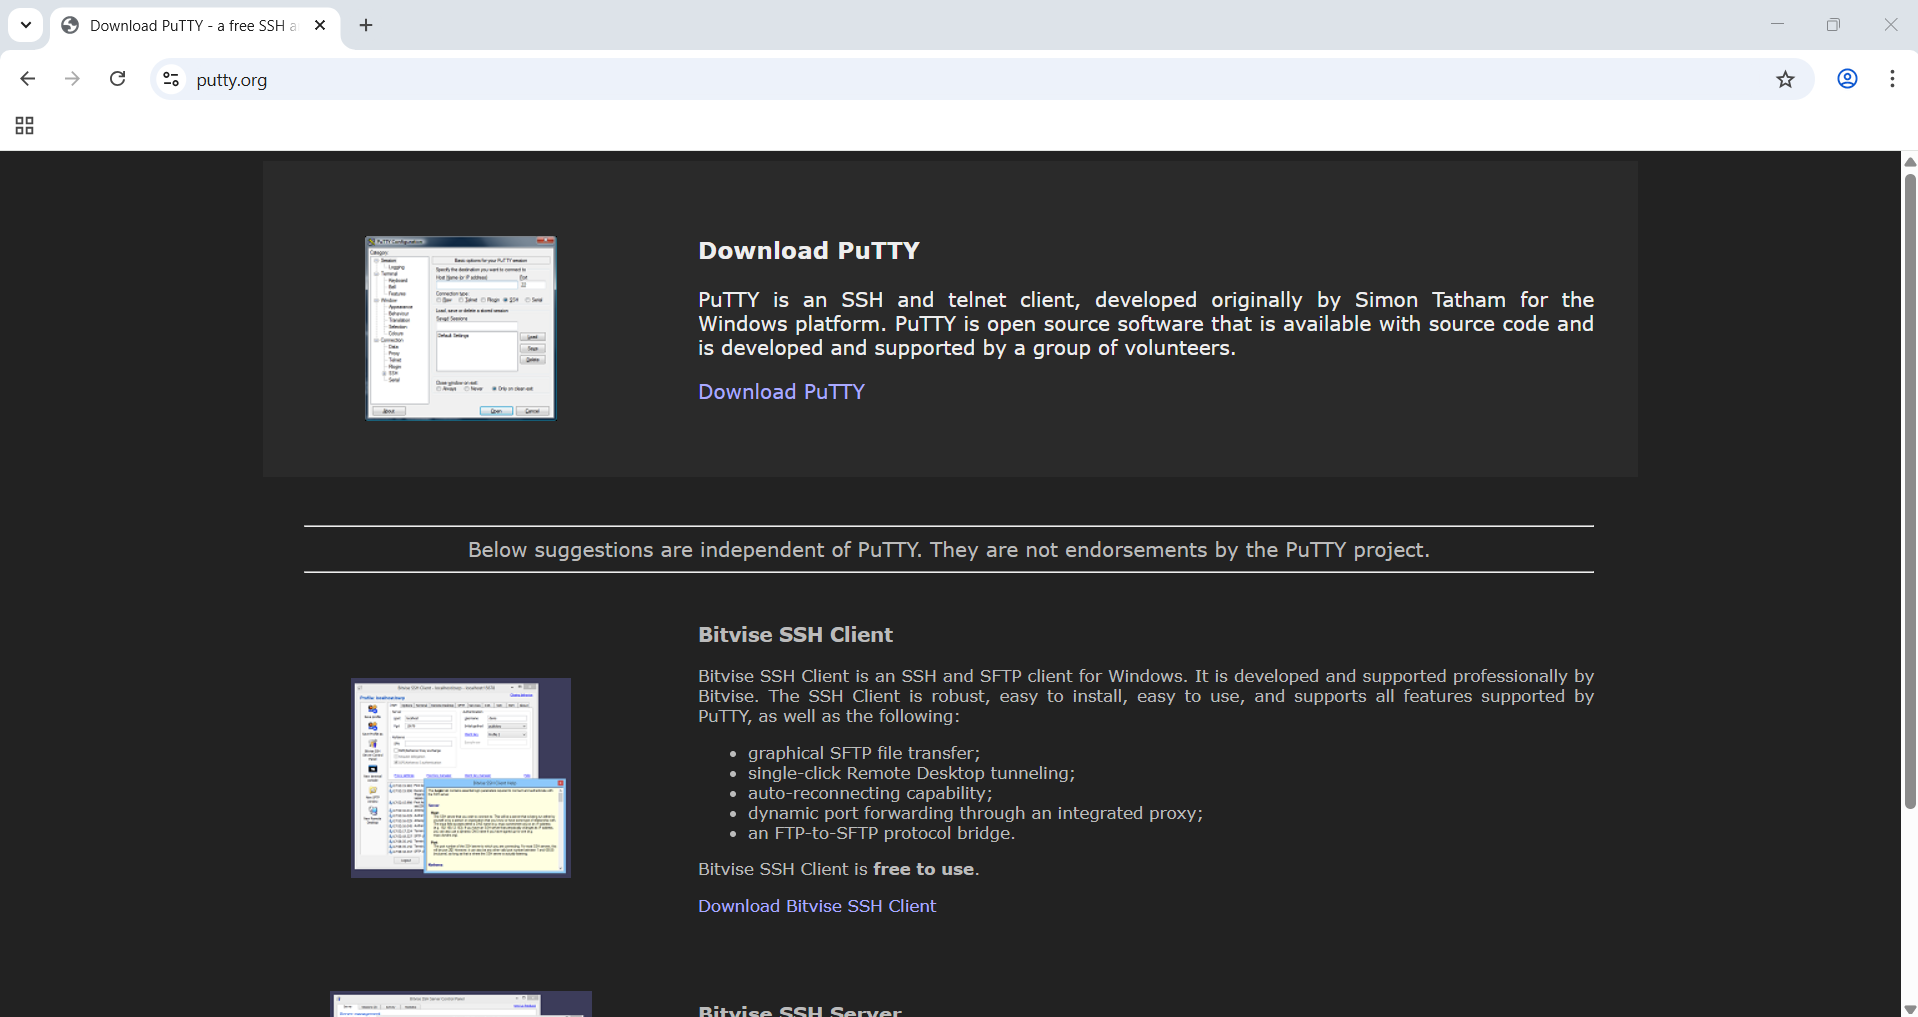
On Windows you will need an SSH client. In this example we will be using Putty.
1. Download Putty from putty.org.
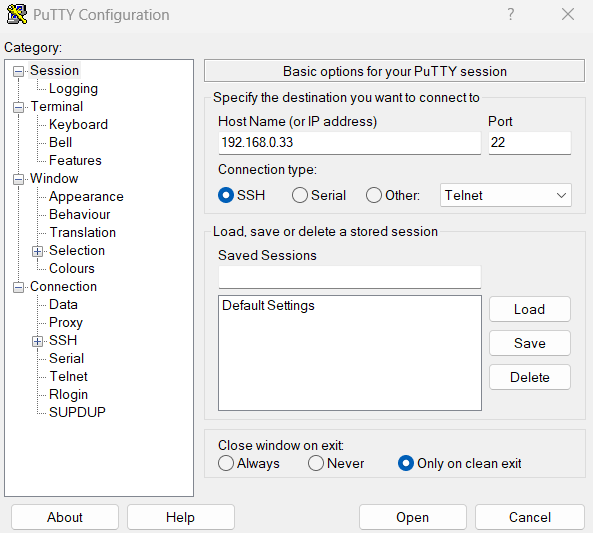
2. Open Putty.
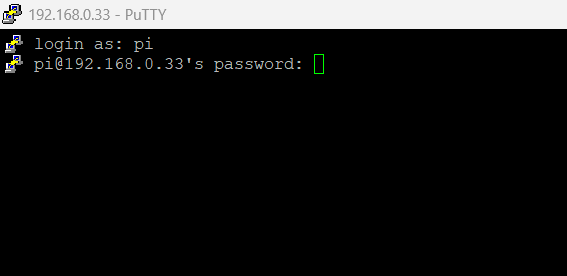
3. Enter the Raspberry Pi’s hostname or IP Address, make sure the connection type is set to SSH, then click open.
4. You may receive a warning about the server’s host key not being cached. Click yes.
5. Enter the username and password for your Raspberry Pi and press enter.
6. You should now be logged into your Raspberry Pi.
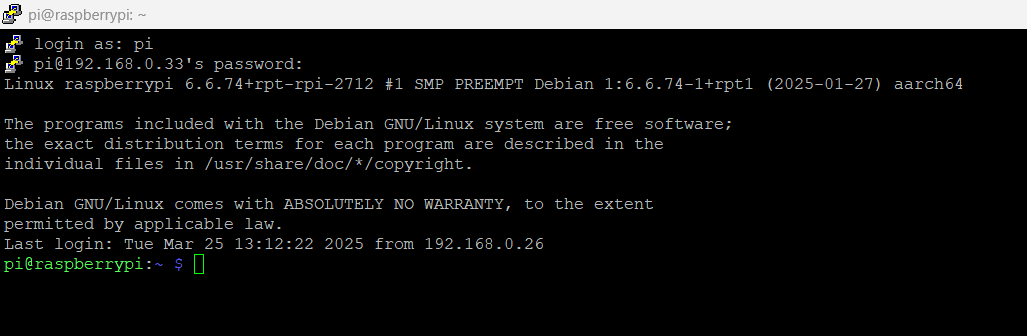
7. Once you’re done, you can close the session by typing exit.