How to install Windows 11 on Proxmox
This post will provide you with a step-by-step guide on how to install Windows 11 on Proxmox. When installing Windows 11 on Proxmox, you’ll need the VirtIO drivers. You should also keep in mind the minimum system requirements for Windows 11. The system requirements for Windows 11 can be found on Microsoft’s official website here.
Step 1: Download Windows 11 and VirtIO drivers ISO images
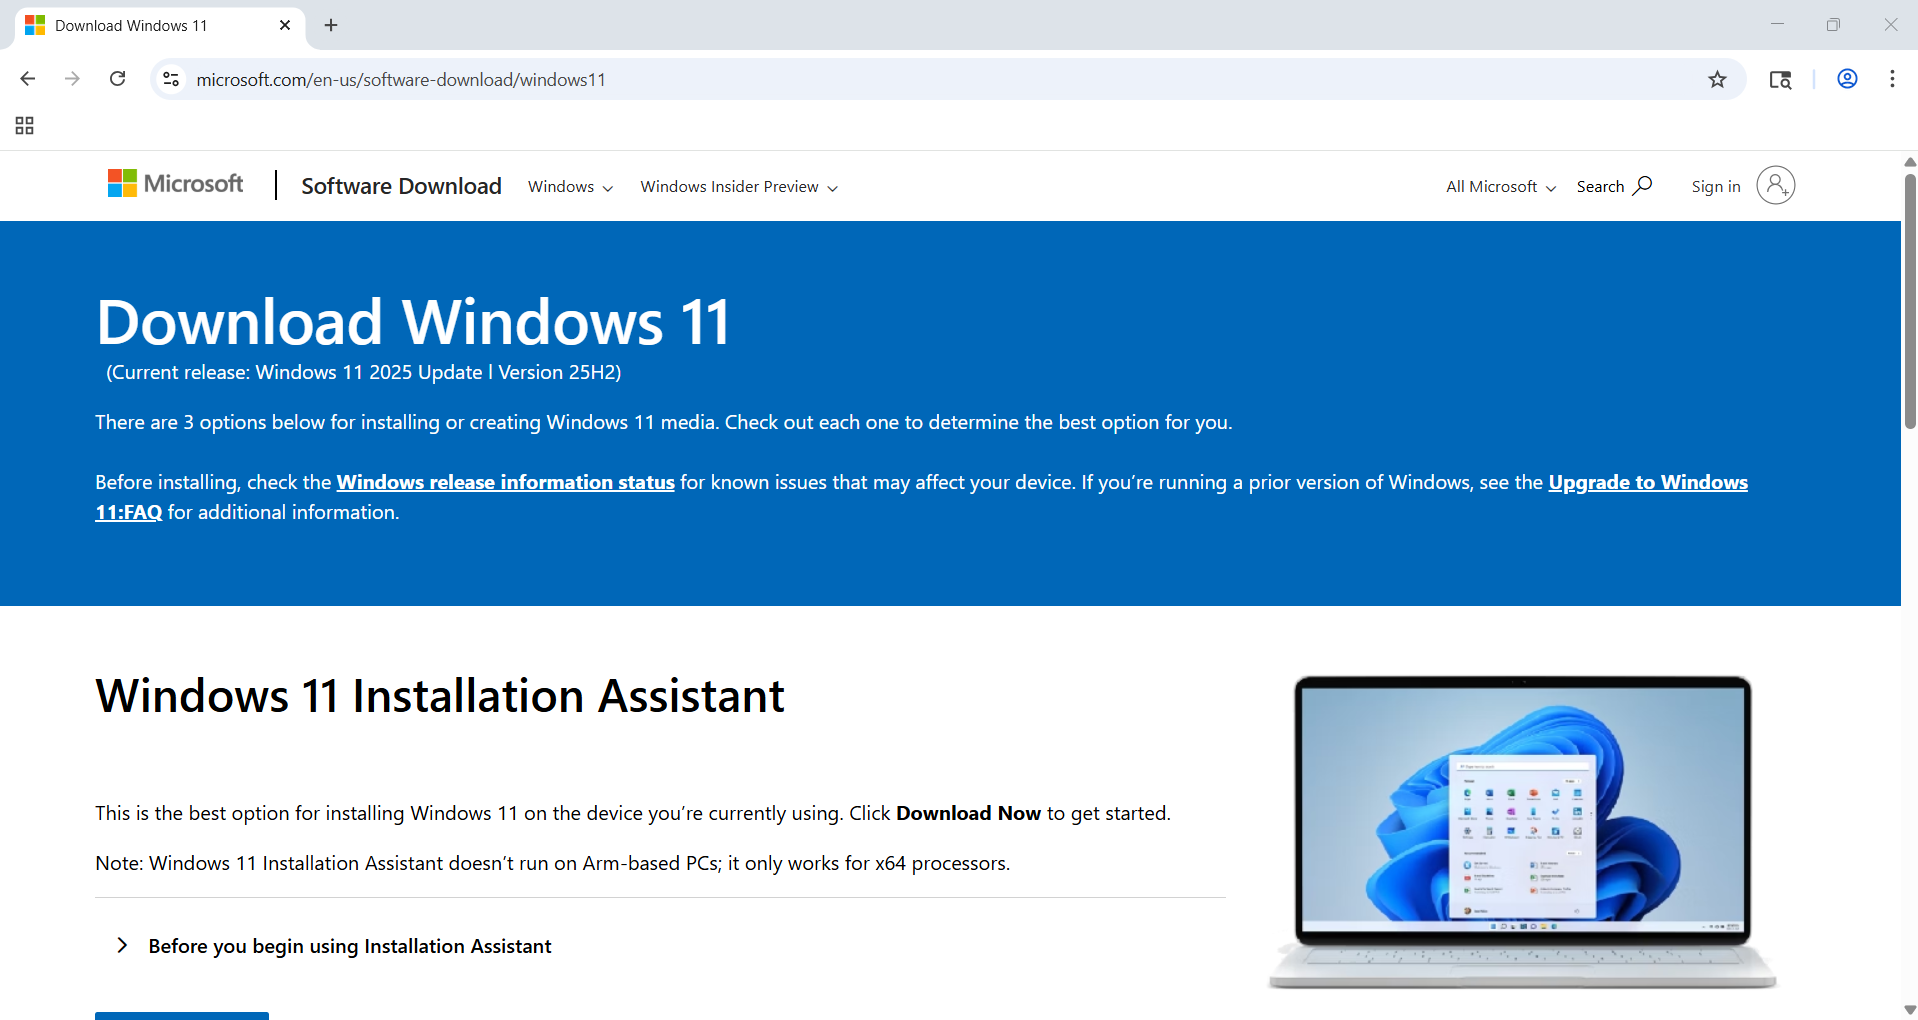
1. Download the Windows 11 ISO from https://www.microsoft.com/en-us/software-download/windows11.
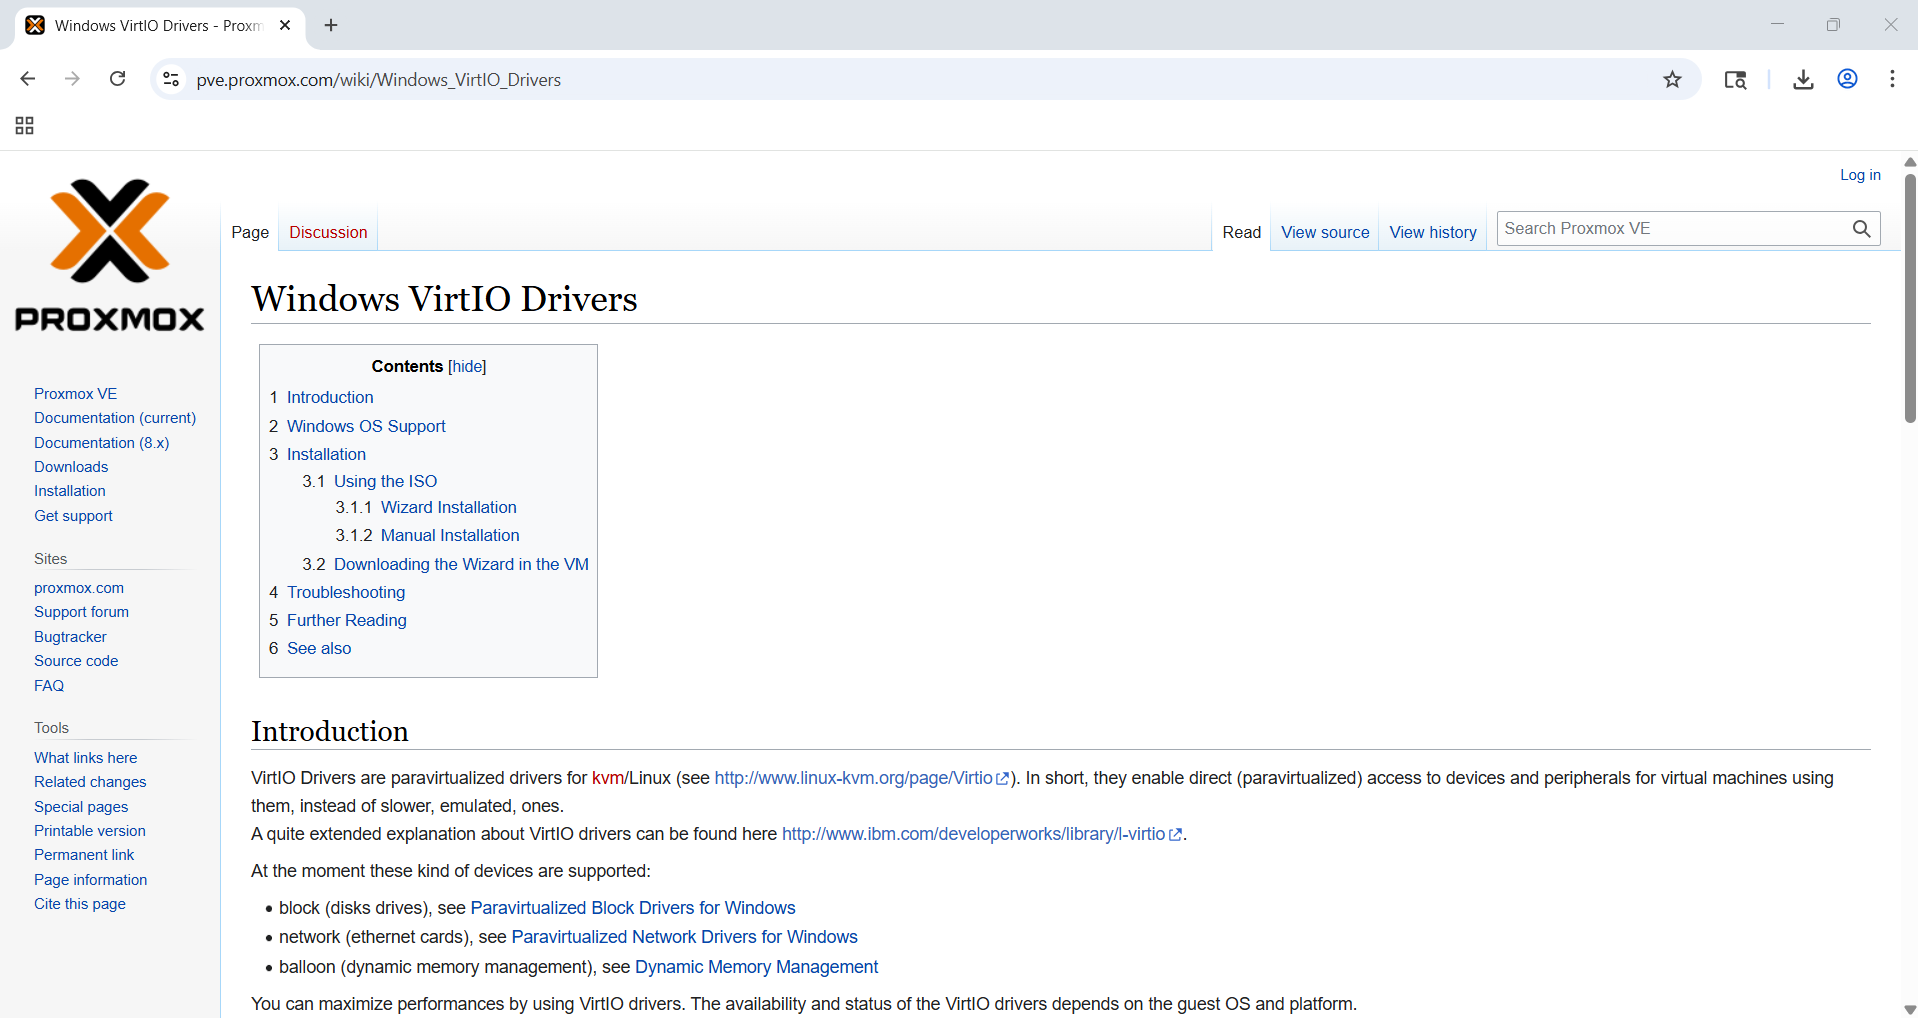
2. Download the VirtIO drivers ISO from https://pve.proxmox.com/wiki/Windows_VirtIO_Drivers by clicking on download the most recent under the Installation section.
Step 2: Upload ISO images to Proxmox
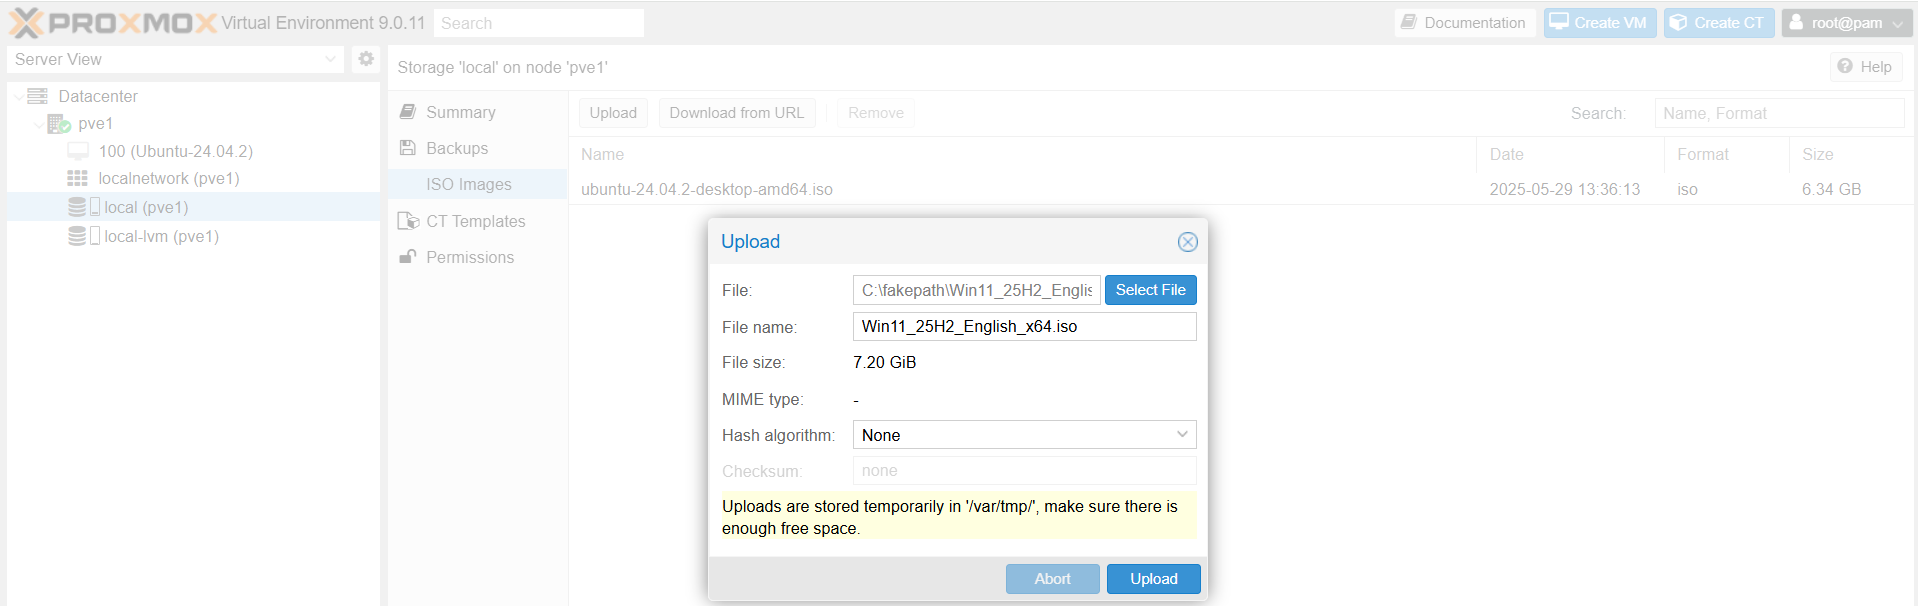
1. Upload the Windows 11 and VirtIO drivers ISO images to Proxmox by clicking the node > local storage > ISO Images > Upload.
Step 3: Create Windows 11 VM
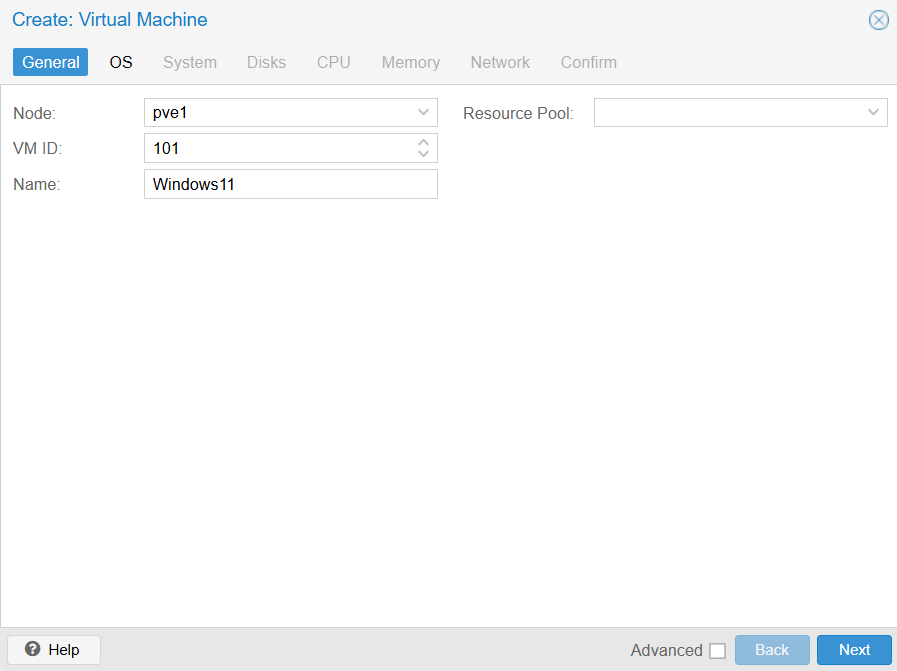
1. To create a new VM in the Proxmox dashboard, select the appropriate node and click on Create VM in the top right corner.
2. On the General tab, assign the virtual machine a VM ID (you can leave it as default if you want) and a name.
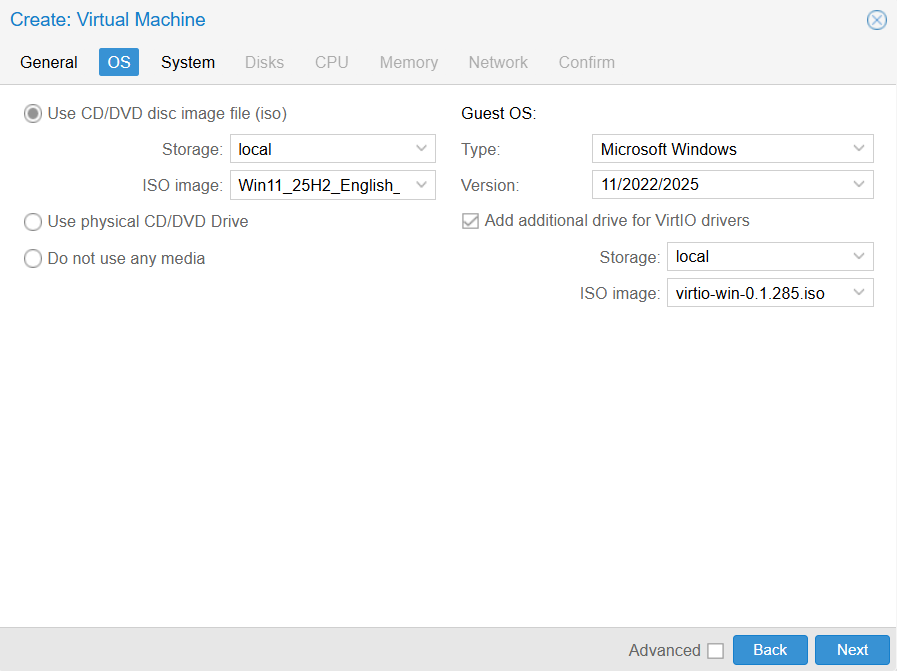
3. On the OS tab, select the Windows 11 ISO from the ISO image dropdown menu. Next, under Guest OS, select Microsoft Windows for Type and 11/2022/2025 for Version. Finally, check the box for Add additional drive for VirtIO drivers and select the VirtIO drivers ISO from the ISO image dropdown menu.
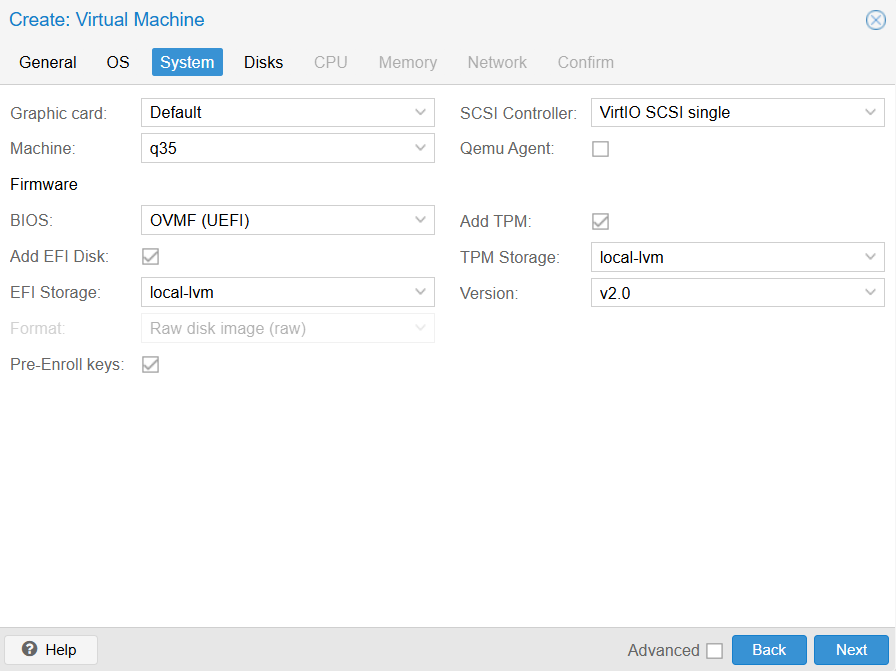
4. On the System tab, check the box for Add TPM, then select the appropriate storage location for TPM Storage and select v2.0 for Version. Lastly, make sure OVMF (UEFI) is selected for BIOS.
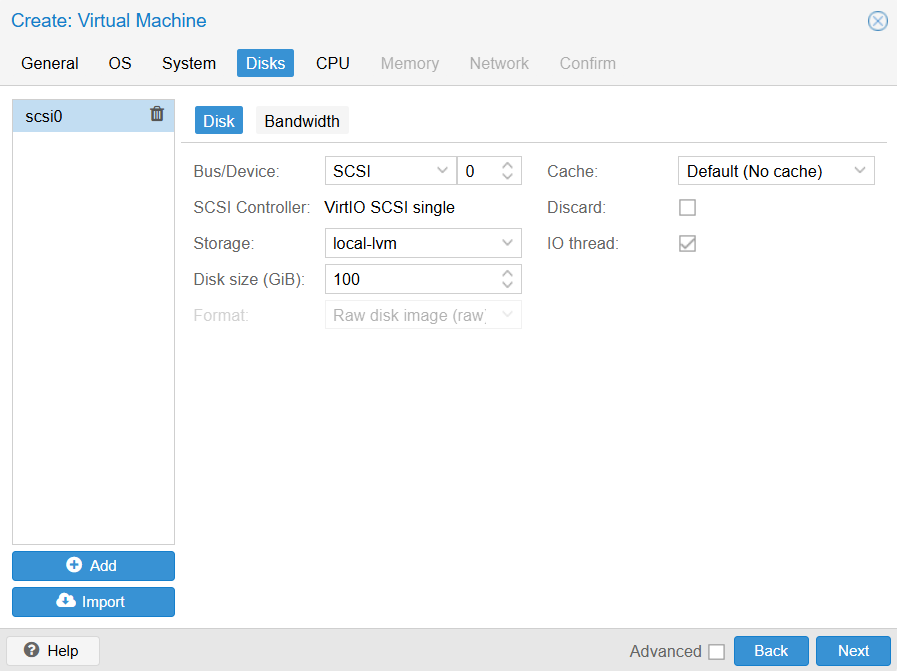
5. For the Disks tab, choose a disk size under Disk size (GiB). Keep in mind that Windows 11 requires a minimum of 64GB of storage space.
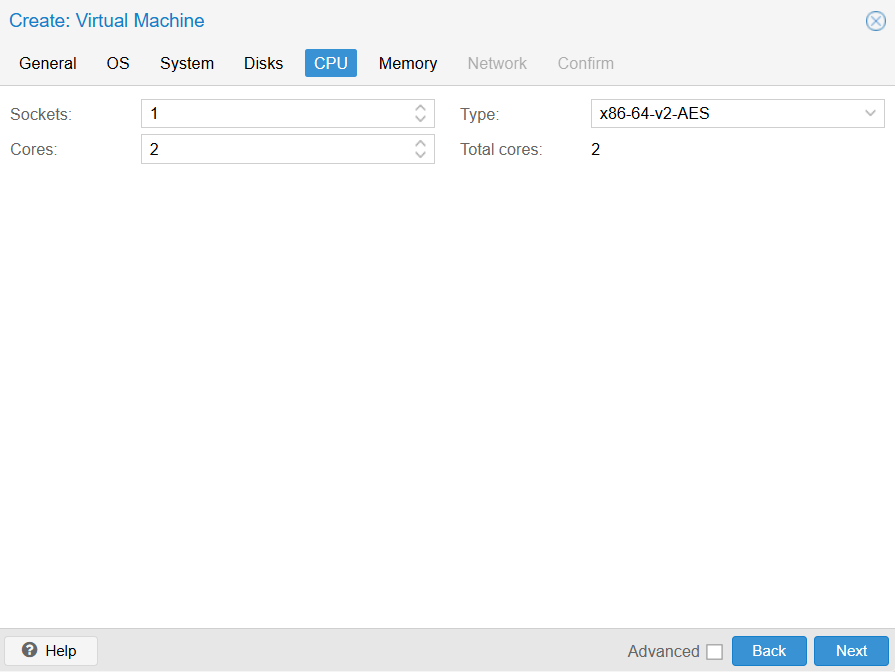
6. On the CPU tab, assign the desired number of cores. Keep in mind that Windows 11 requires a minimum of 2 cores.
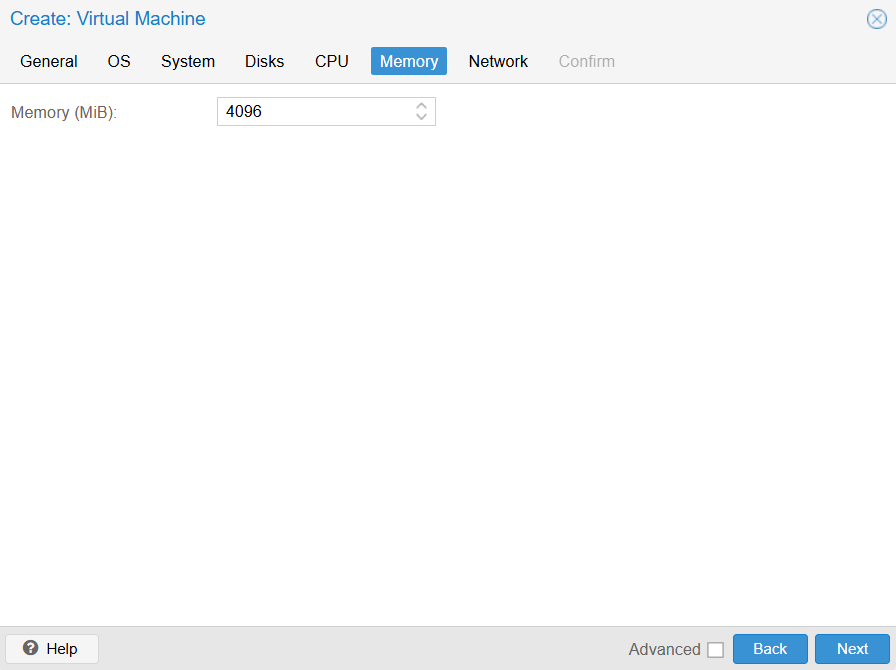
7. For the Memory tab, assign the desired amount of RAM. Keep in mind that Windows 11 requires a minimum of 4GB of RAM.
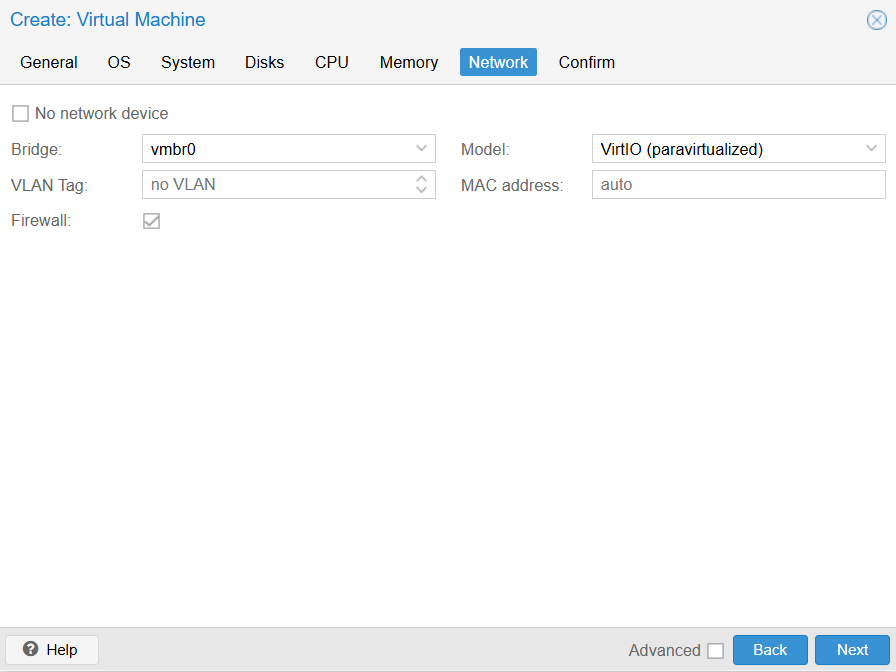
8. You can leave everything as default on the Network tab.
9. After reviewing everything on the Confirm tab, click Finish.

Step 4: Install Windows 11
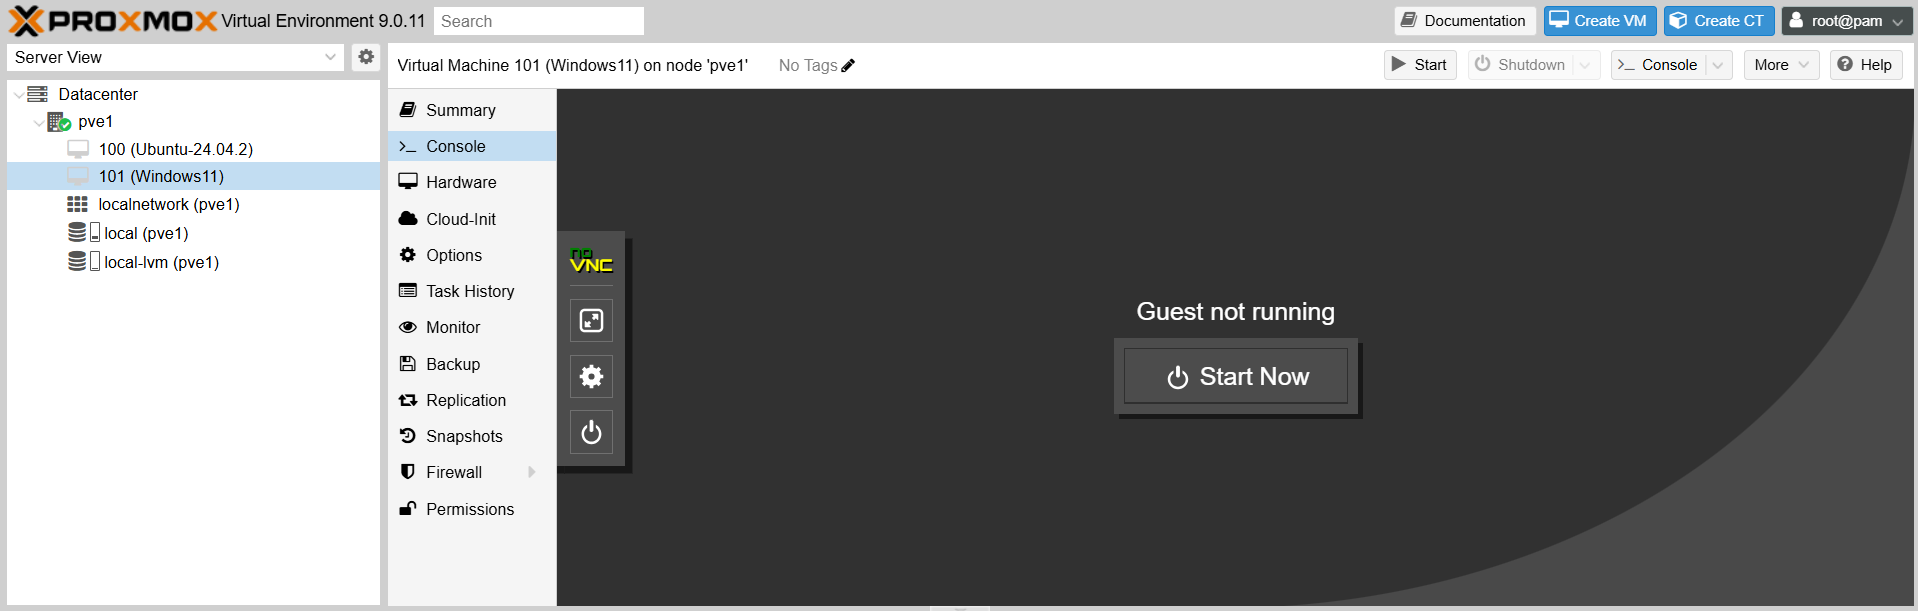
1. Start the Windows 11 VM by selecting it on the sidebar, selecting Console, and clicking Start Now.
2. Select your language.

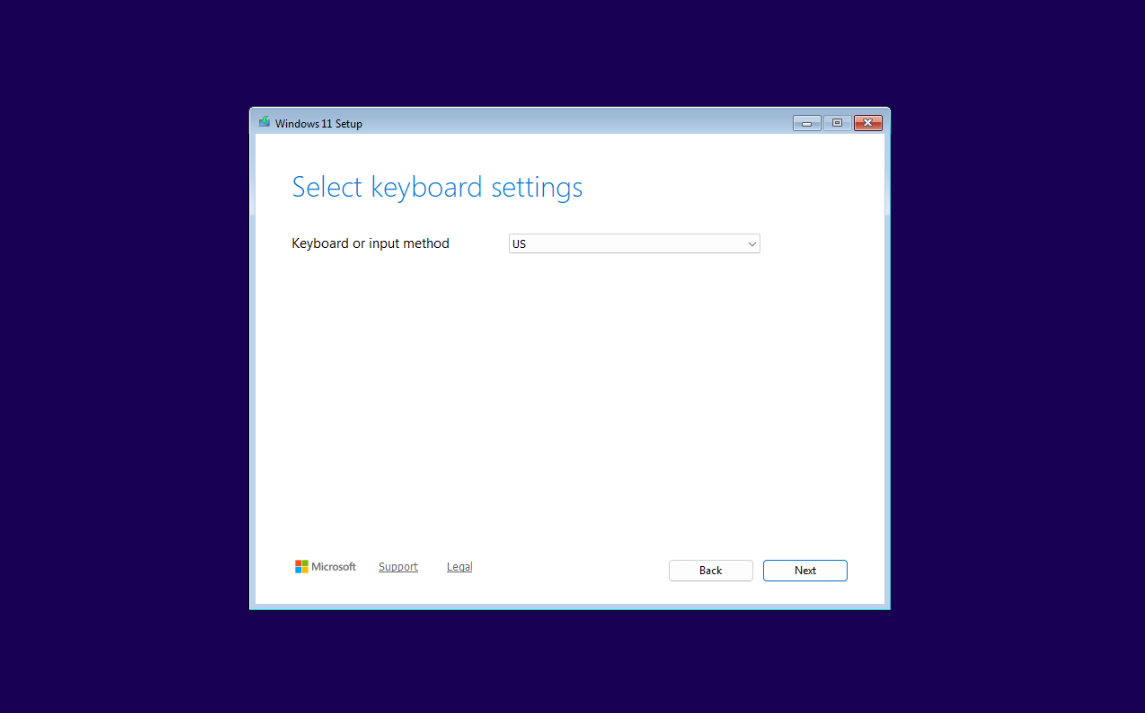
3. Select your keyboard.
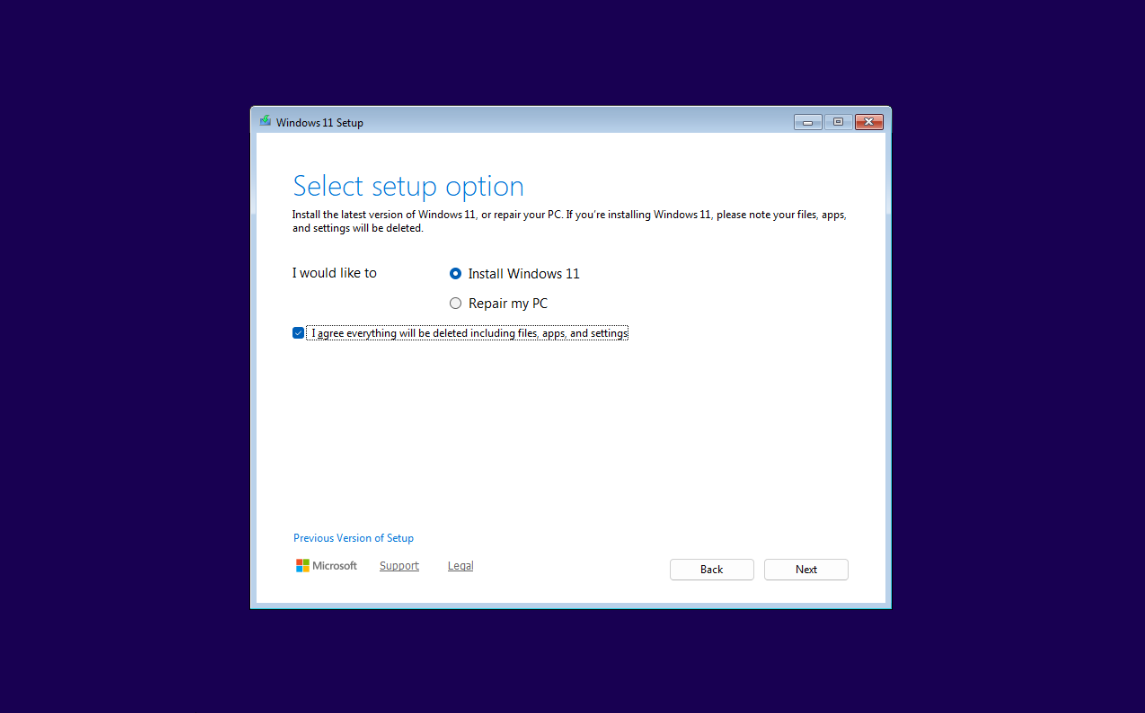
4. Select Install Windows 11, and check the box for I agree everything will be deleted including files, apps, and settings.
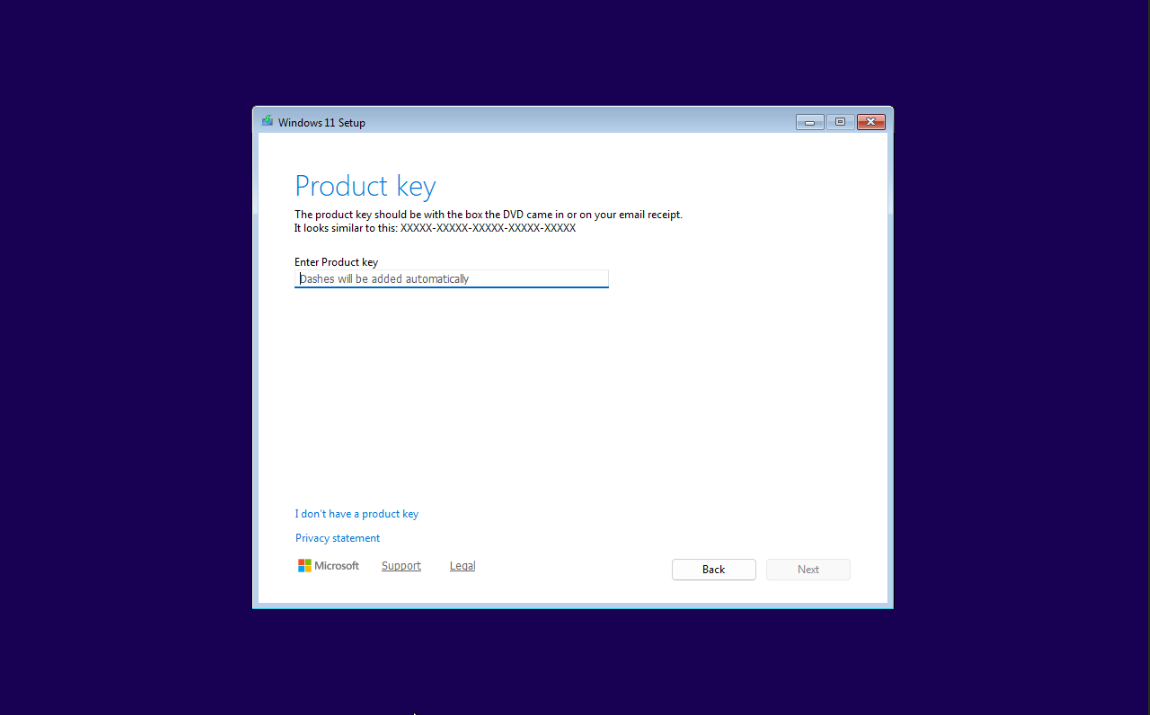
5. Enter your product key or select I don’t have a product key if you don’t have one.
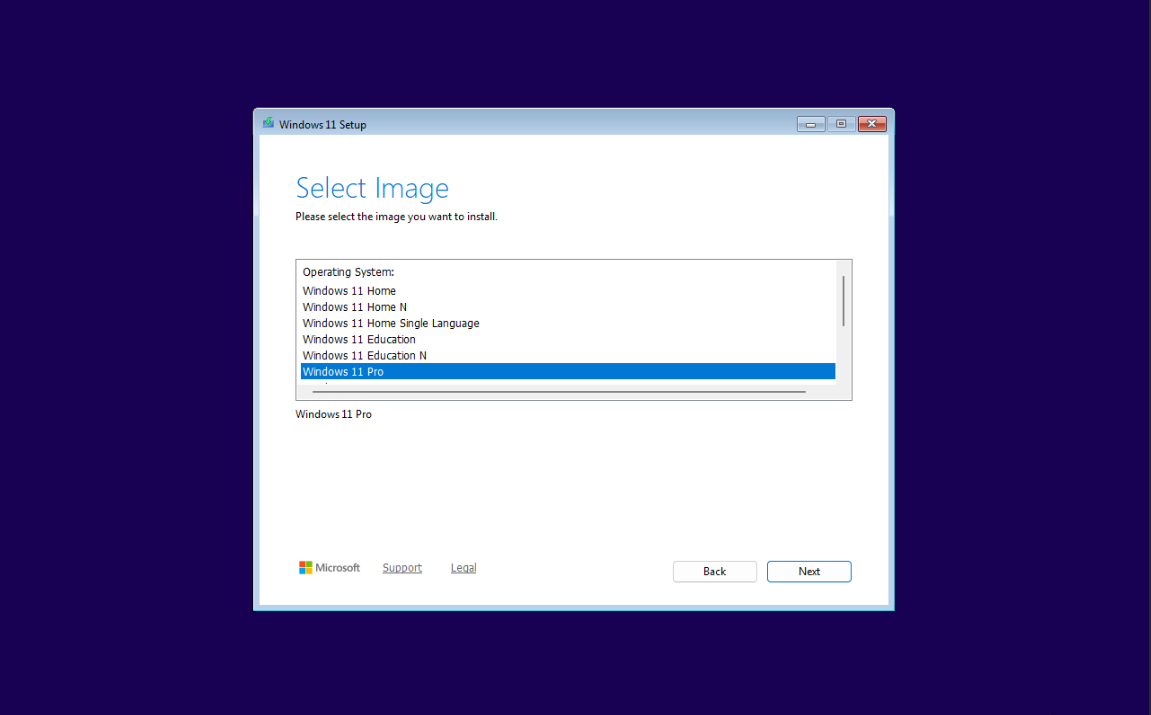
6. Select the edition you want to install.
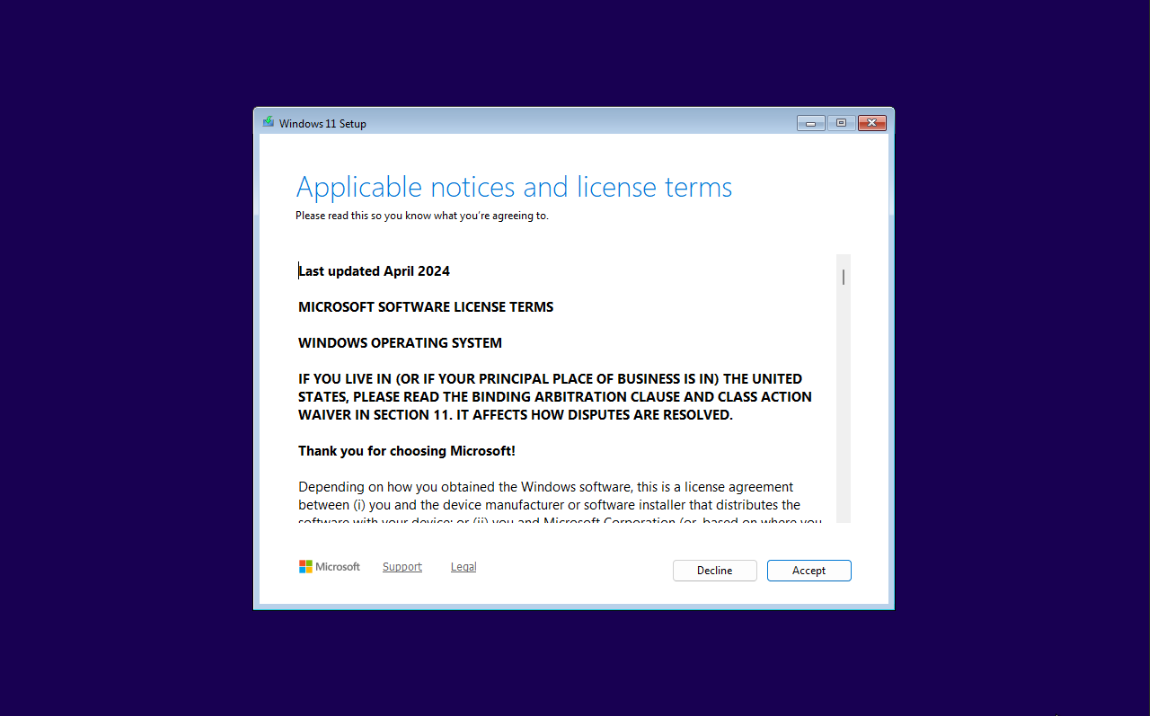
7. Click Accept.
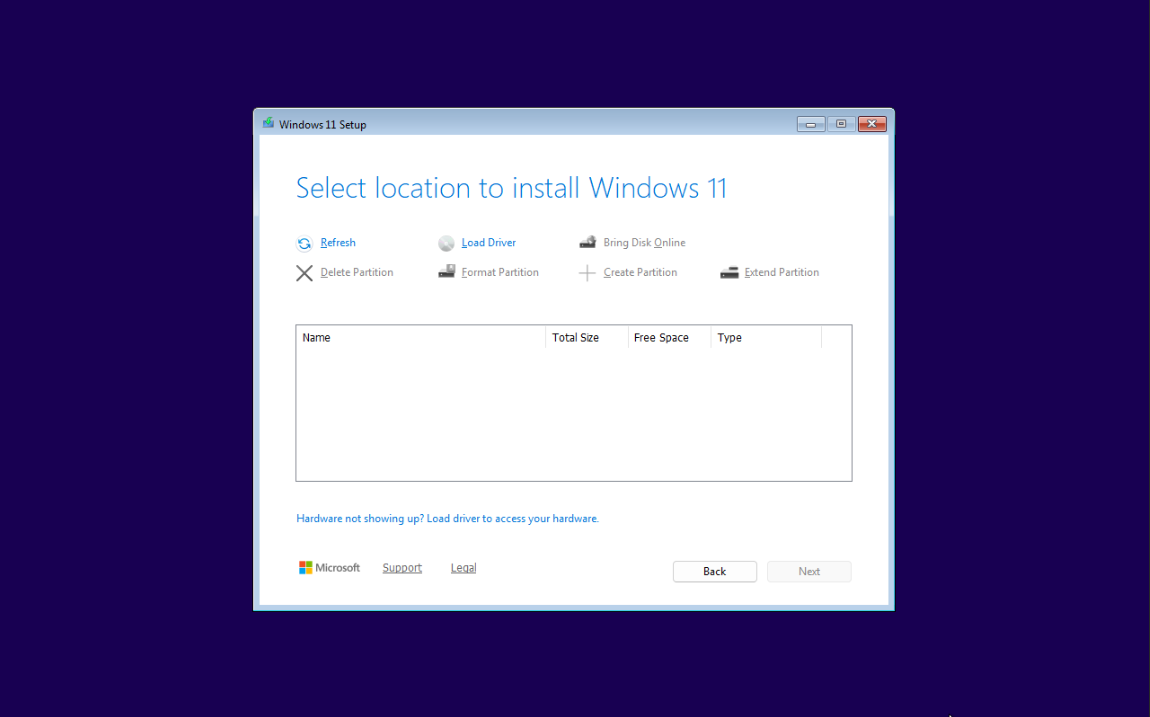
8. Click Load Driver.
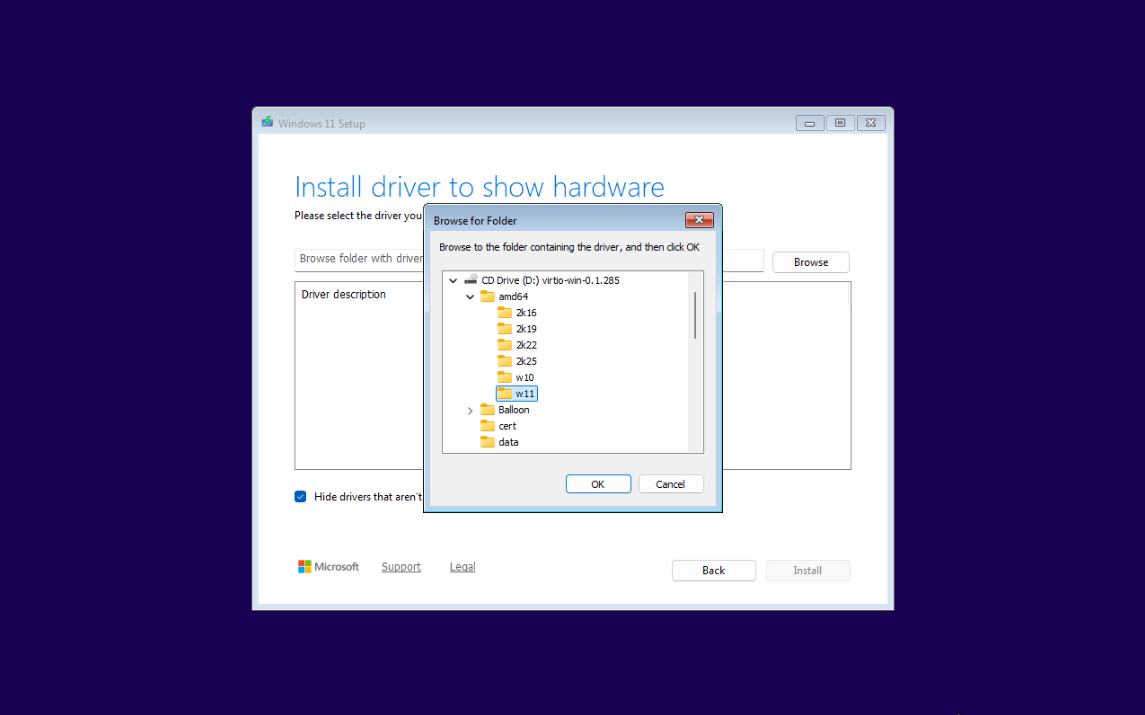
9. Click on Browse, then select This PC > CD Drive (D:) virtio-win-0.1.285 > amd64 > w11, and click OK.
10. Highlight the Red Hat VirtIO SCSI pass-through controller driver and click Install.

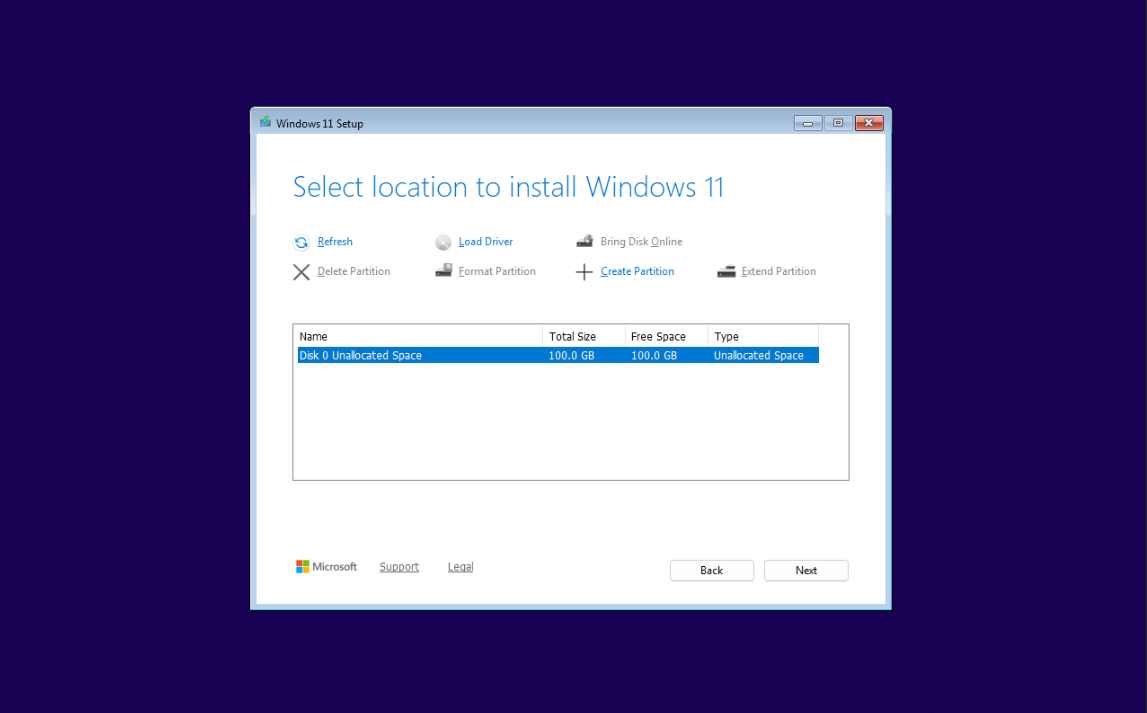
11. Highlight the Disk and click Next.
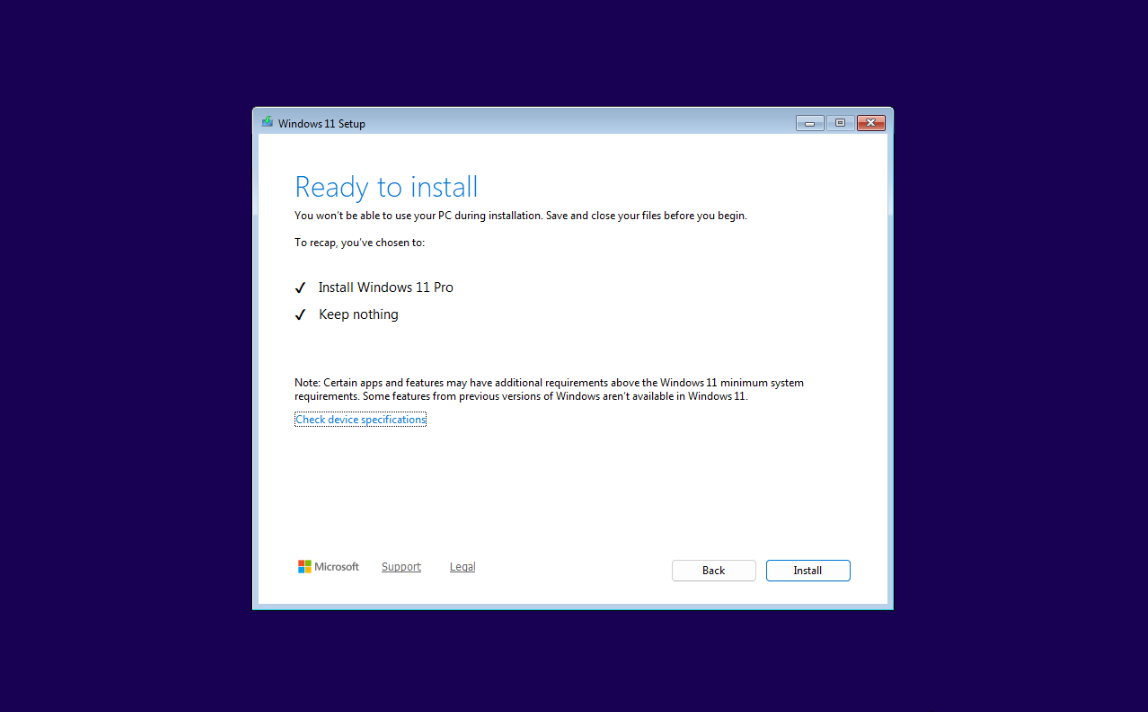
12. Click Install.
13. After the installation is complete, you’ll see this screen. Then, select your country or region.

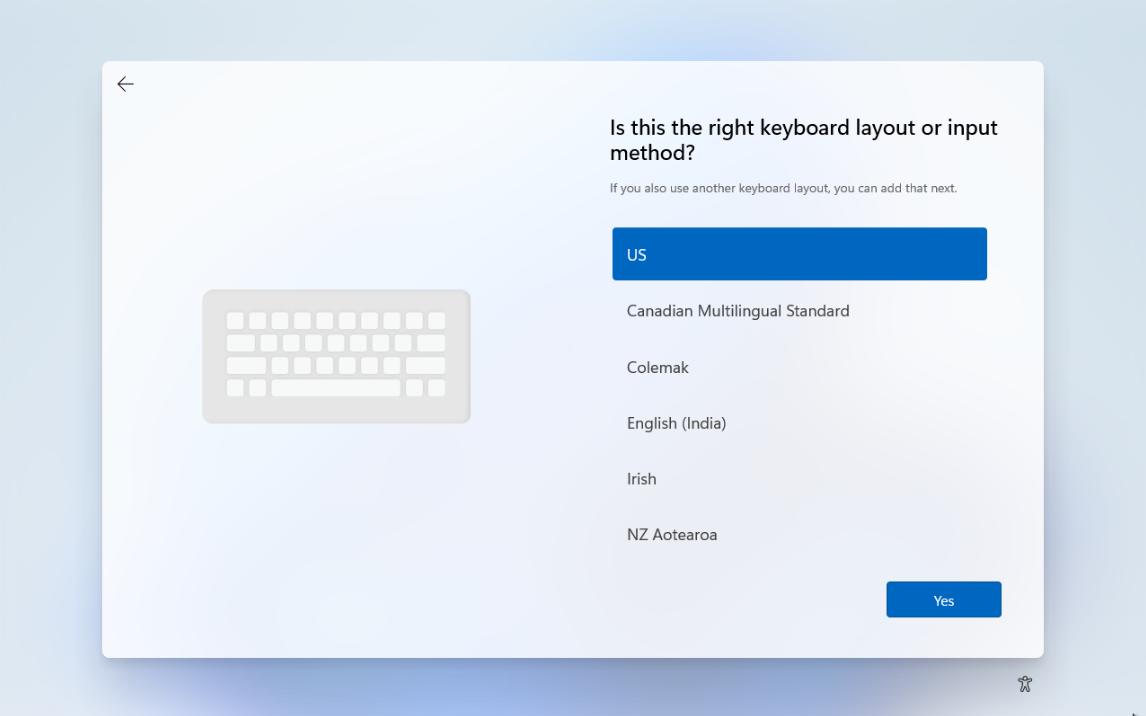
14. Select your keyboard layout.
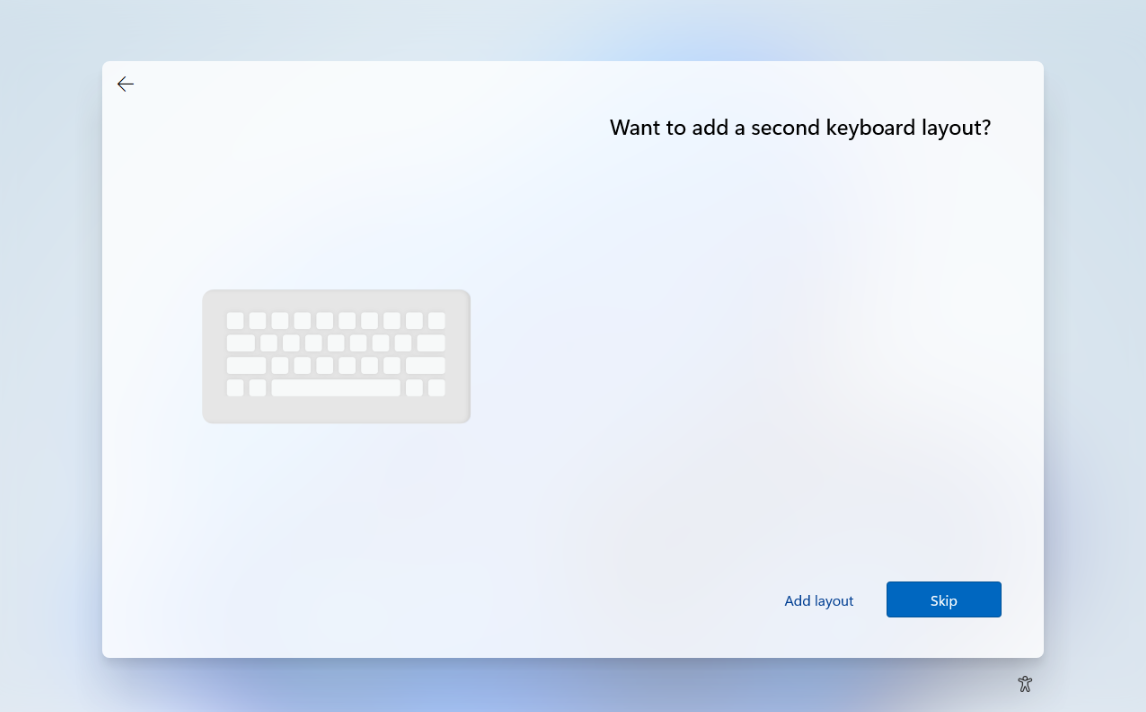
15. Next, you can add a second keyboard layout or select Skip.
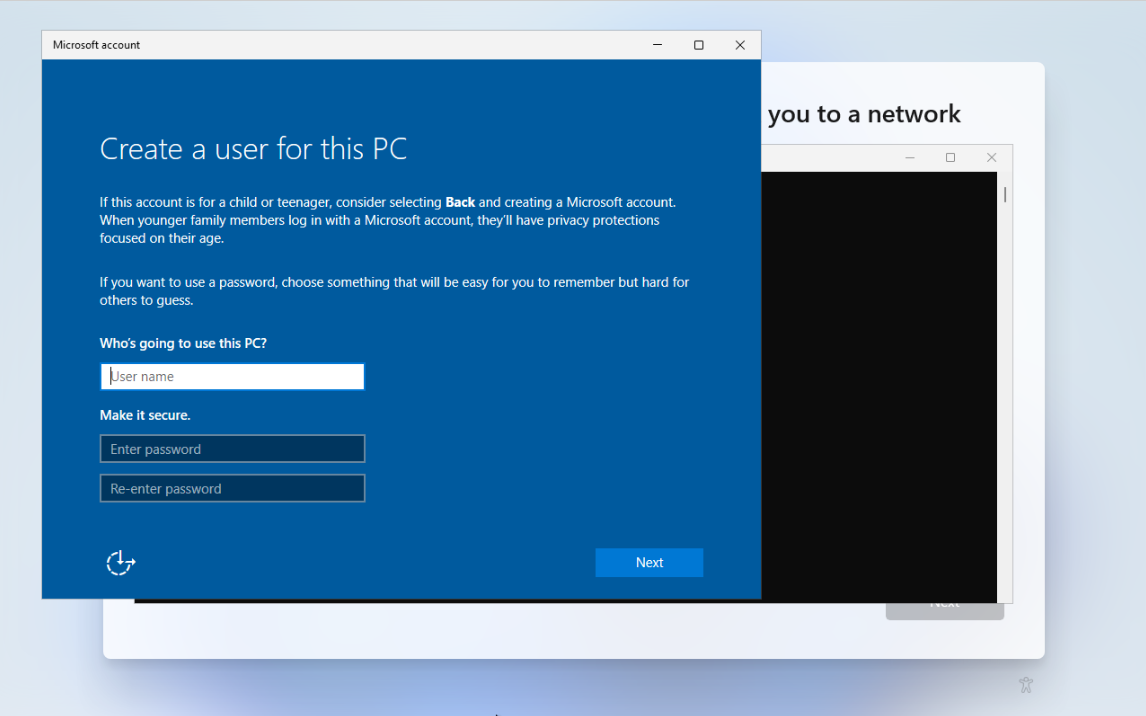
16. On the Let’s connect you to a network screen, press Shift + F10 on your keyboard to open a command prompt. In the command prompt, type start ms-cxh:localonly and press enter. This command will cause a pop-up window to appear that will allow you to create a local user account so you don’t have to sign in with a Microsoft account.

17. In the pop-up window, enter the information to create a local user account.
18. Choose your privacy settings.

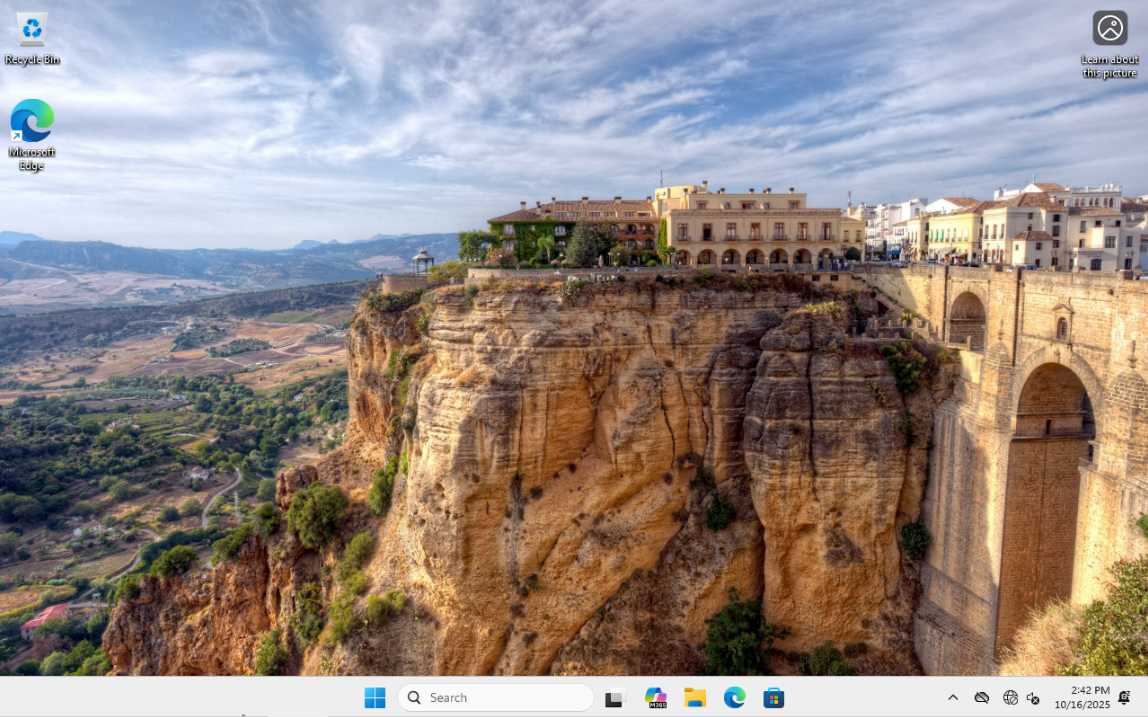
19. The installation and setup is now complete.
Step 5: Post-installation configuration
1. The next step is to update drivers to enable internet access. To do this, right-click the Windows 11 Start menu icon and select Device Manager.
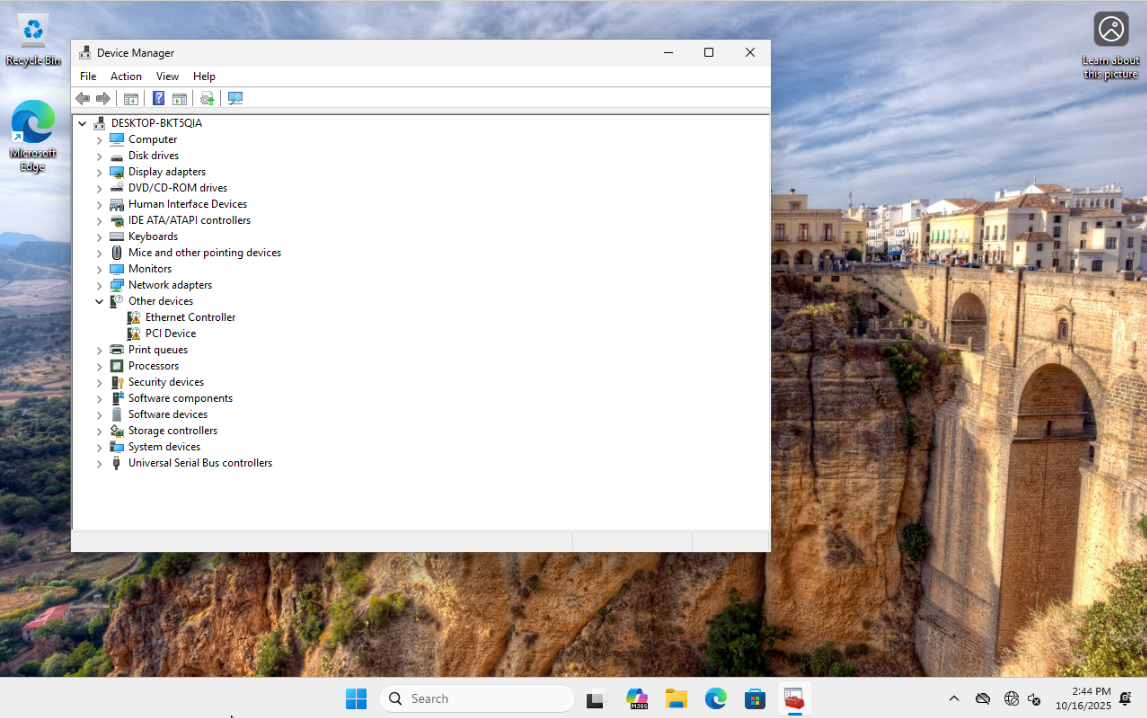
2. Navigate to Other devices, right-click Ethernet Controller, and select Update Driver. Next, select Browse my computer for drivers. On the next page, click Browse, and navigate to CD Drive (D:) virtio-win-0.1.285 > NetKVM > w11 > amd64. Finally, click OK > Next, then close the window.

3. The Red Hat VirtIO Ethernet Adapter should appear under Network adapters in Device Manager.

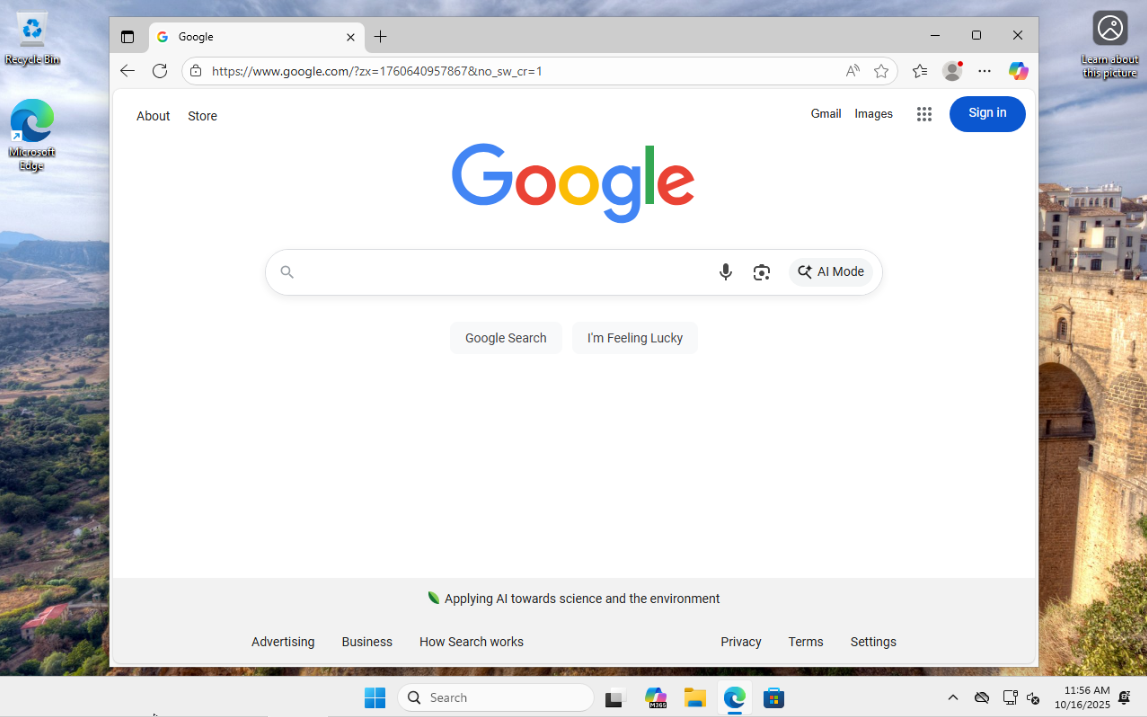
4. You should now have internet access.
5. Finally, check Windows Update for any needed updates.
