How to install Kali Linux on VirtualBox
I recently installed Kali Linux on VirtualBox to use as an attack machine for completing rooms on TryHackMe. So, I decided to write a step-by-step walkthrough of the installation process. In this post, I will walk you through the steps to obtain the Kali Linux ISO and install Kali Linux on VirtualBox.
Before getting started, make sure that virtualization is enabled in your computer’s BIOS.
Step 1: Download and install VirtualBox
Download and install VirtualBox from https://www.virtualbox.org/wiki/Downloads.
Step 2: Download Kali Linux ISO
1. Go to https://www.kali.org/.

2. Click on “GET KALI” and then choose “Installer Images”.
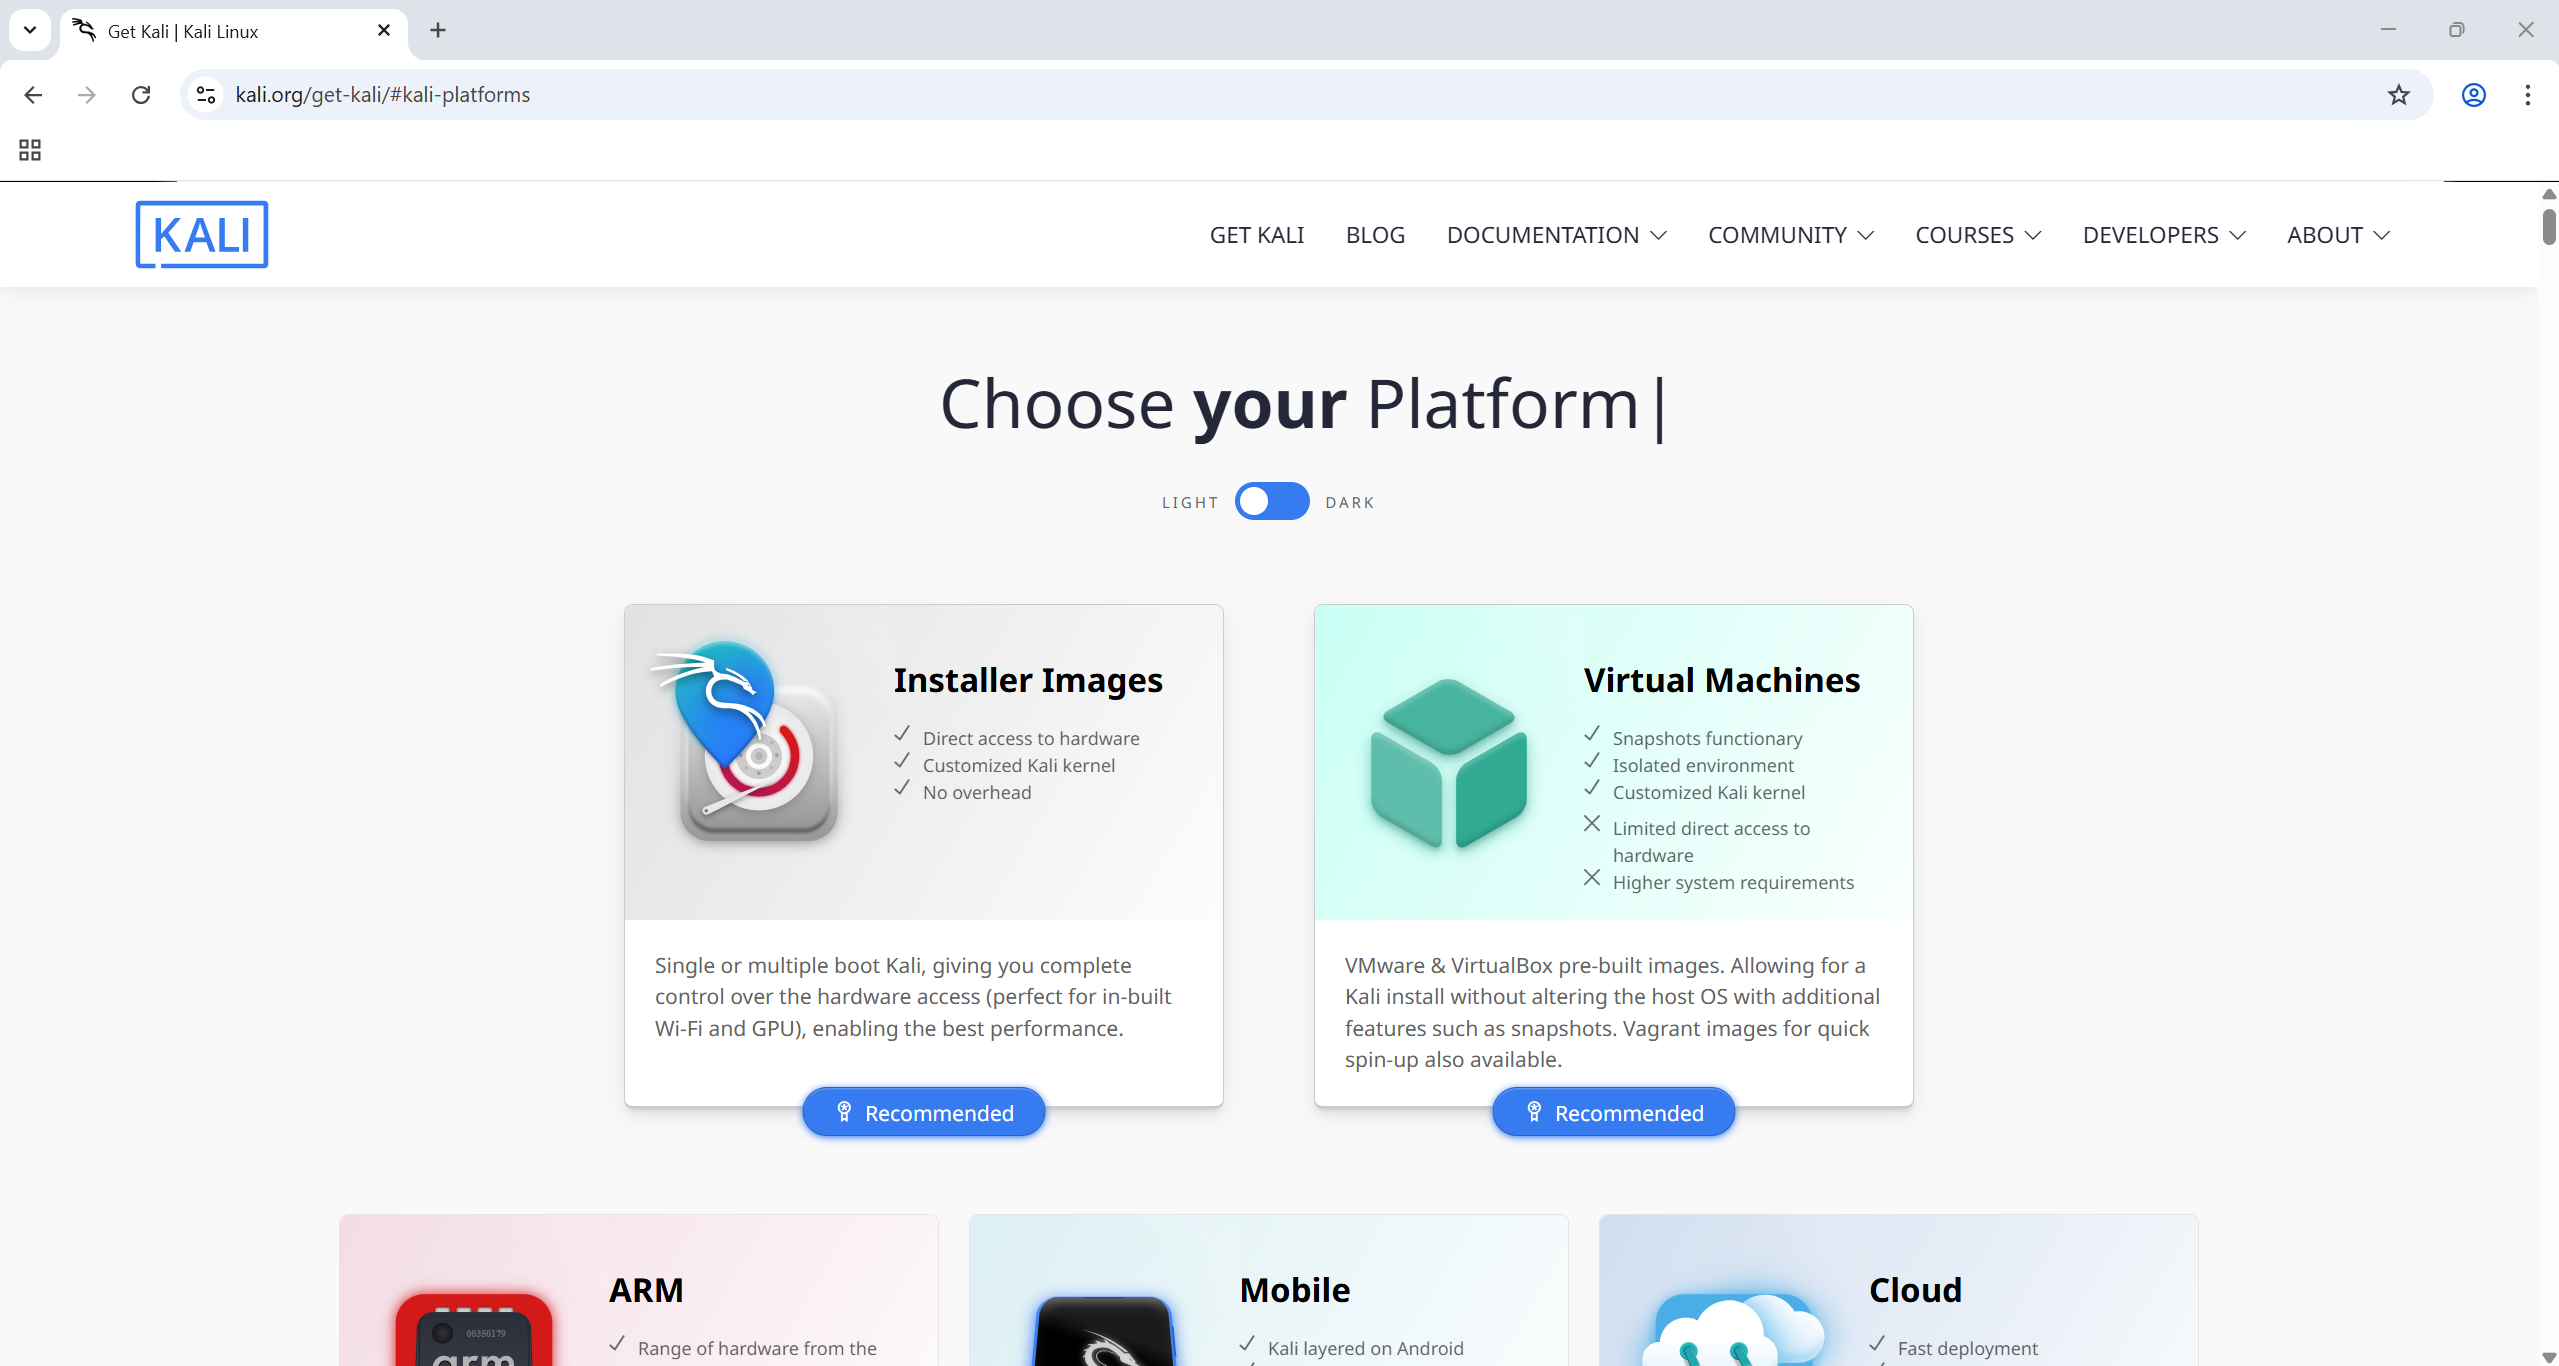
3. On the Installer Images page, choose “x86_64” and click on the blue down arrow to download.
Step 3: Create a new virtual machine in VirtualBox
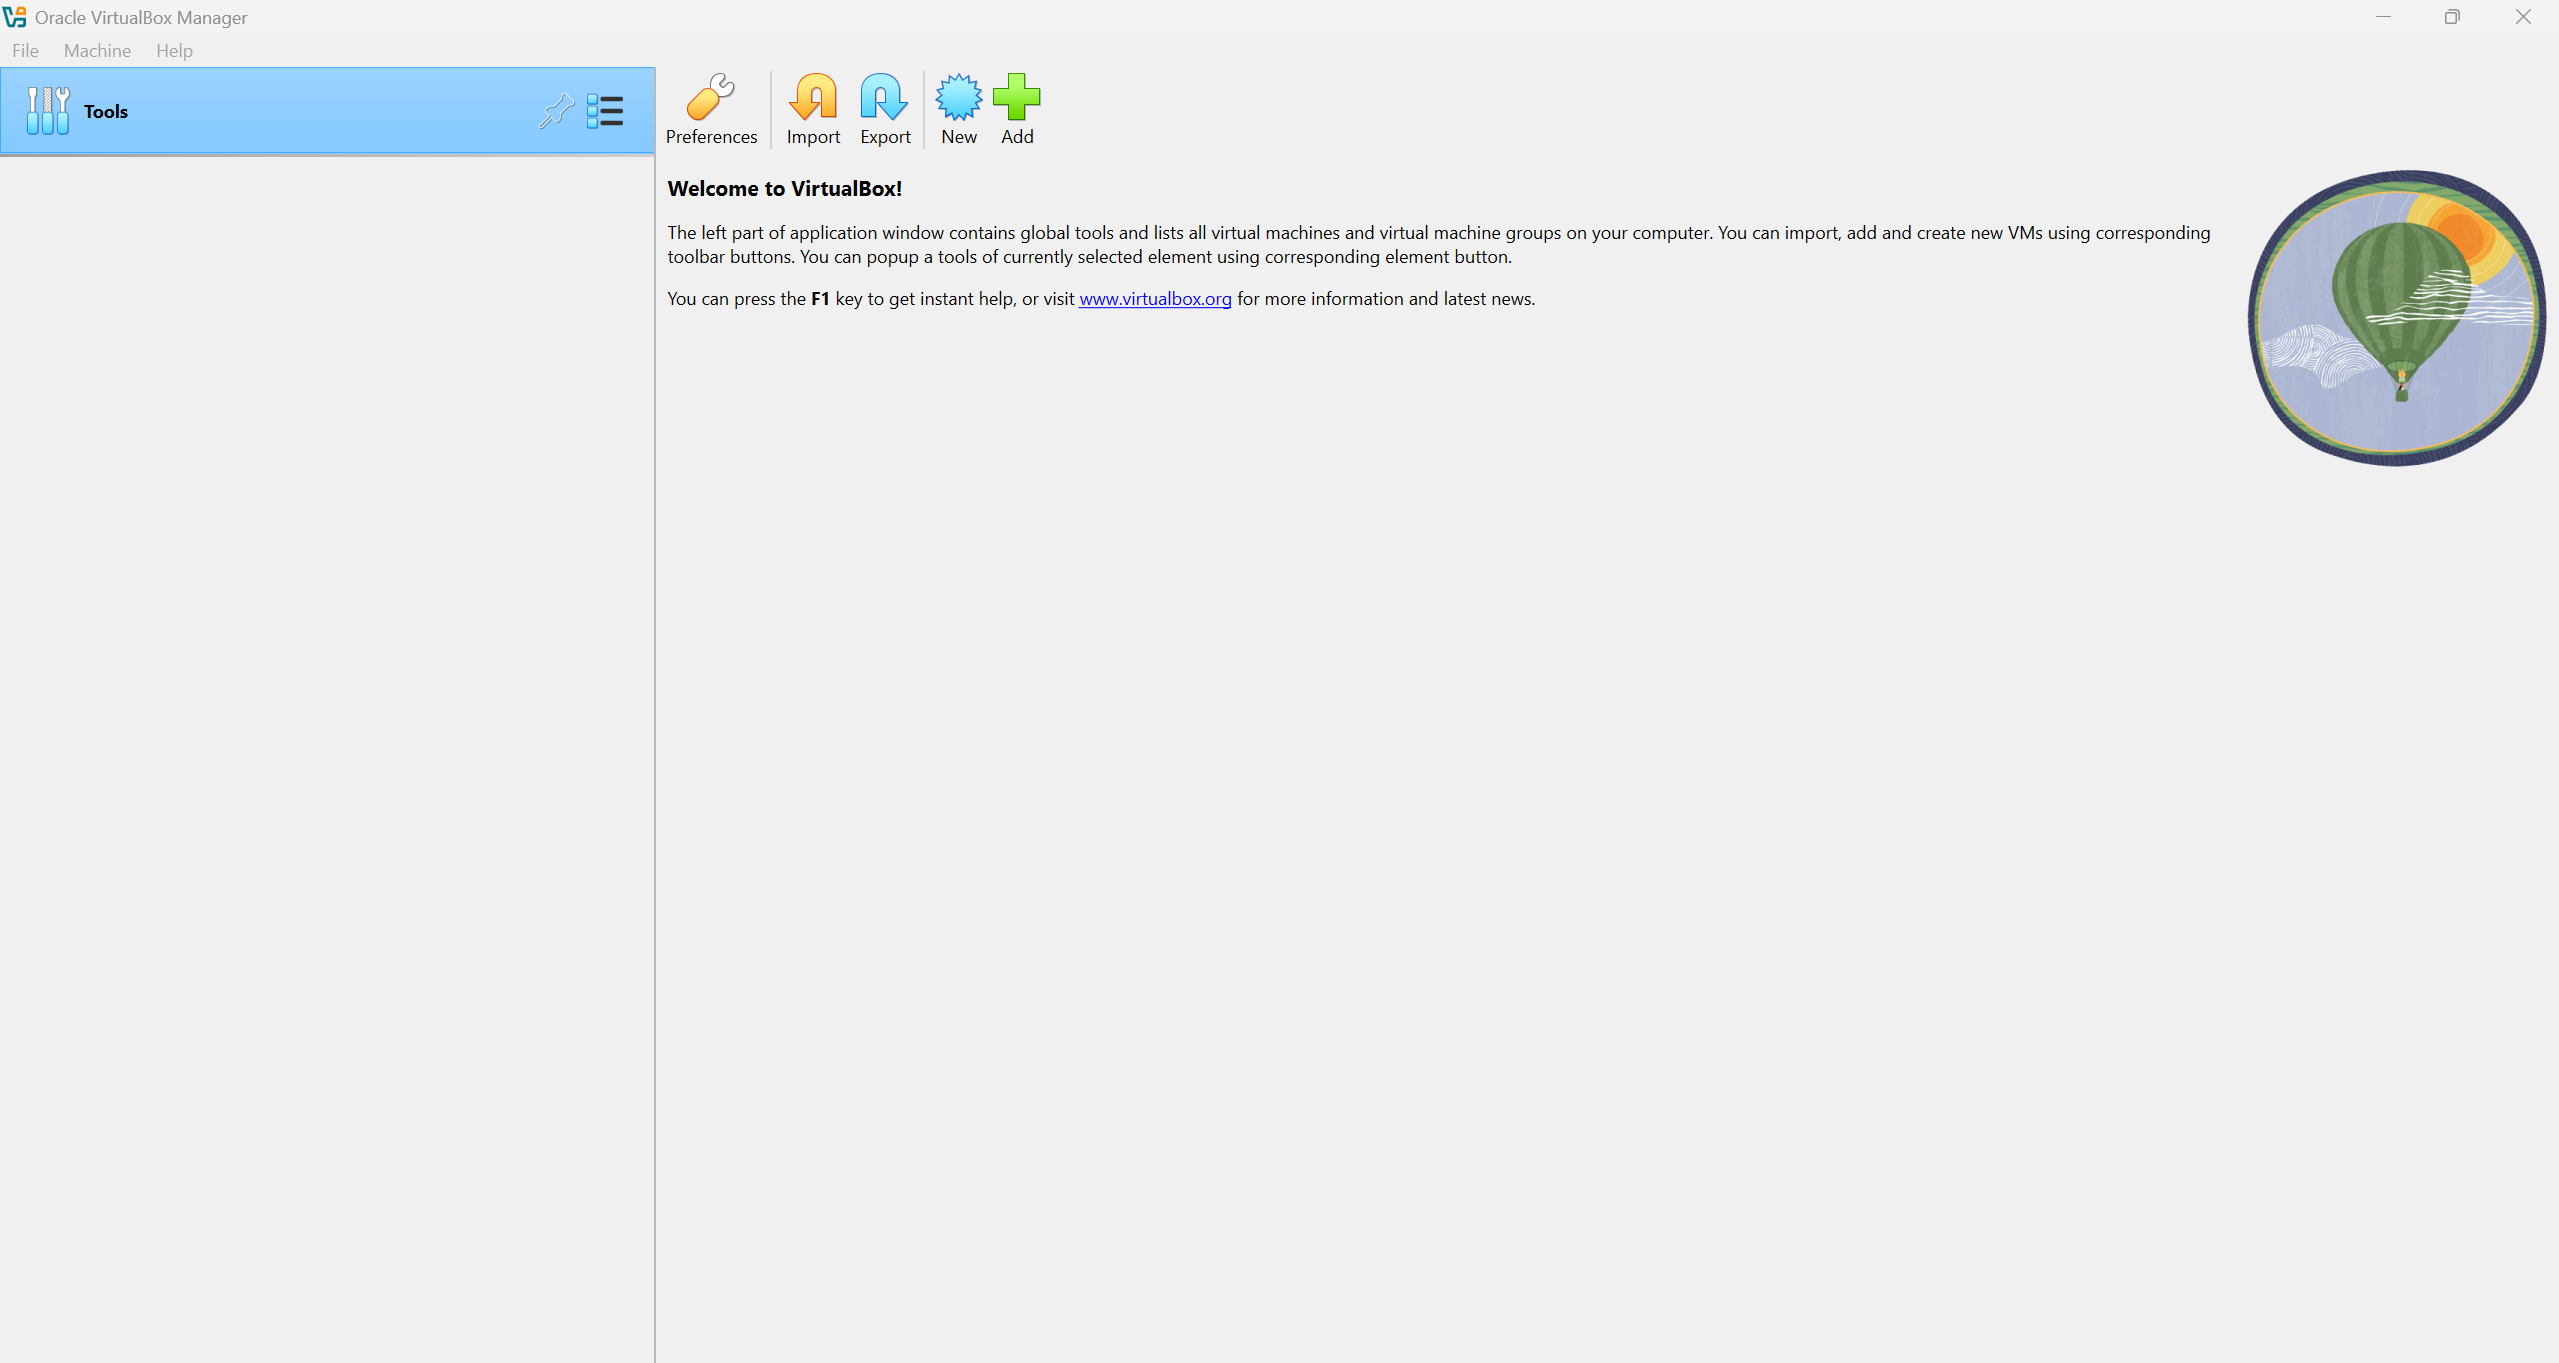
1. Open VirtualBox and click on the “New” button.
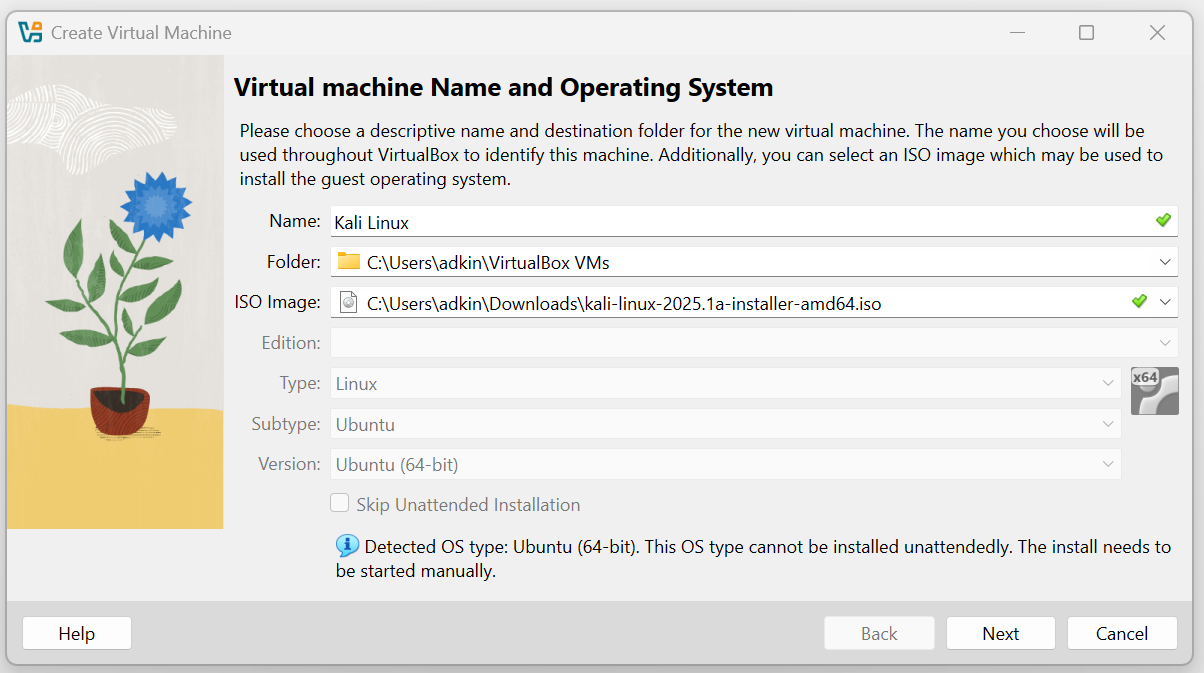
2. Give the machine a name and select the Kali Linux ISO that you downloaded.
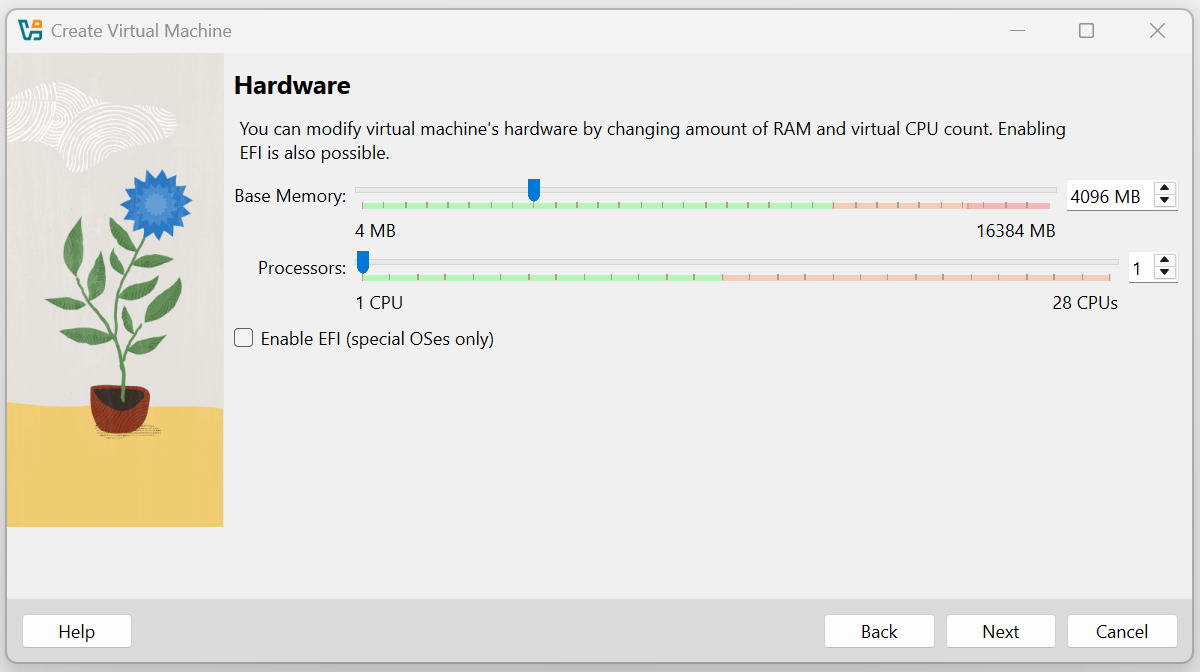
3. Allocate RAM and CPU cores to the machine. In this example, I allocated 4GB of RAM and 1 CPU core to the machine, but you can adjust this based on your host machine’s resources.
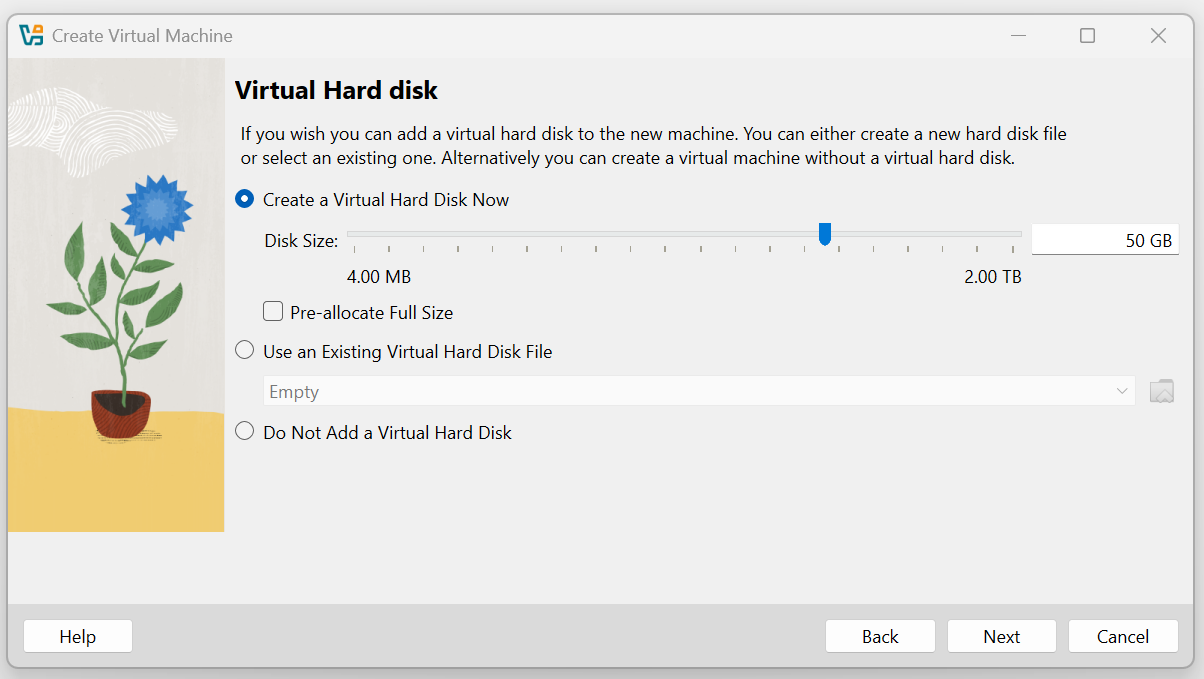
4. Create a Virtual Hard Disk. In this example, I allocated 50GB of space to the Virtual Hard Disk, but you can assign more if you want to.
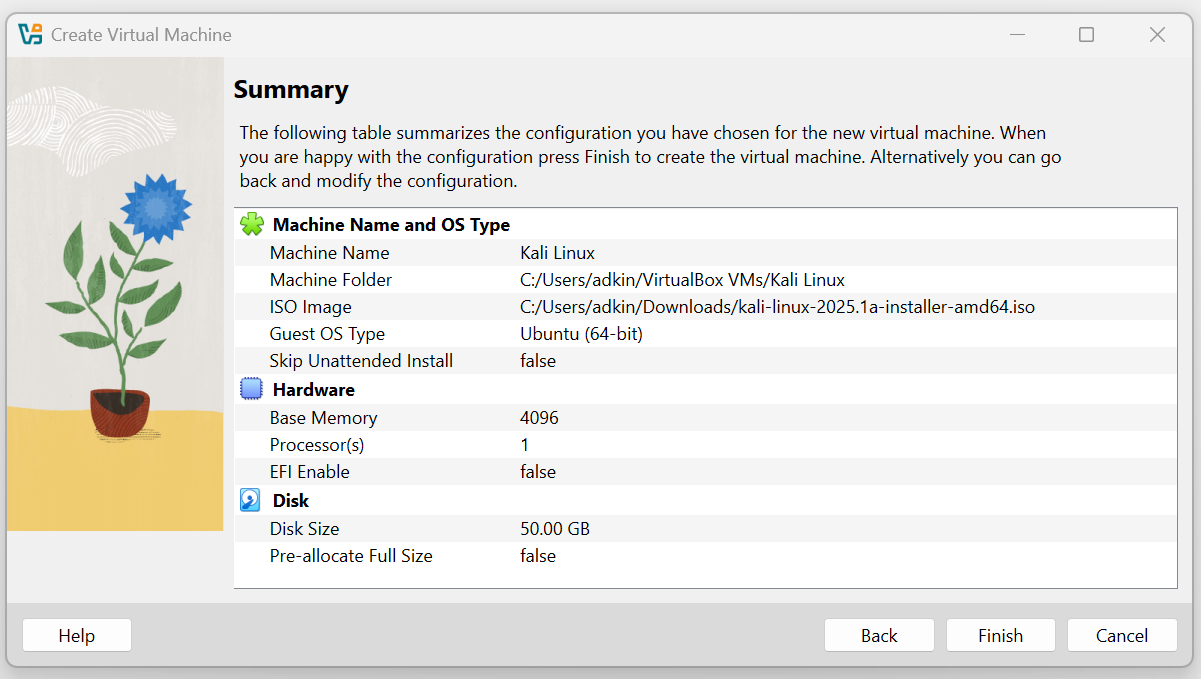
5. Review the machine summary and click finish.
Step 4: Configure virtual machine settings
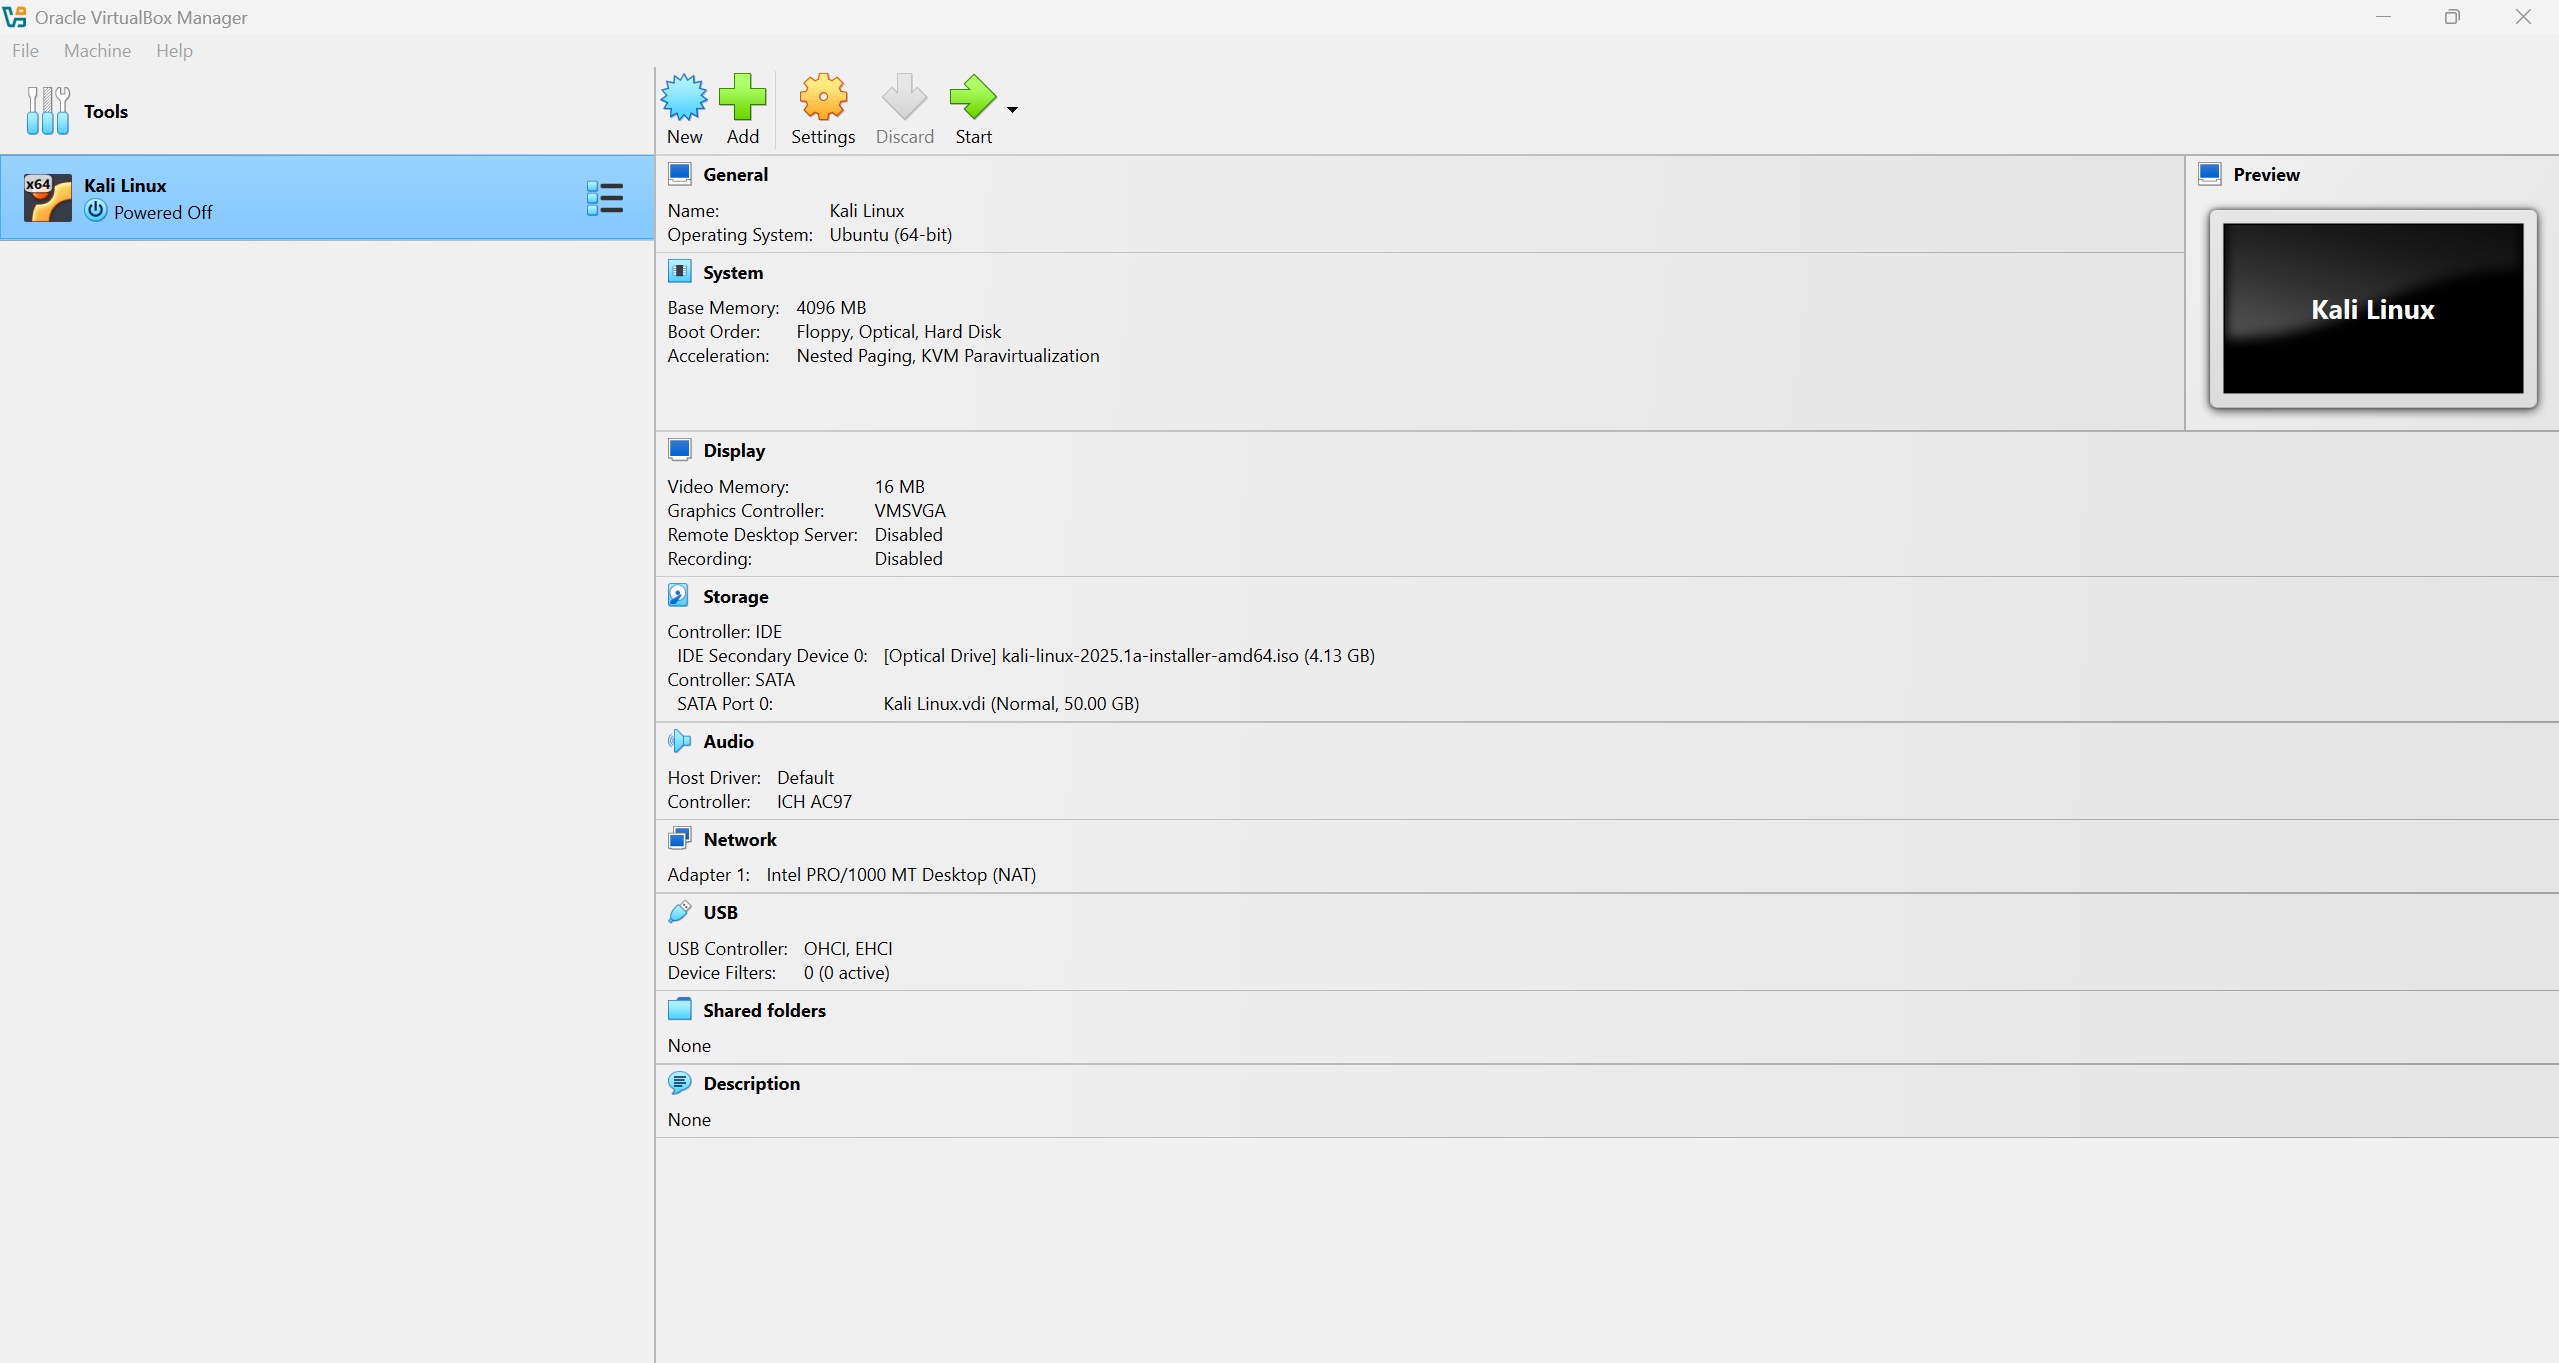
1. Click on the “Settings” button at the top of the window.
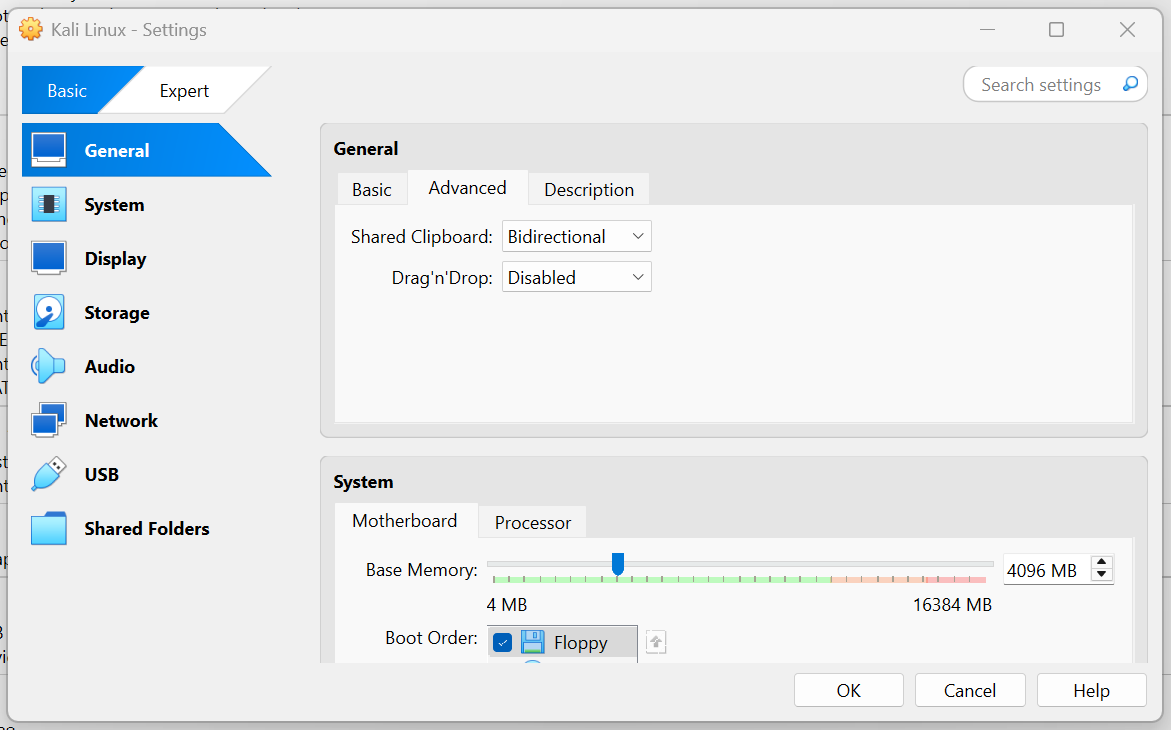
2. On the “General” tab, click on “Advanced” and change the Shared Clipboard to Bidirectional. This allows you to copy/paste between the host operating system and the virtual machine.
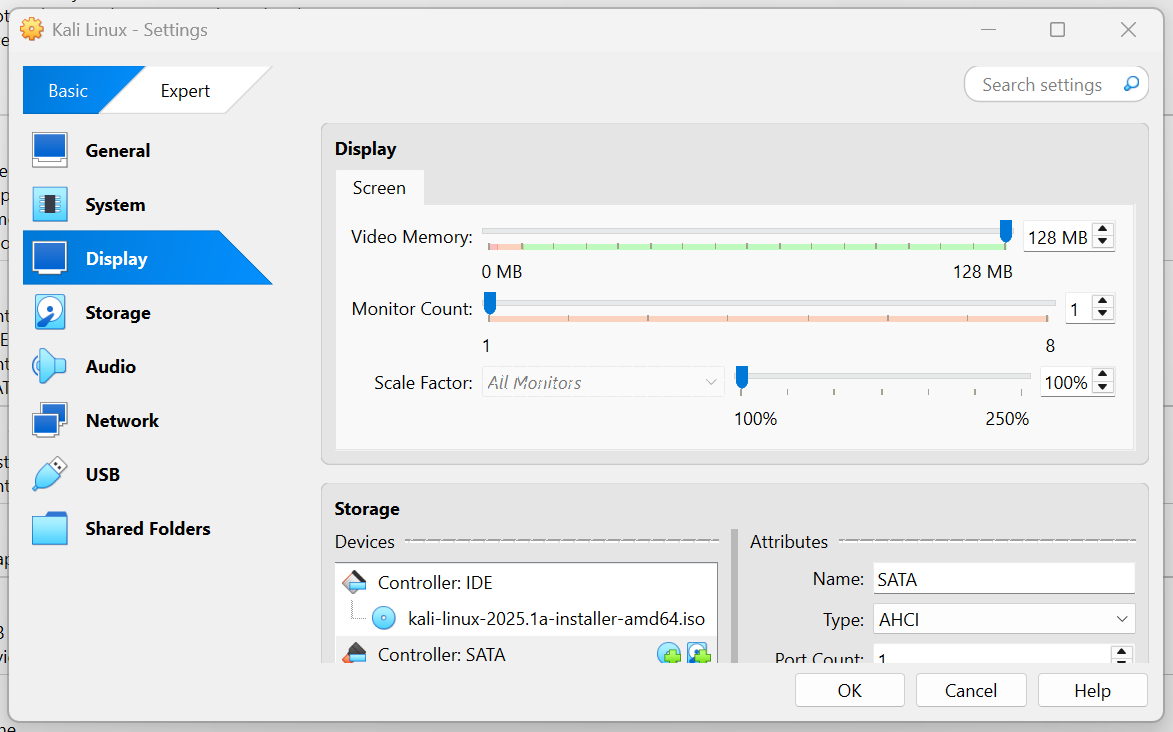
3. Navigate to the “Display” tab and move the Video Memory slider to the maximum 128MB.
Step 5: Install Kali Linux
1. Start the virtual machine by clicking on the “Start” button.
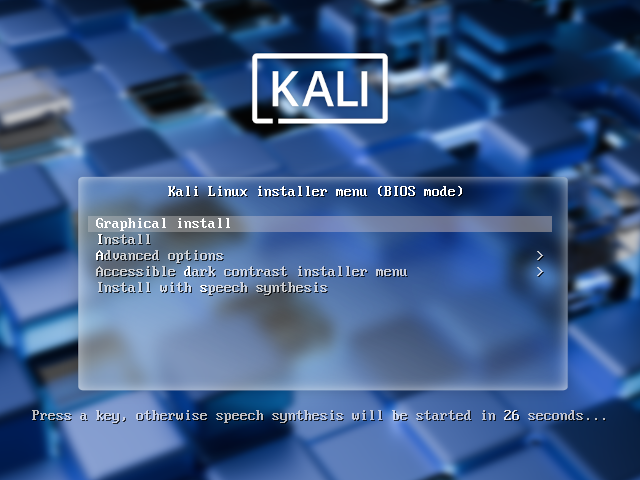
2. On the Kali Linux installer menu, choose “Graphical Install” and press enter.
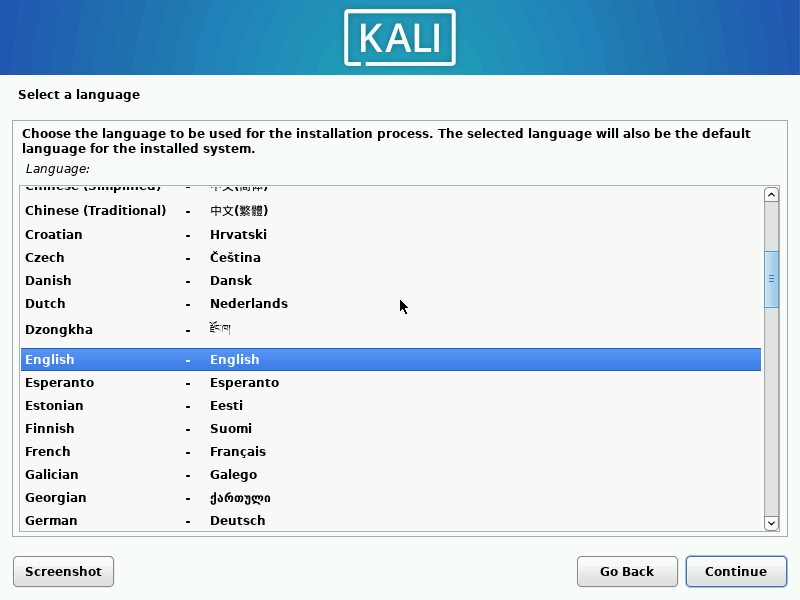
3. Select your language.
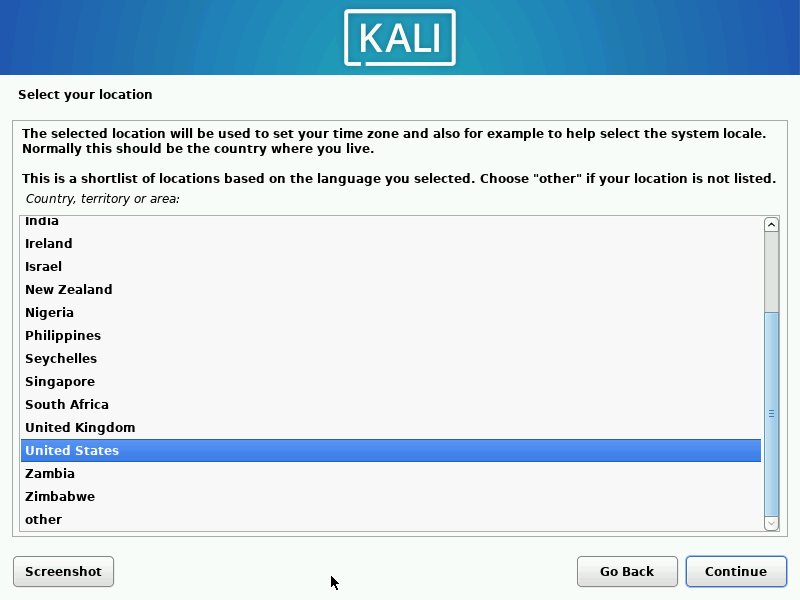
4. Select your location.
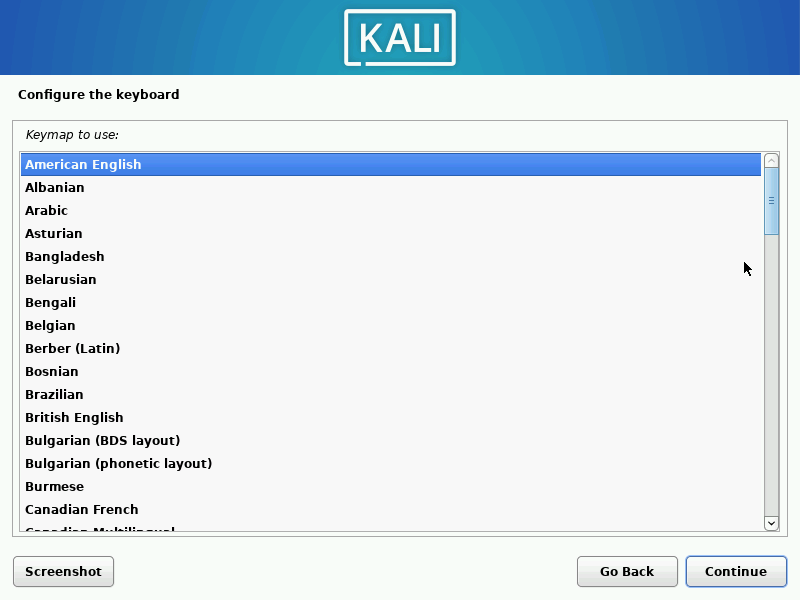
5. Choose your keyboard.
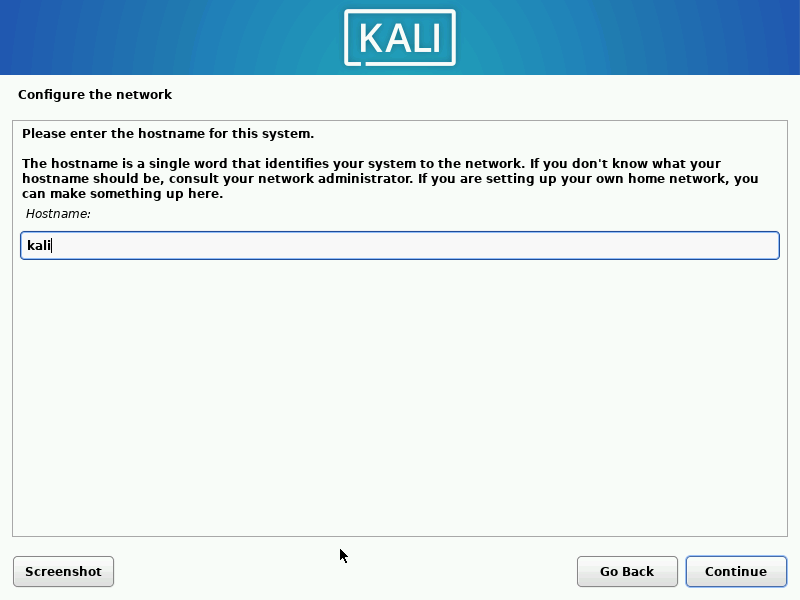
6. Choose a hostname for the device.
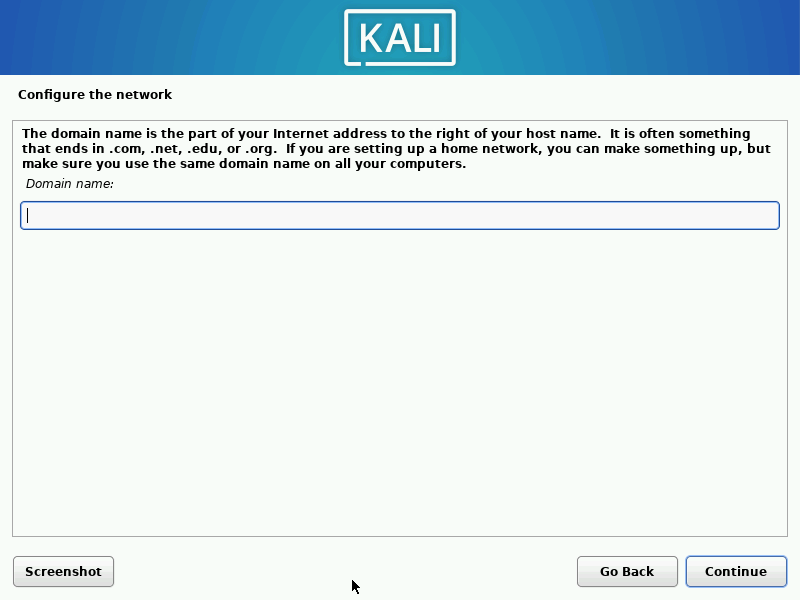
7. For the domain name, you can leave it blank.
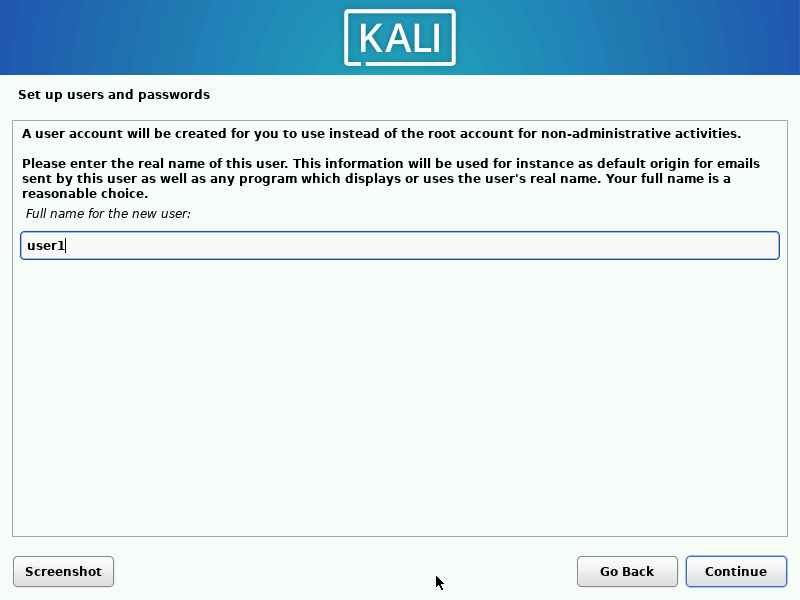
8. Enter the full name for the new user.
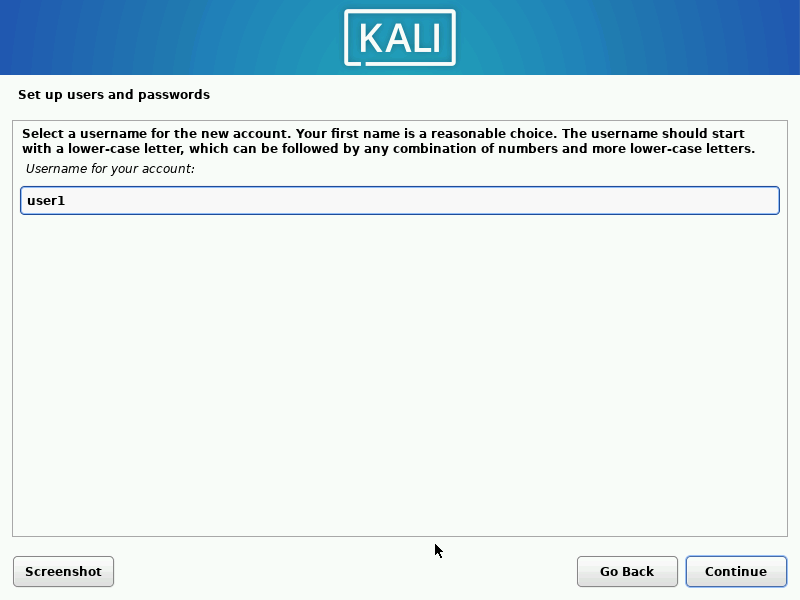
9. Choose a username for your account.
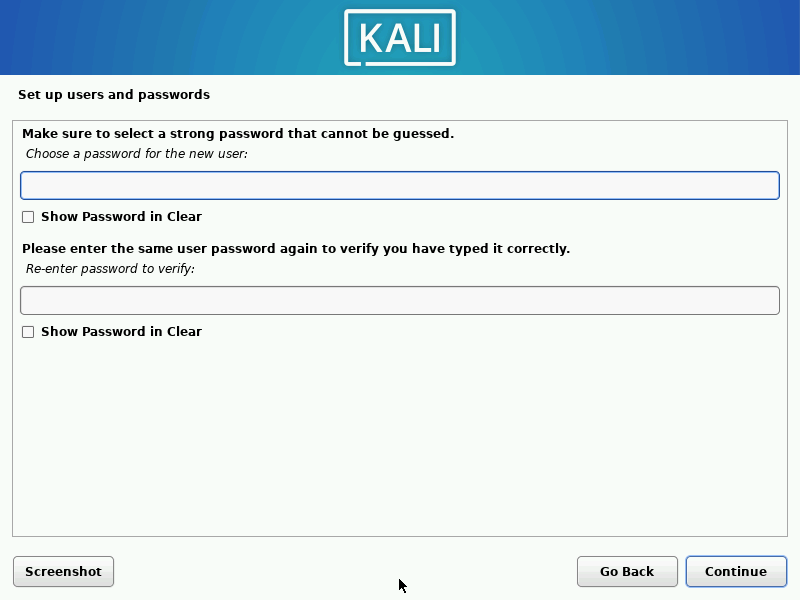
10. Set an account password.
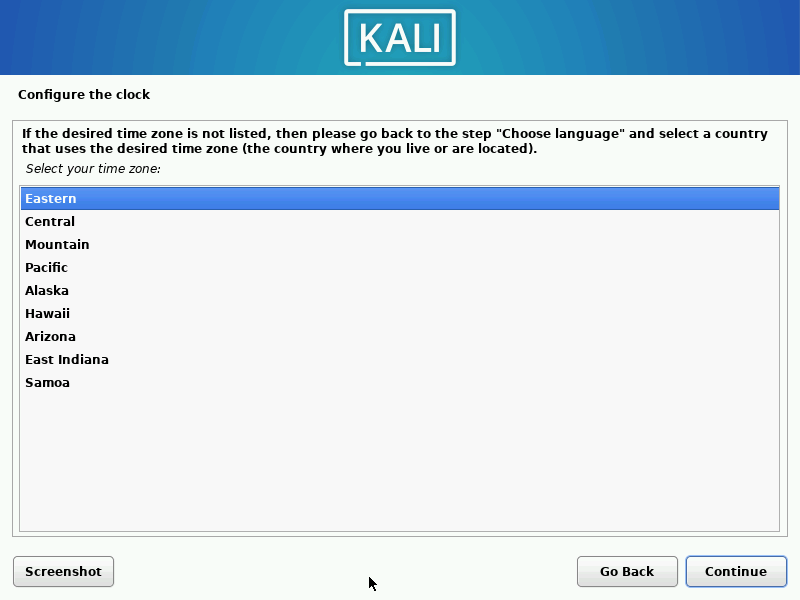
11. Select your time zone.
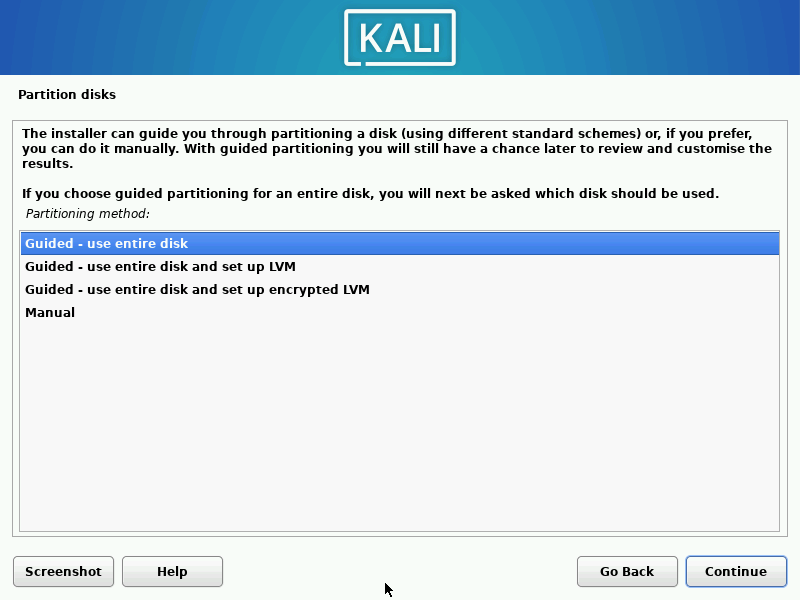
12. For the partitioning method, choose “Guided - use entire disk”.
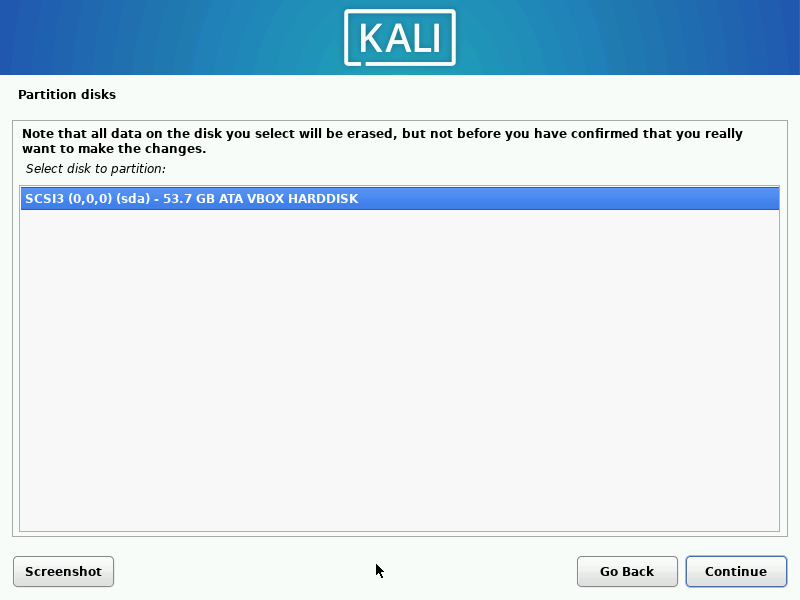
13. Select the disk to partition.
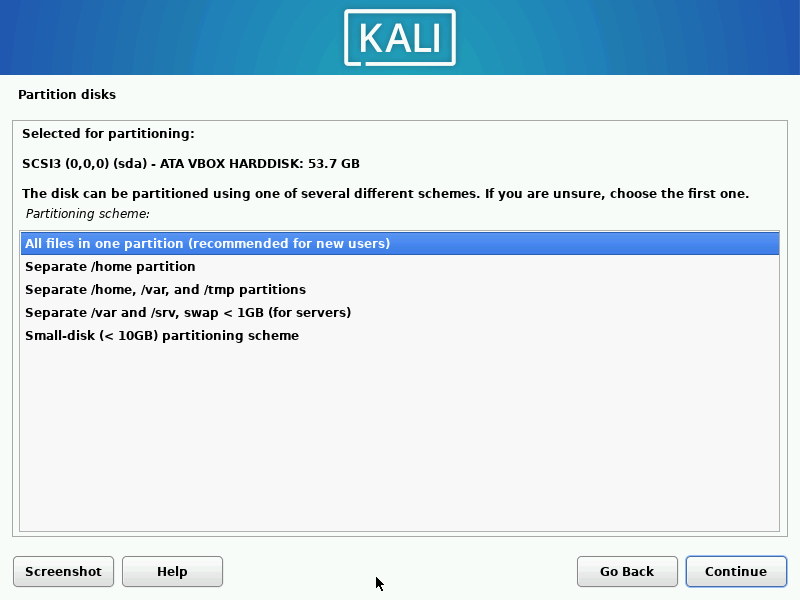
14. For the partitioning scheme, choose “All files in one partition (recommended for new users)”.
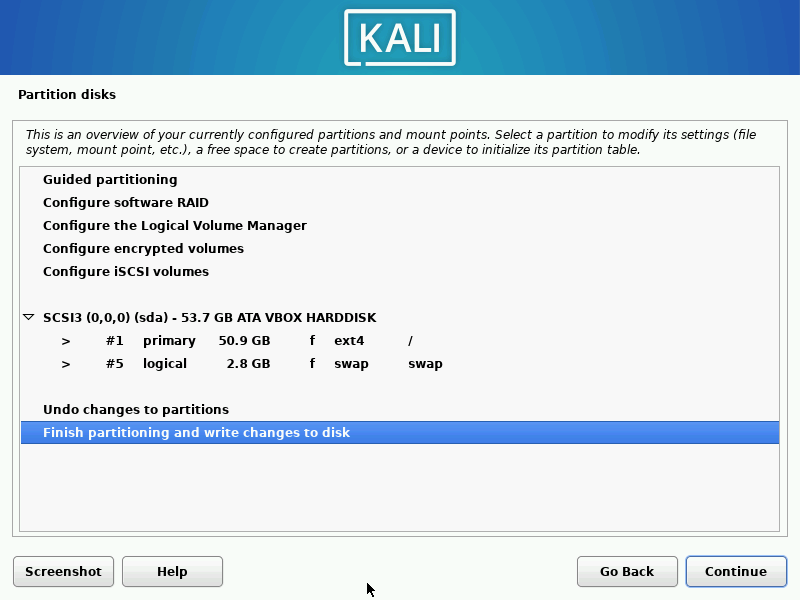
15. Select “Finish partitioning and write changes to disk”.
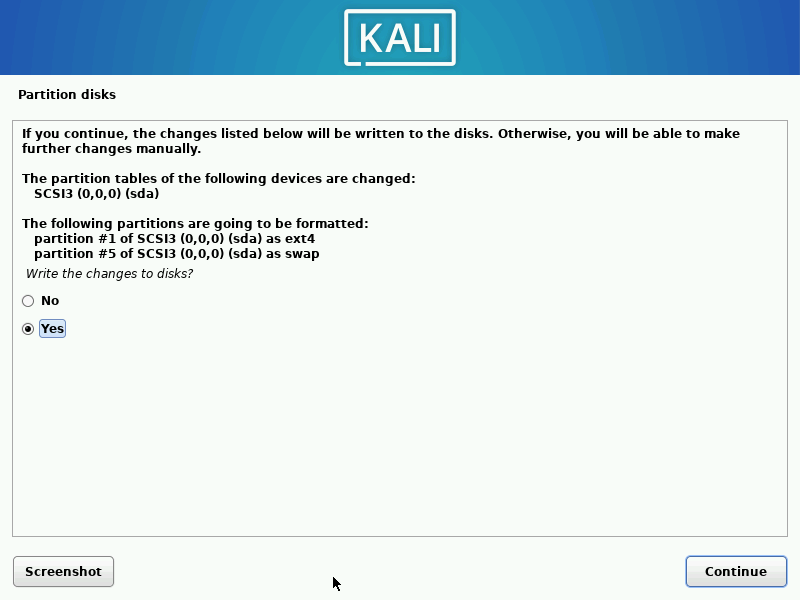
16. Choose “Yes” to write the changes to disks.
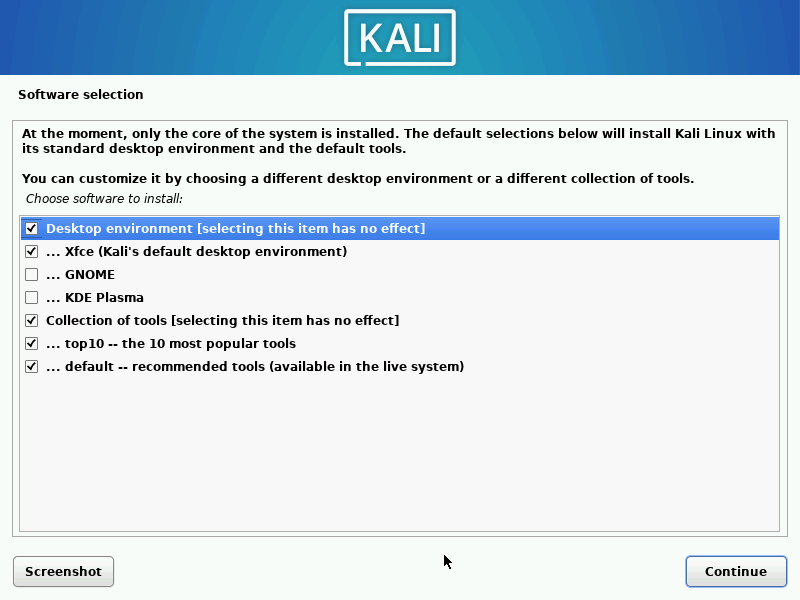
17. For the software selection, leave the selections as default.
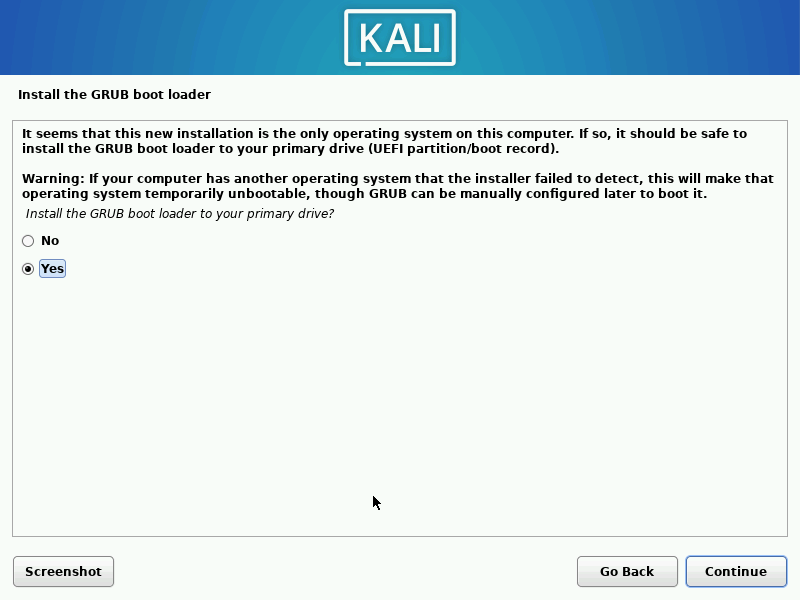
18. Choose “Yes” to install the GRUB boot loader.
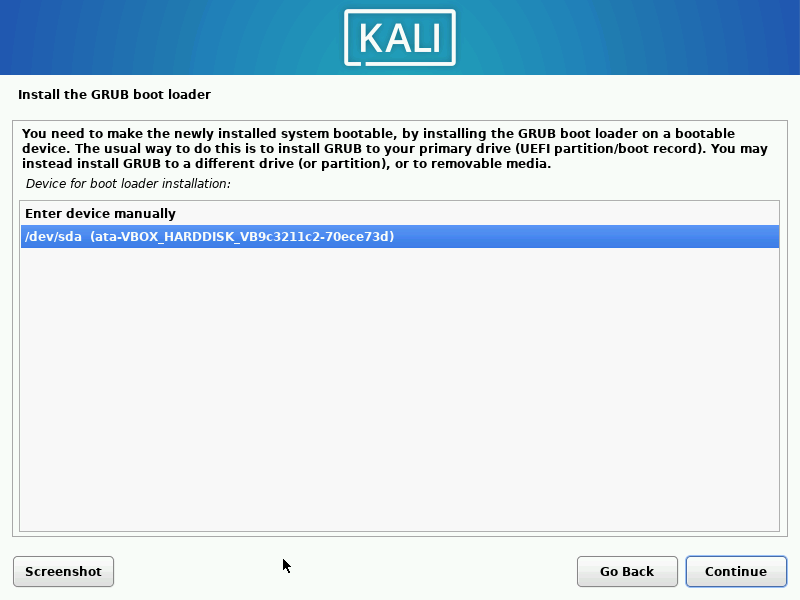
19. Select the device to install the GRUB boot loader.
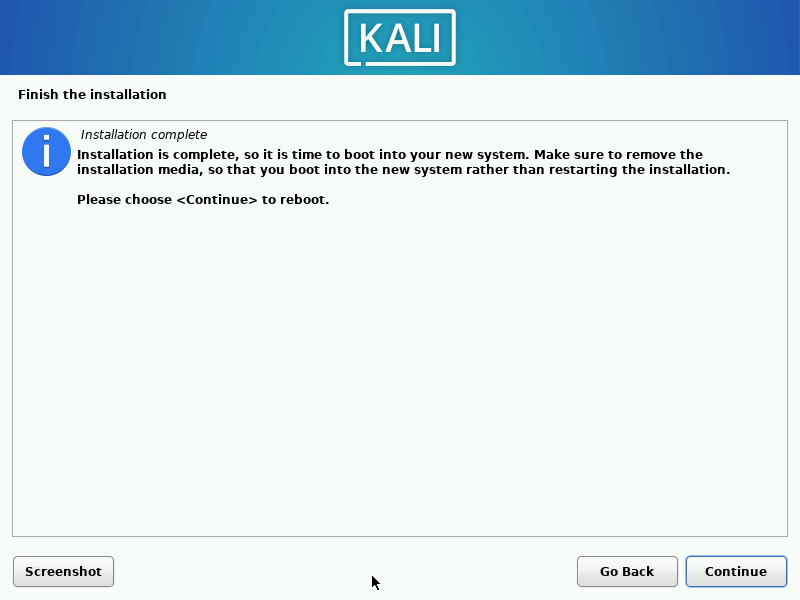
20. Once the installation is finished, click Continue to reboot.
21. Enter your username and password to login.

22. You’ve now successfully installed Kali Linux on VirtualBox.