Homelab update November 2025
I consider my homelab to be an ongoing project. It’s something I’m always working on and making changes to. I’ve been documenting and sharing my progress along the way in hopes of inspiring fellow homelabbers, just as I’ve been inspired by others. In this post, I’m going to give a quick update on some of the recent changes I’ve made to my homelab and what I plan on working on in the near future.
DeskPi RackMate T1
After gaining some inspiration from the subreddit r/homelab and YouTubers like Jeff Geerling, I finally decided to take my homelab to the next level by adding a rack. I decided to go with the DeskPi RackMate T1 from DeskPi’s RackMate series. If you’re interested, you can learn more about the RackMate T1 on DeskPi’s official website here. This seemed to be a popular choice within the homelab community, and its small 10-inch form factor was perfect for my needs. As much as I would like to have a full-size 19-inch rack, it’s just not necessary or feasible for me at this point. Maybe one day!
The rack was easy to build and you can pretty much customize it however you want. After I finished building it, I made a spot for it on one of the bottom shelves of my desk and worked on some of the cable management. Here’s what it looks like:
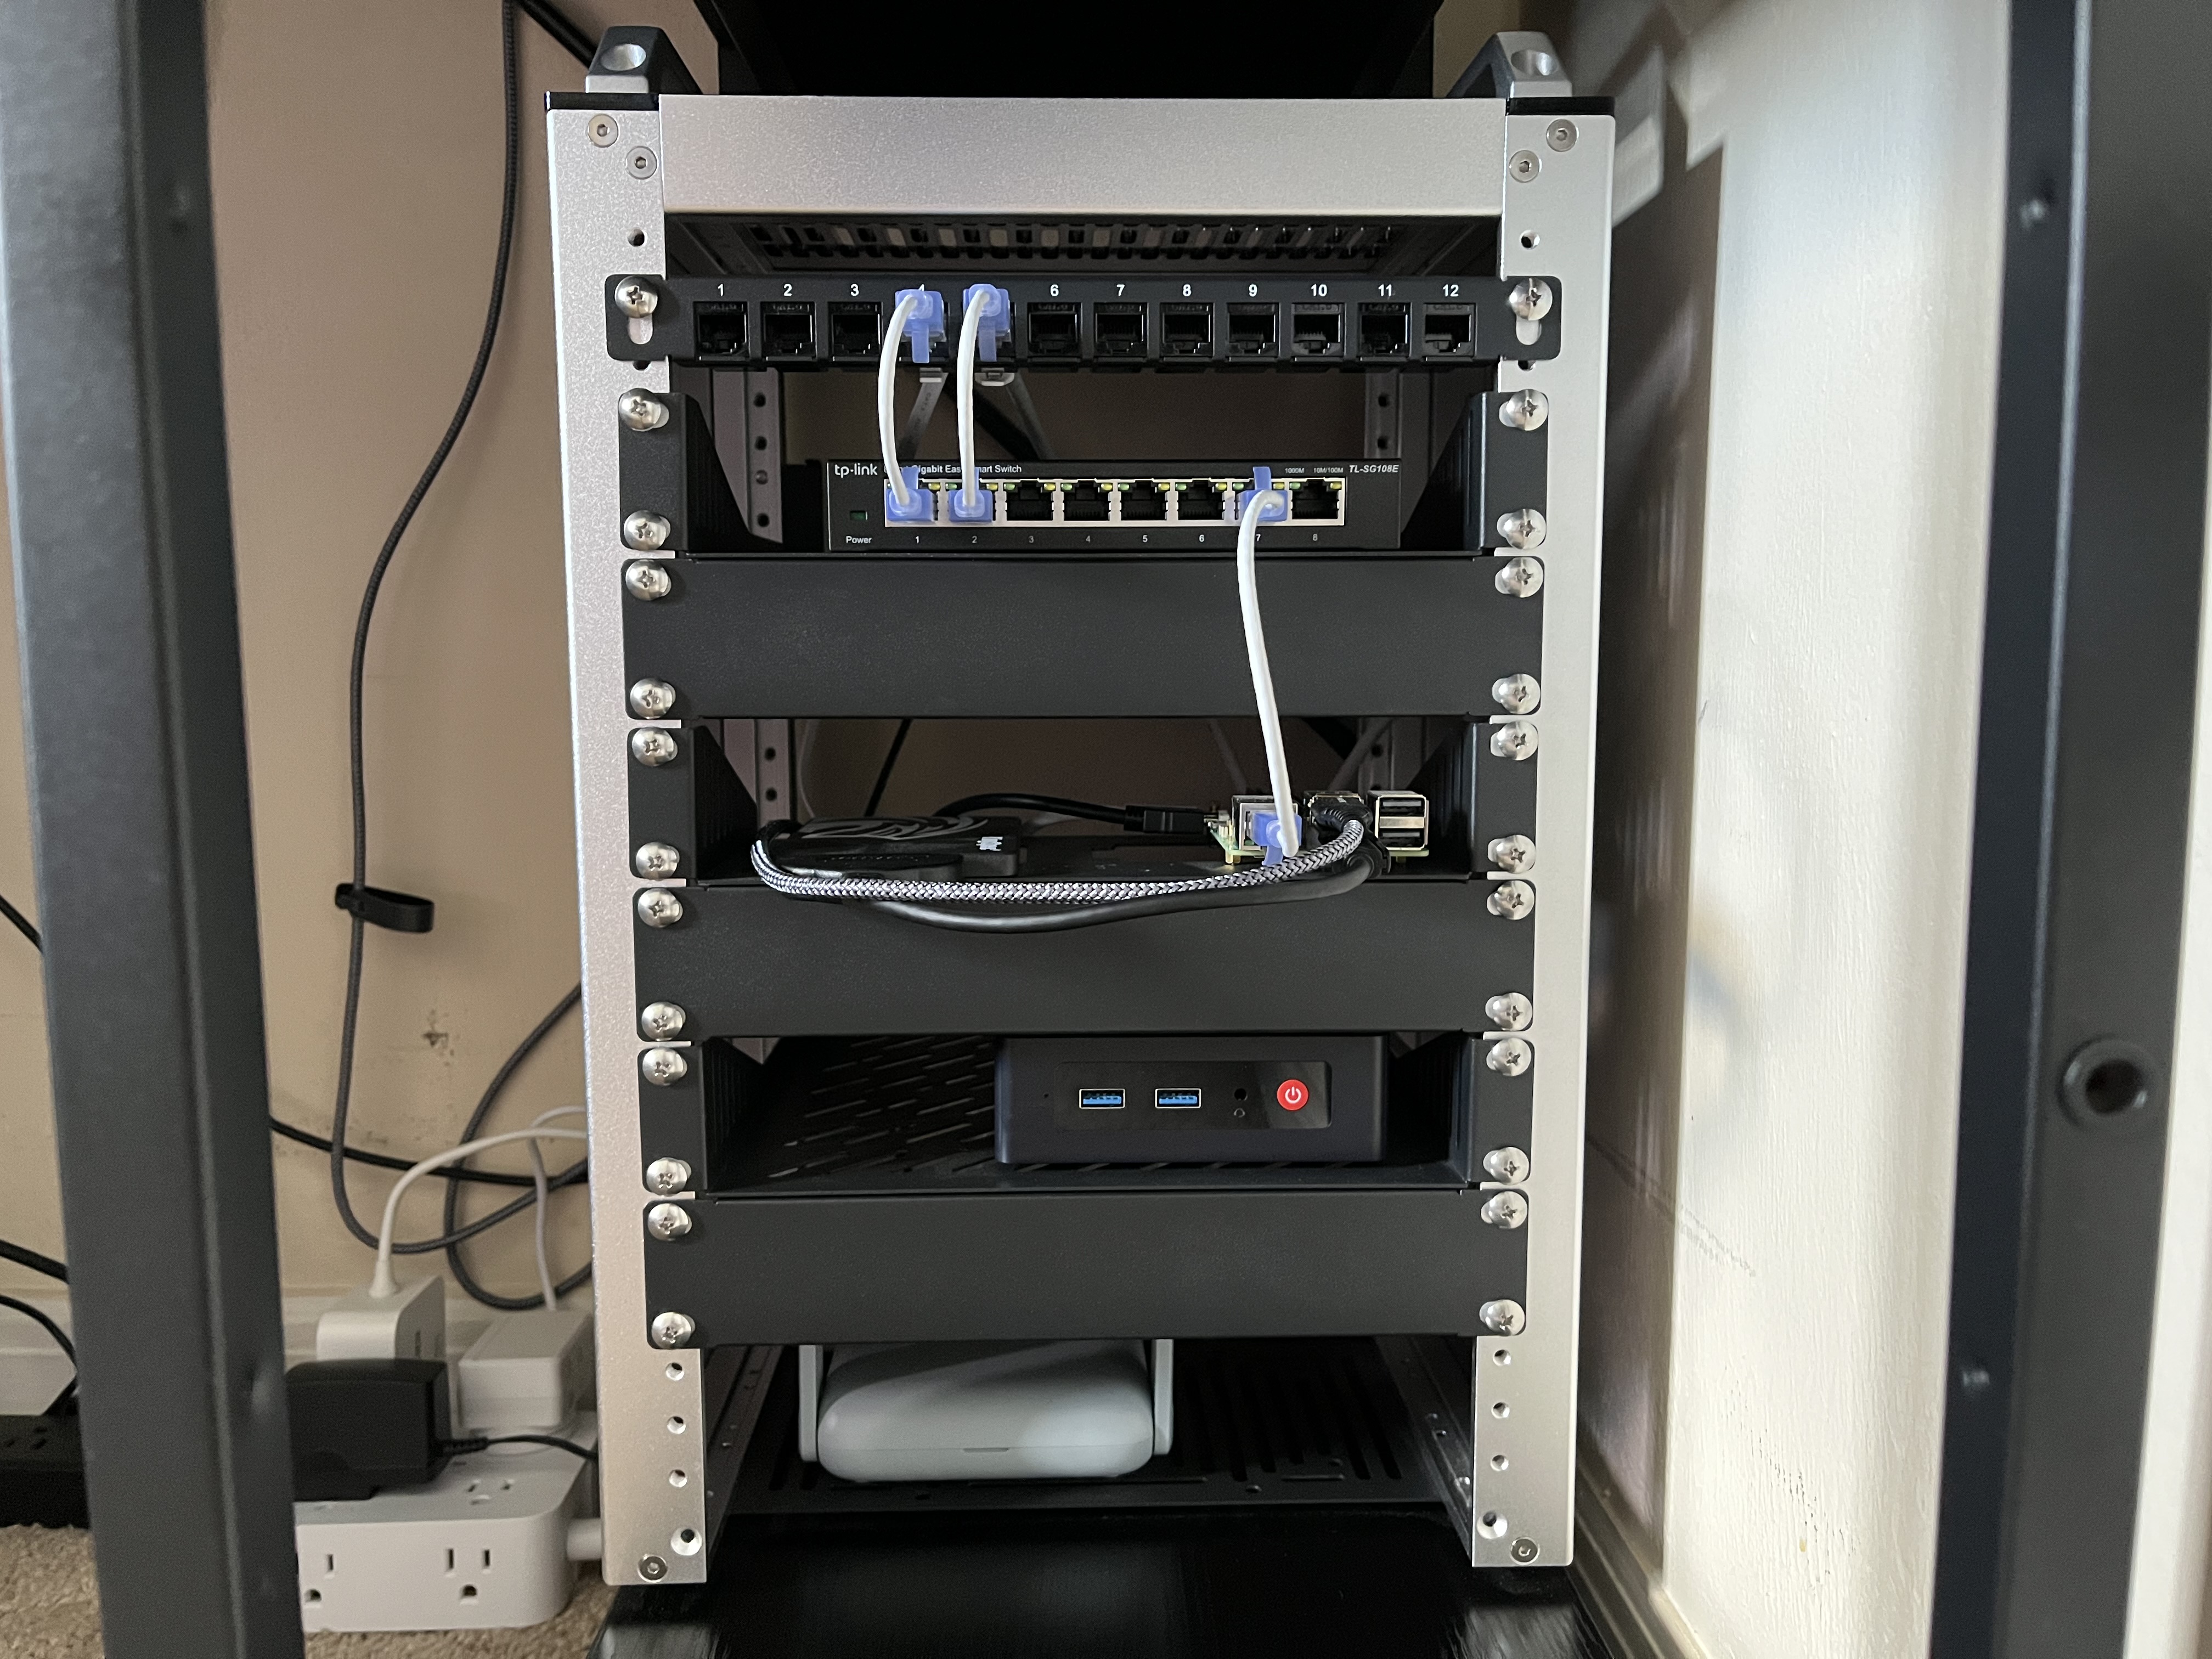
The T1 comes with a 1U shelf, an SBC shelf, and 3 1U blank panels. I also purchased another 1U shelf and a 12 port patch panel. For the most part, my hardware is the same. It’s not the most impressive hardware, but it gets the job done and is perfectly sized for the rack.
Here’s a quick rundown of the rack from top to bottom:
- 12 port patch panel
- TP-Link TL-SG108e 8-Port Gigabit Managed Switch
- (Left) KingSpec 256GB 2.5” SATA 3 SSD; (Right) Raspberry Pi 5 (8GB RAM)
- Beelink Mini S13 Mini PC
- GL.iNet GL-MT3000 Beryl AX Travel Router
The cool thing about the SBC shelf is that you can mount 2.5” HDDs/SSDs in addition to the select SBCs. I decided to get a 2.5” SSD to mount next to my Raspberry Pi 5. This is the SSD and SATA to USB adapter that I got:
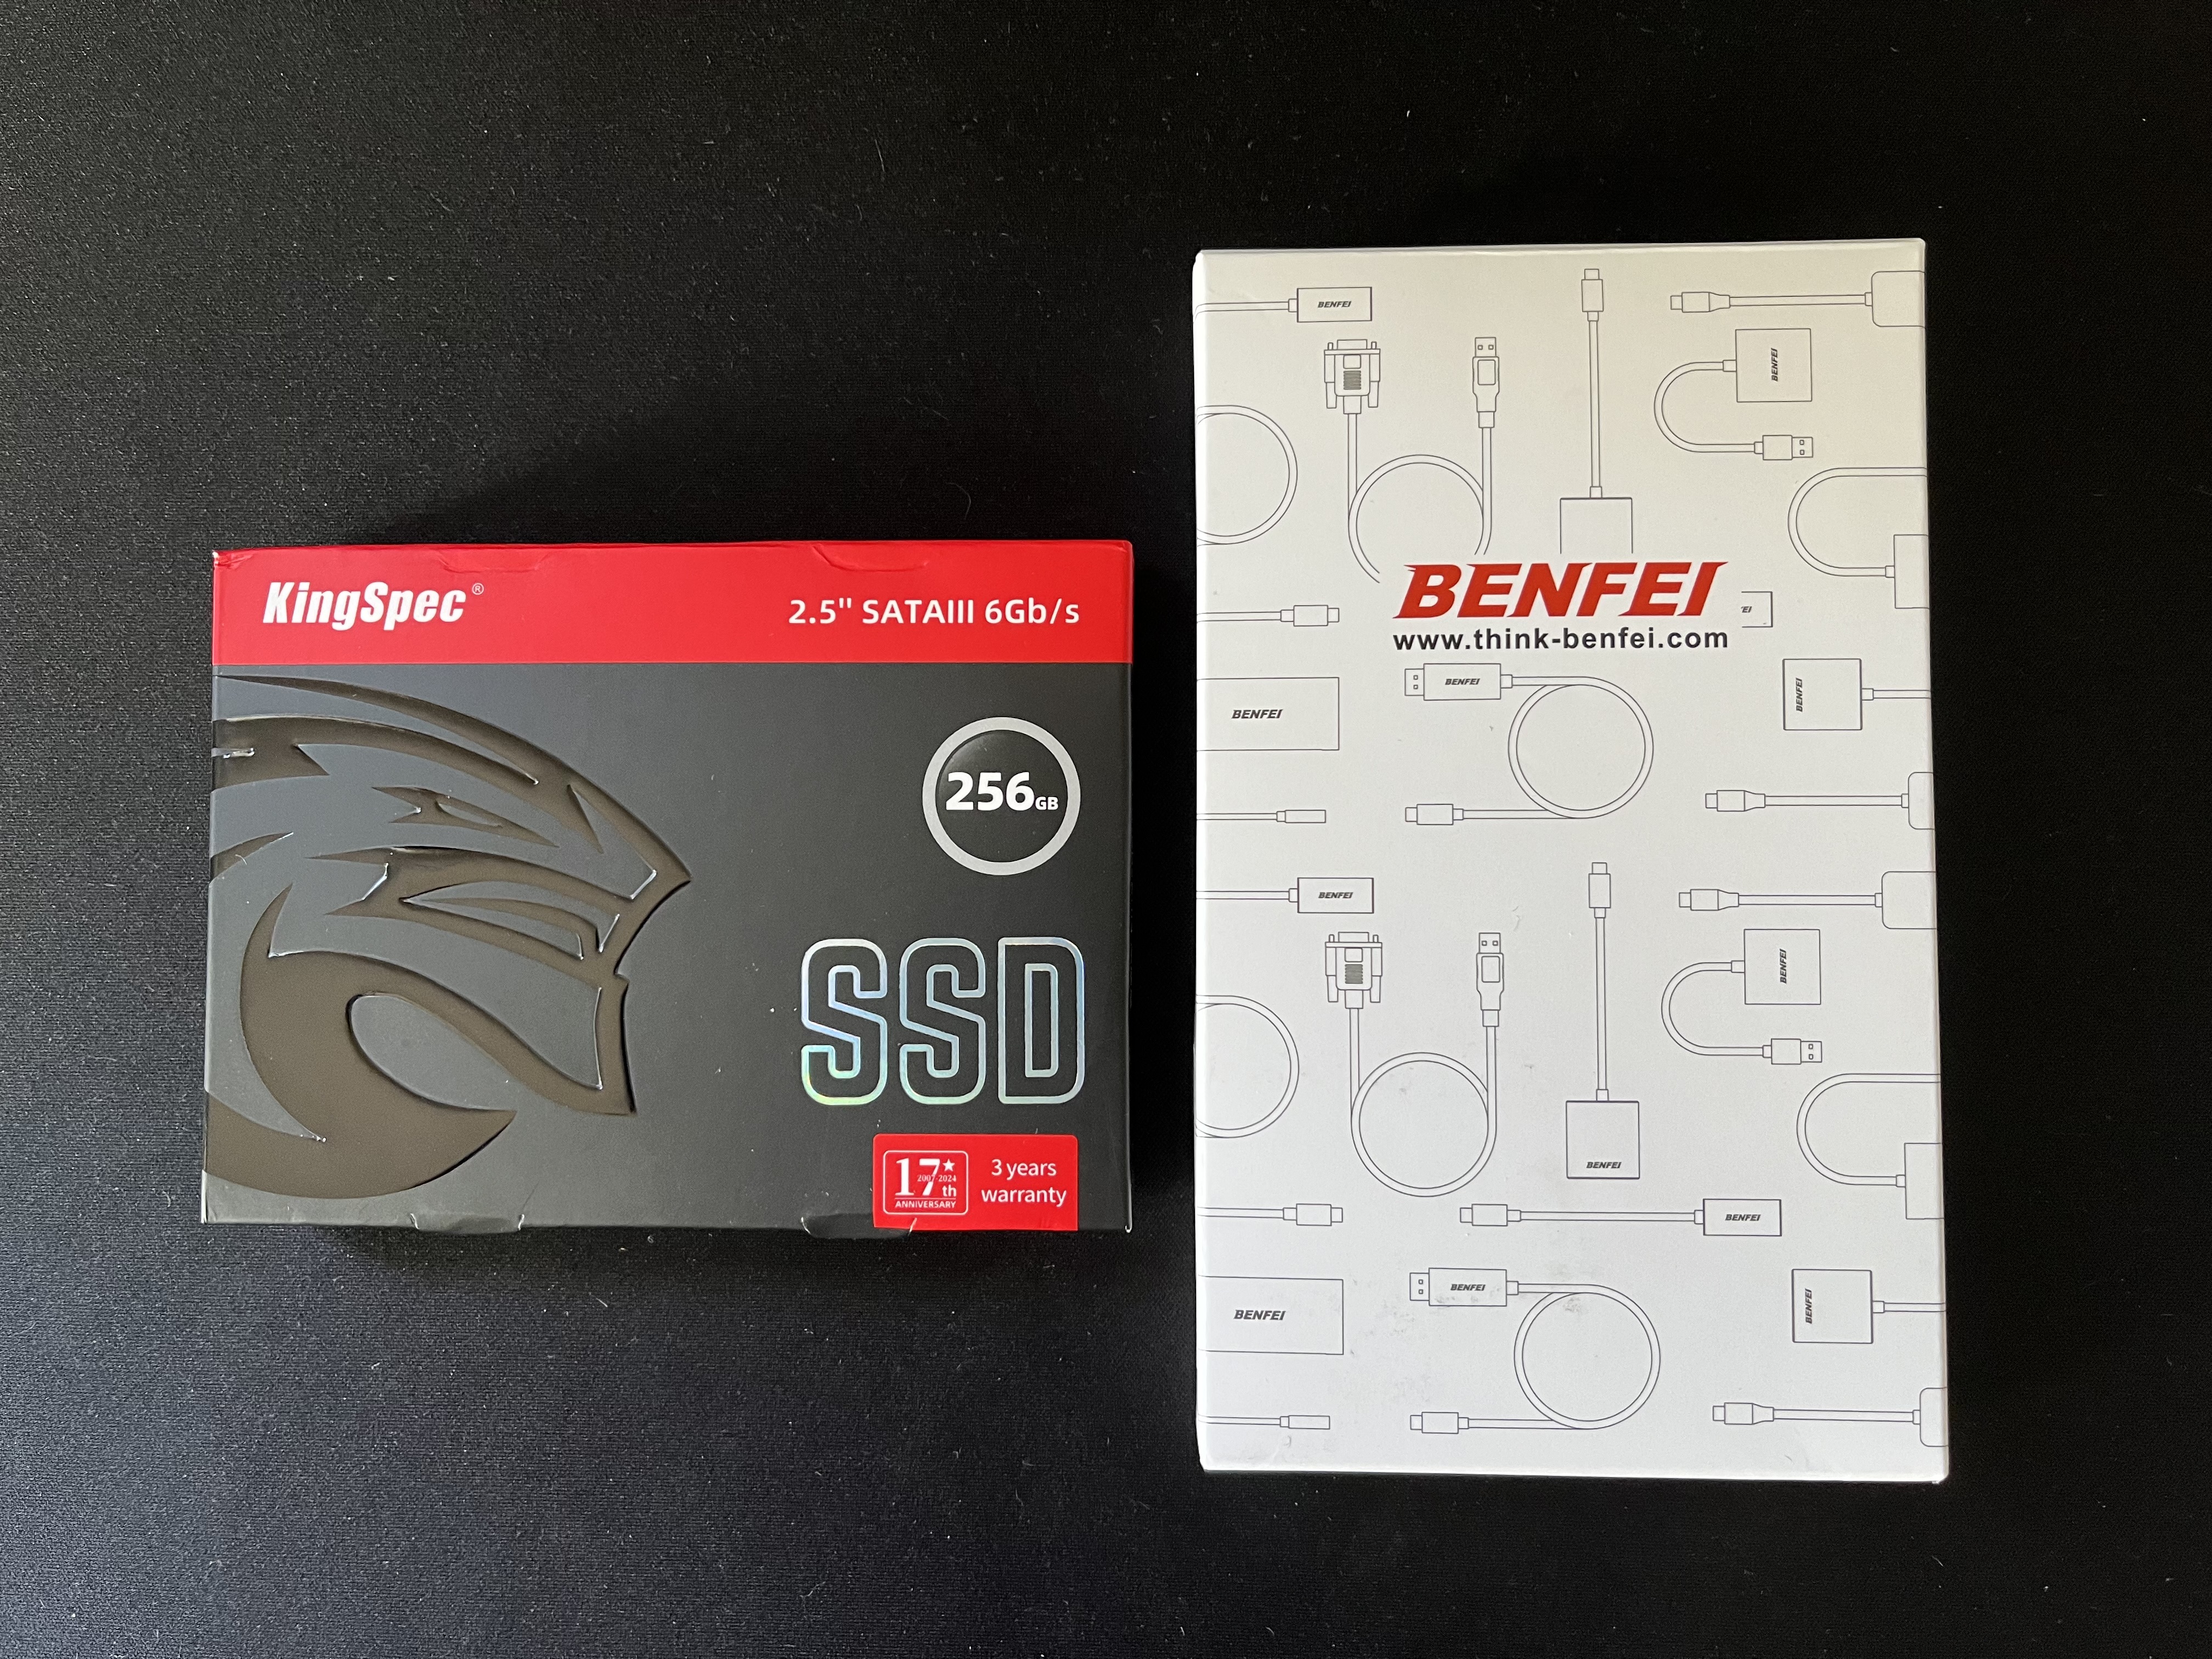
The SSD and adapter were fairly cheap, and so far the SSD is working fine. Right now I’m just using the SSD as storage for the Raspberry Pi 5. However, I’ve thought about the idea of using it as the main boot drive for my Pi 5, given the unreliability of micro SD cards. So, that might be something I do in the near future.
To help keep the rack organized, I also got these Monoprice Cat6A SlimRun series patch cables:
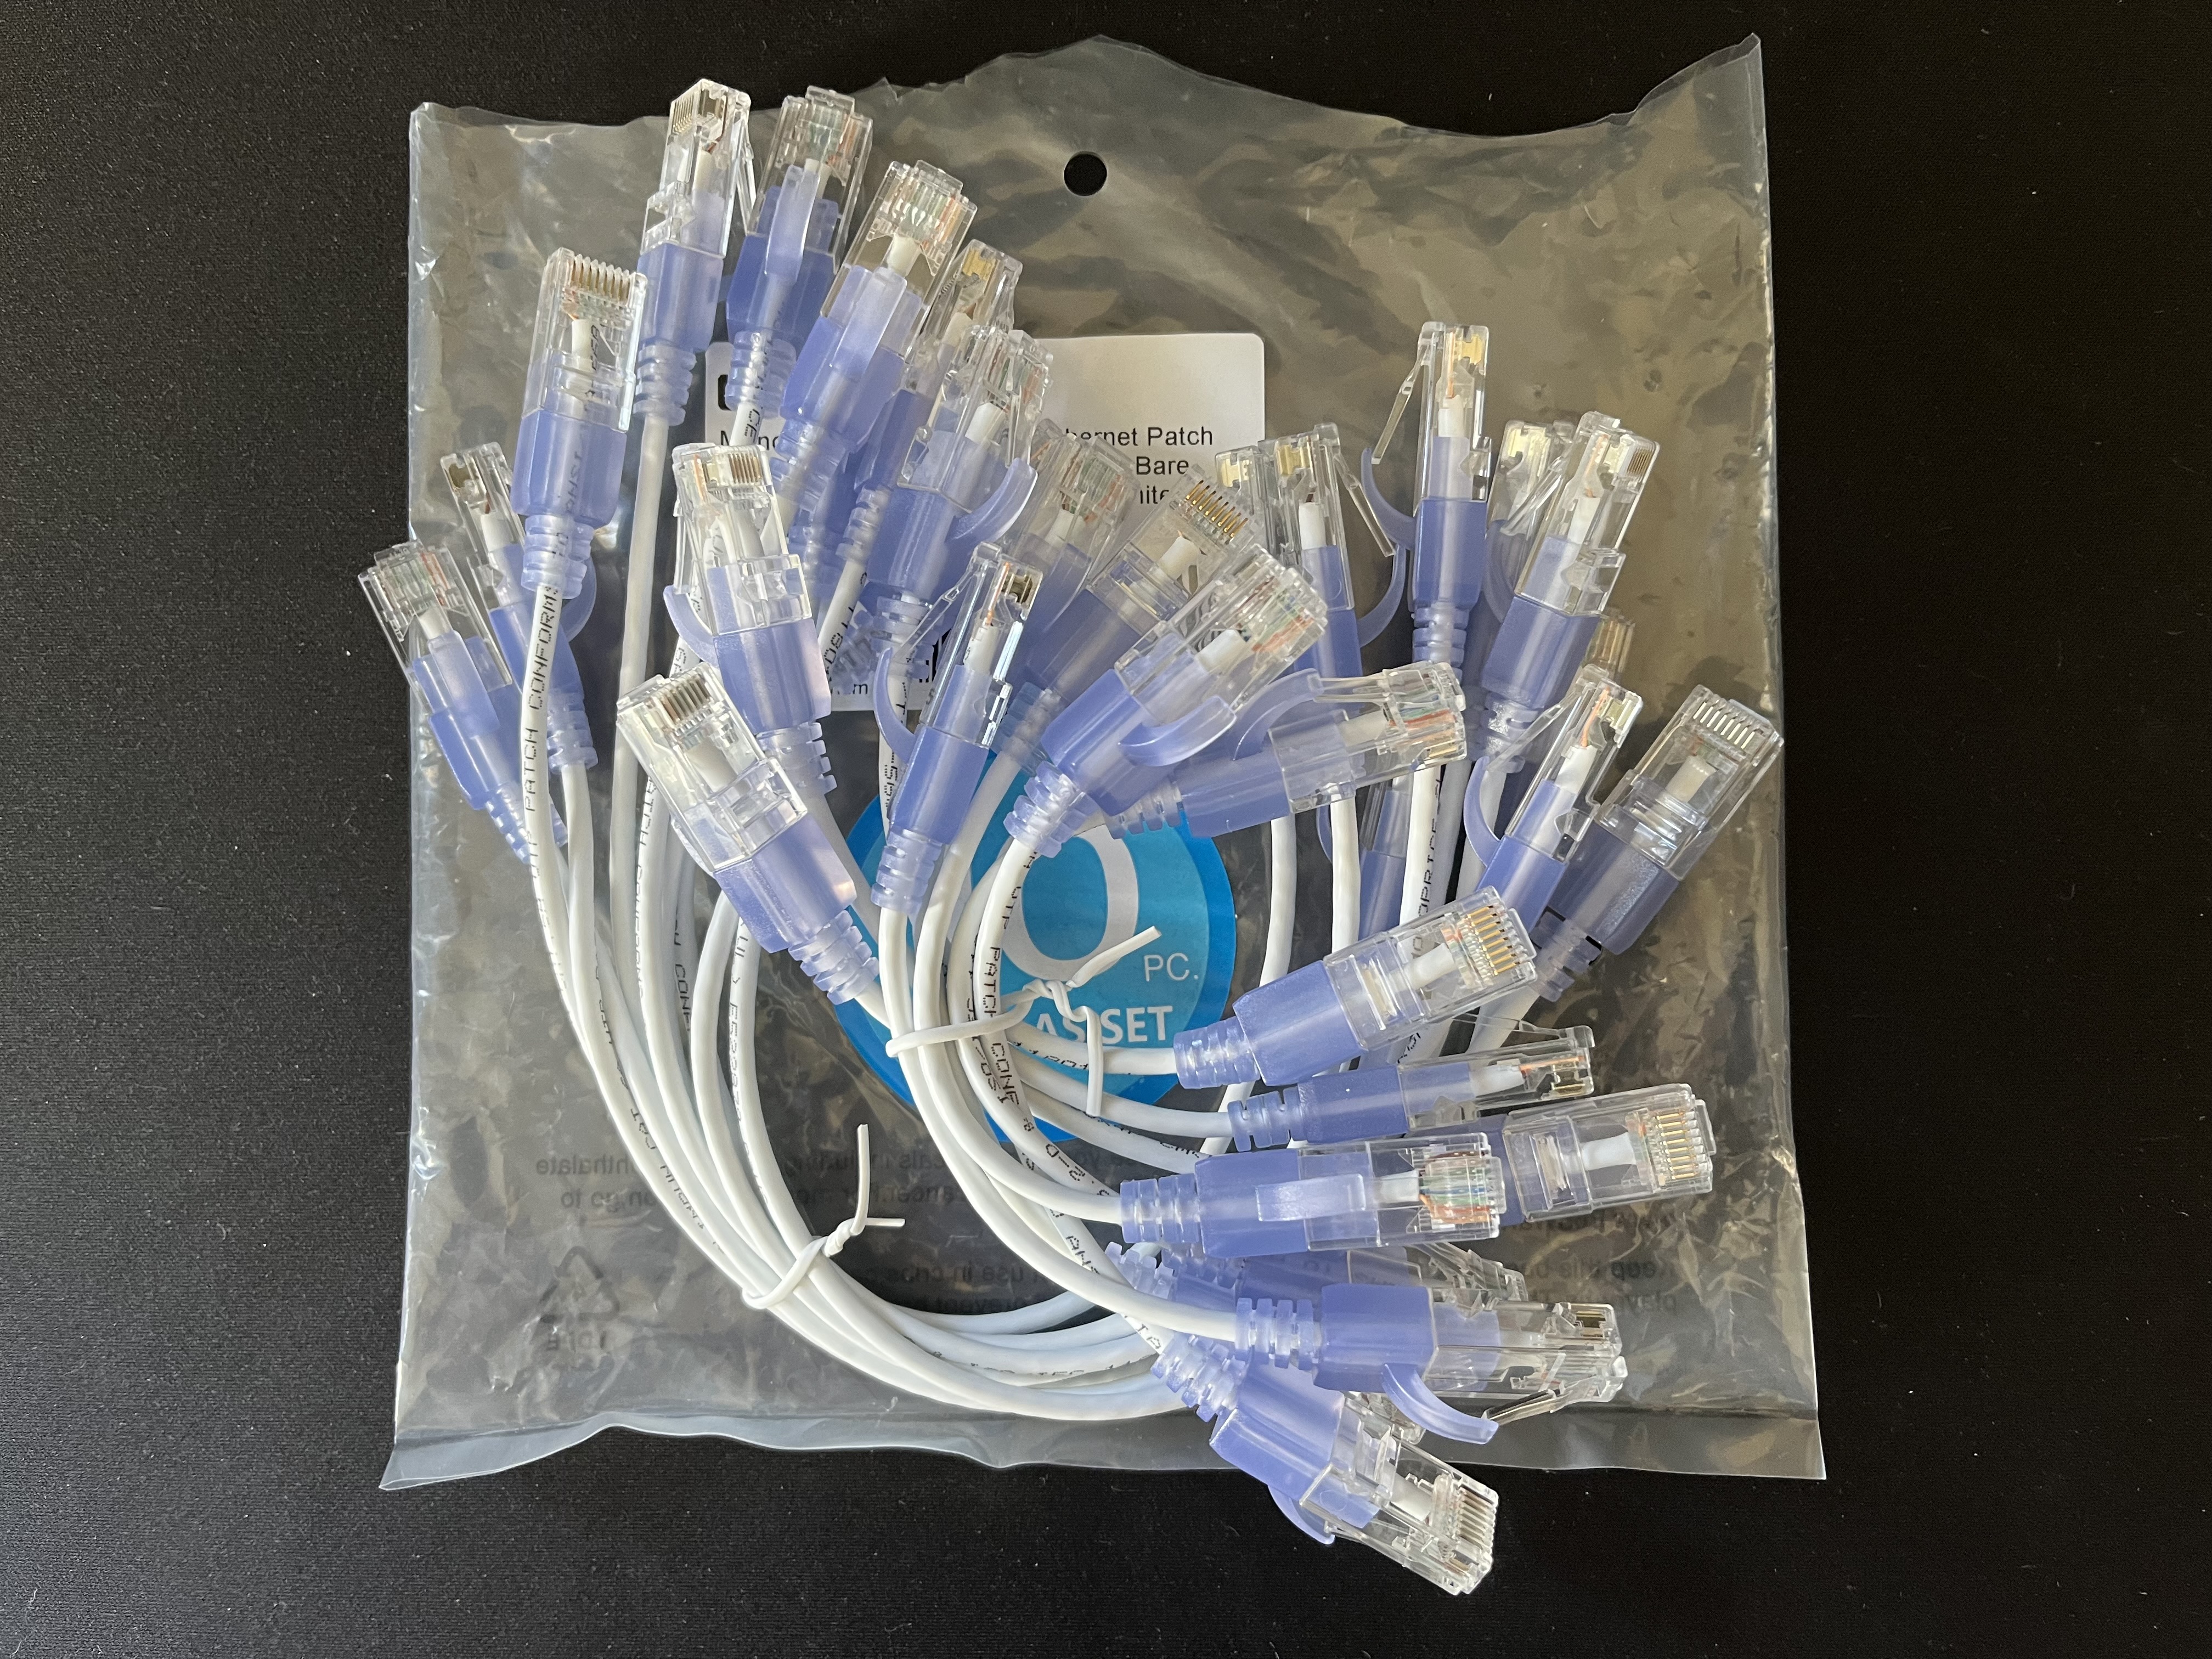
The Monoprice patch cables were a little more expensive than some of the alternatives, but they seemed to be popular among other homelabbers. I got both 0.5 ft and 1 ft cables to reach different shelves on my rack as needed. So far I’m happy with them. They’re well-built and much thinner than normal ethernet cables, so they help with the cable management.
Docker and Portainer
Lately, I’ve been focusing more on Docker and learning how to use it from the command line. One of the first services I ran on my Raspberry Pi 5 was CasaOS, which is essentially a user-friendly dashboard for managing Docker containers. Since then, I’ve moved away from CasaOS and switched to Portainer as a dashboard for managing my Docker containers. Here’s a screenshot of my Portainer dashboard:
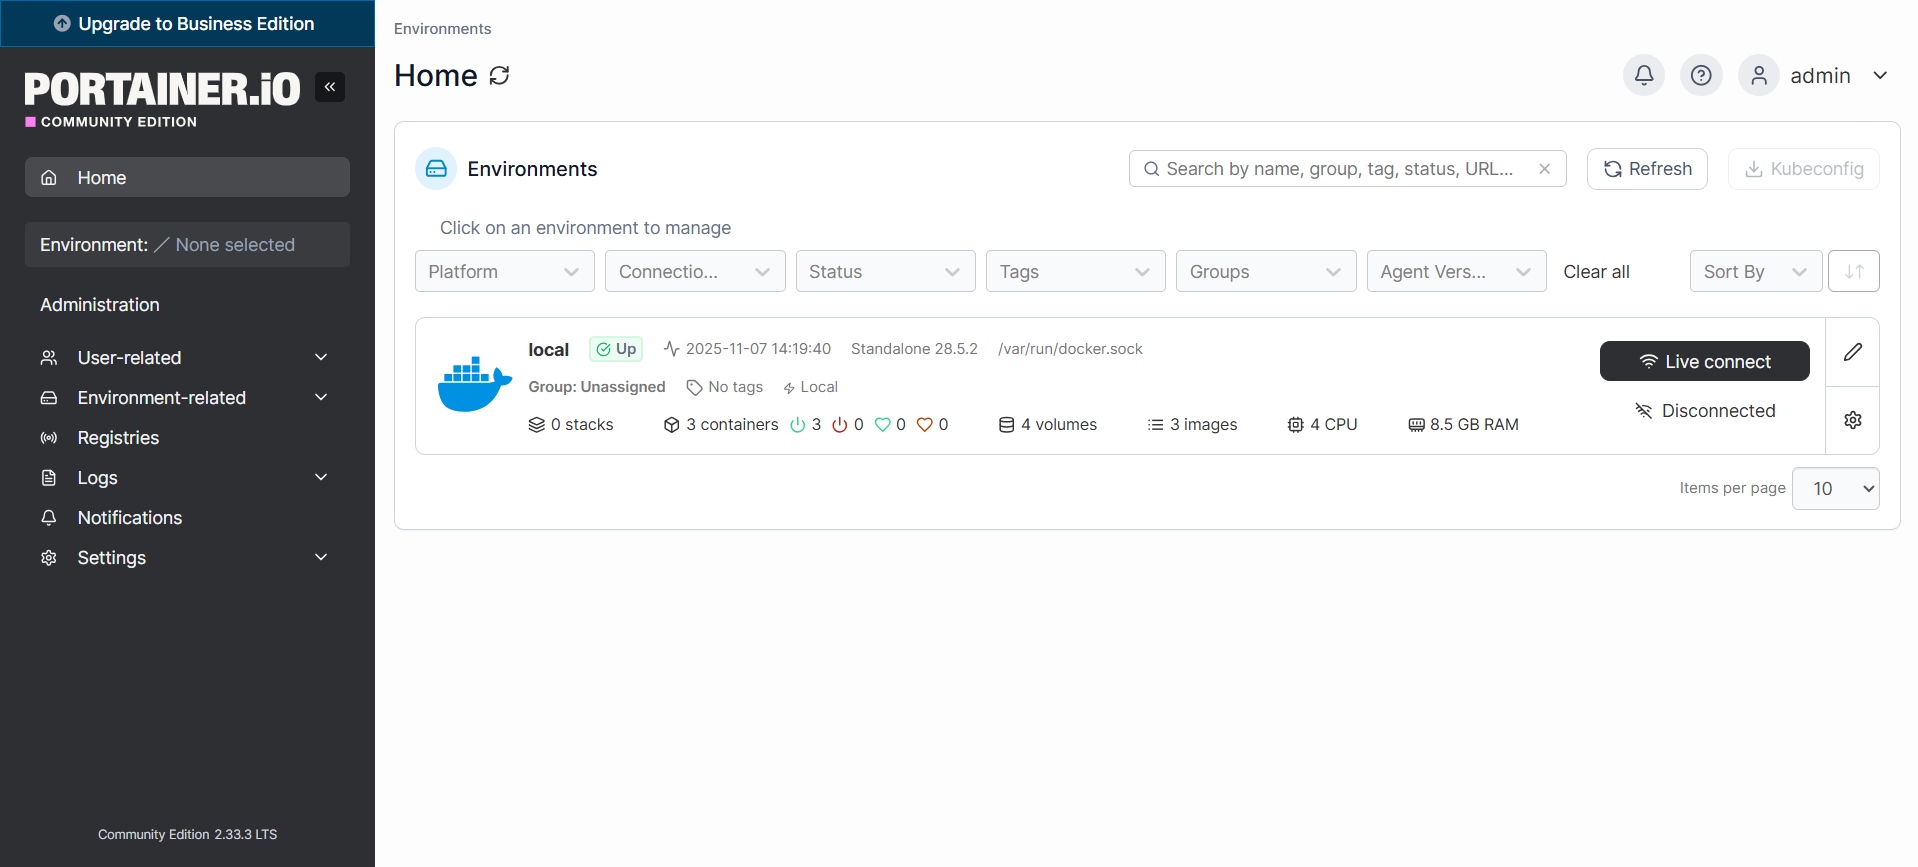
I’m currently running 3 containers: Portainer, Pi-hole, and Nginx Proxy Manager. Right now I’m working on configuring both Pi-hole and Nginx Proxy Manager. My plan is to use Pi-hole in combination with Nginx Proxy Manager to enable HTTPS for my self-hosted services and access them using custom domain names. That way I can access each service by its domain name instead of having to type an IP address and port number.
Proxmox
Not much has changed with my Proxmox server over the past few months. The only changes really have been that I upgraded to Proxmox VE 9 and added a new Windows 11 VM. So now I have an Ubuntu VM and a Windows 11 VM on my node pve1. I plan on adding some LXC containers to see how they compare to Docker containers, as well as some more VMs when I have the time.
Future Plans
In addition to what I’ve already mentioned, these are some of the things I plan on working on in my homelab. First, I plan on segmenting my network with VLANs. This is a good security best practice and will also give me some hands-on experience with configuring VLANs. Next, I’m going to work on setting up a NAS with either my Raspberry Pi 5 or the network storage and sharing functionality of my router. I also plan on self hosting some more services once I finish configuring Pi-hole and Nginx Proxy Manager.