CanaKit Raspberry Pi 5 Starter Kit PRO
In this post, I’m going to share my experience with the CanaKit Raspberry Pi 5 Starter Kit PRO and walk you through assembling the Raspberry Pi 5. I’ve decided to start experimenting more with homelabbing and thought that a Raspberry Pi would be a good starting point. Since this is my first Raspberry Pi, I decided to purchase a complete starter kit and go with the CanaKit Raspberry Pi 5 Starter Kit PRO - Turbine Black (128GB Edition) (8GB RAM) on Amazon for $159. My plan is to utilize the Raspberry Pi as a homelab and to experiment with running different services.
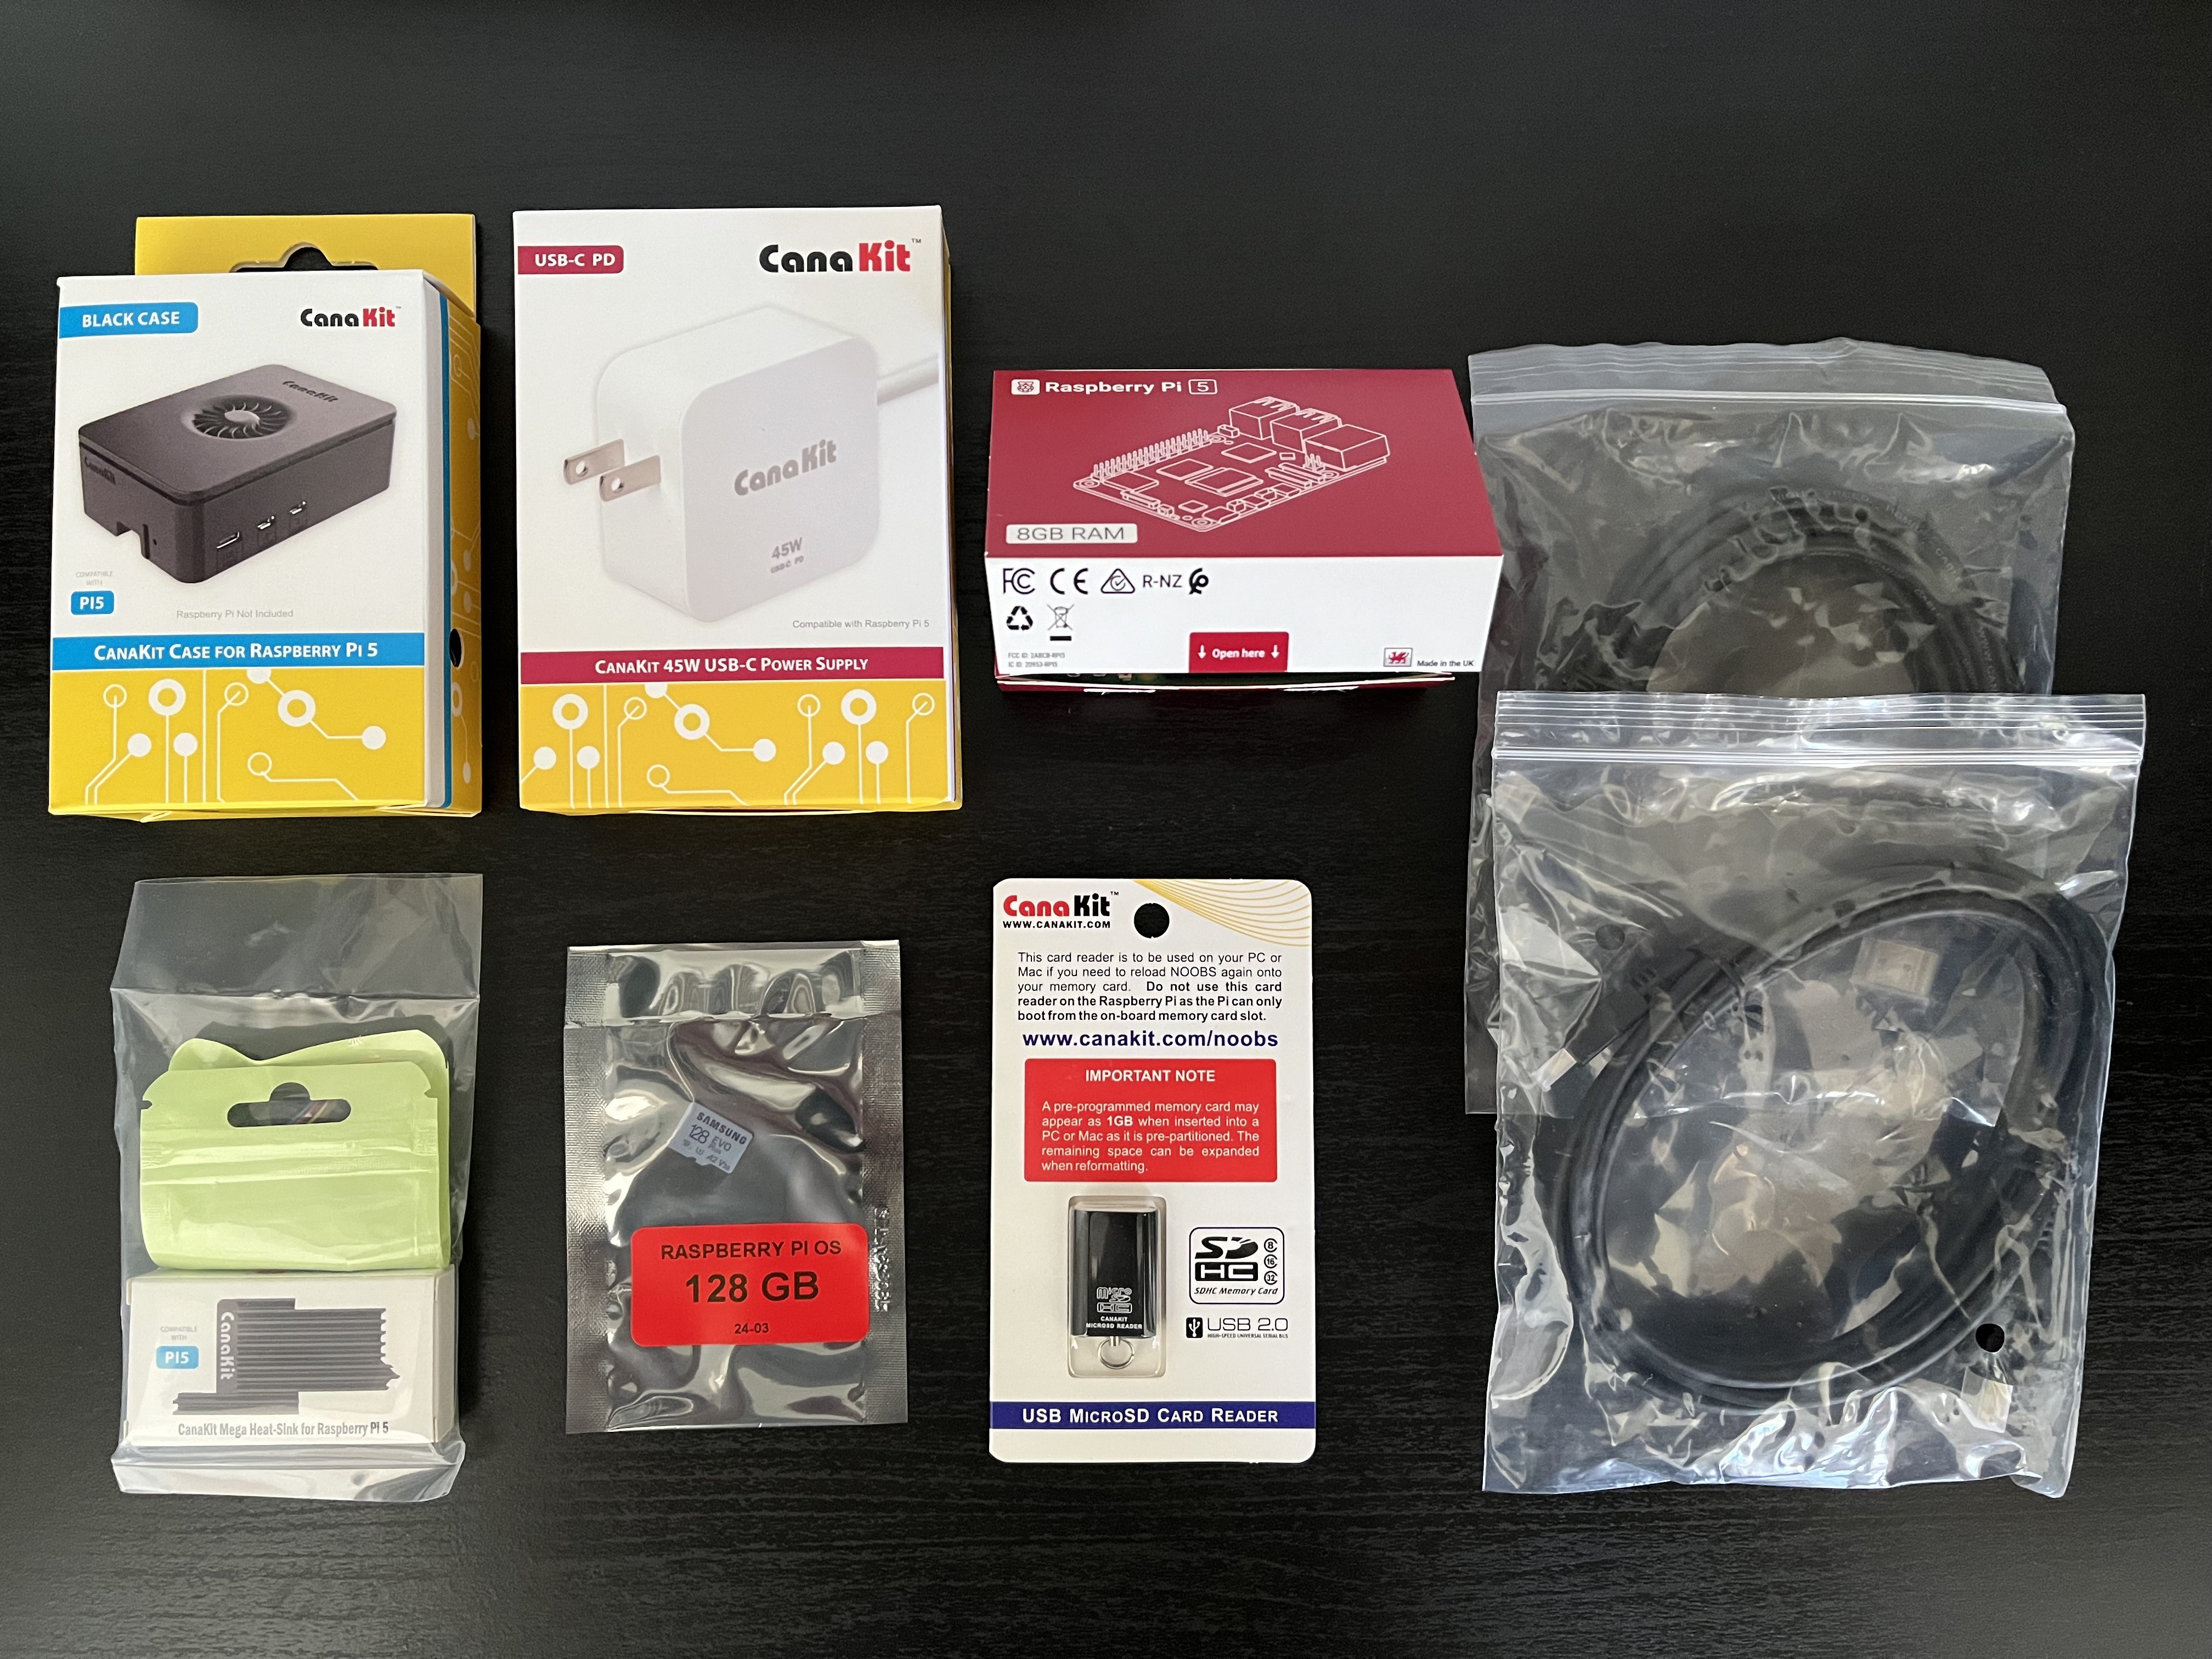
Starter Kit Contents
Here is a list of everything that is included in the starter kit:
- Raspberry Pi 5 board with 2.4Ghz 64-bit quad-core CPU (8GB RAM)
- 128GB Samsung MicroSD card (pre-loaded with Pi OS)
- USB MicroSD card reader
- Black case for Raspberry Pi 5
- Fan
- Heat Sink
- 45W USB C power supply
- 2 Micro HDMI to HDMI cables
Assembly
Assembling the Raspberry Pi 5 was simple and straightforward, and there is even a setup guide you can watch. I just assembled it on my own.
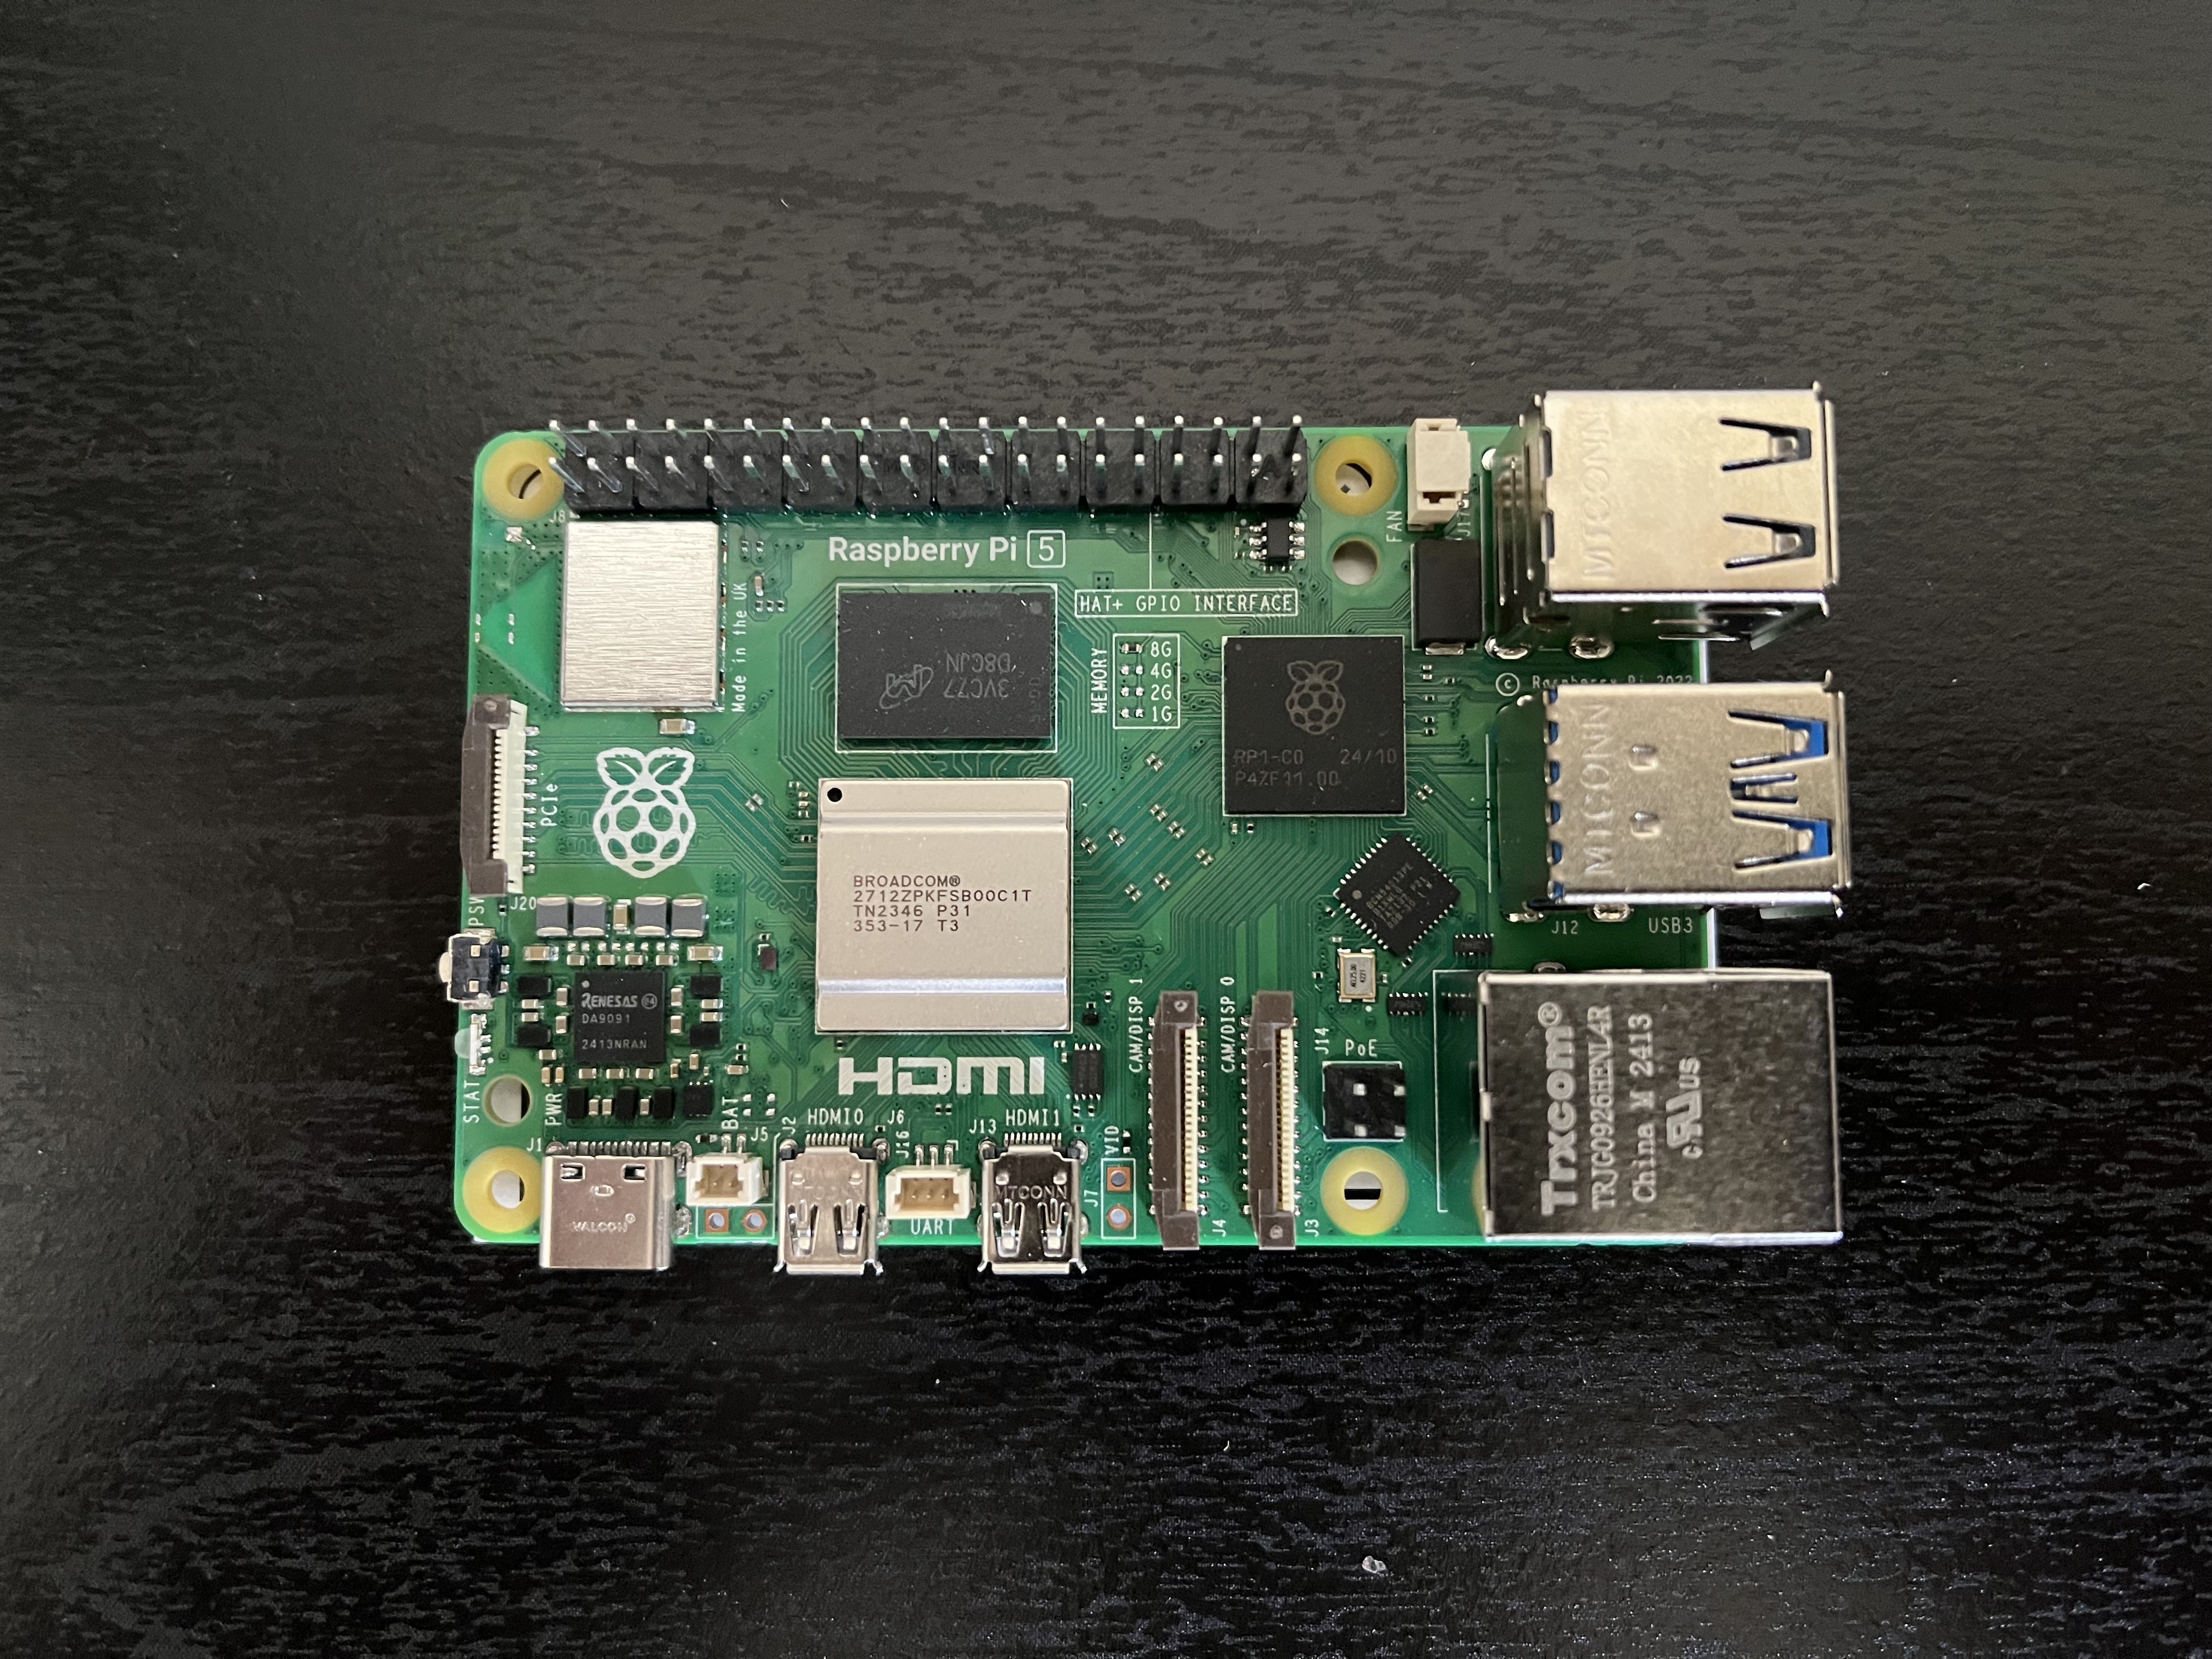
Raspberry Pi 5 board
Here is a picture of the Raspberry Pi 5 board itself:
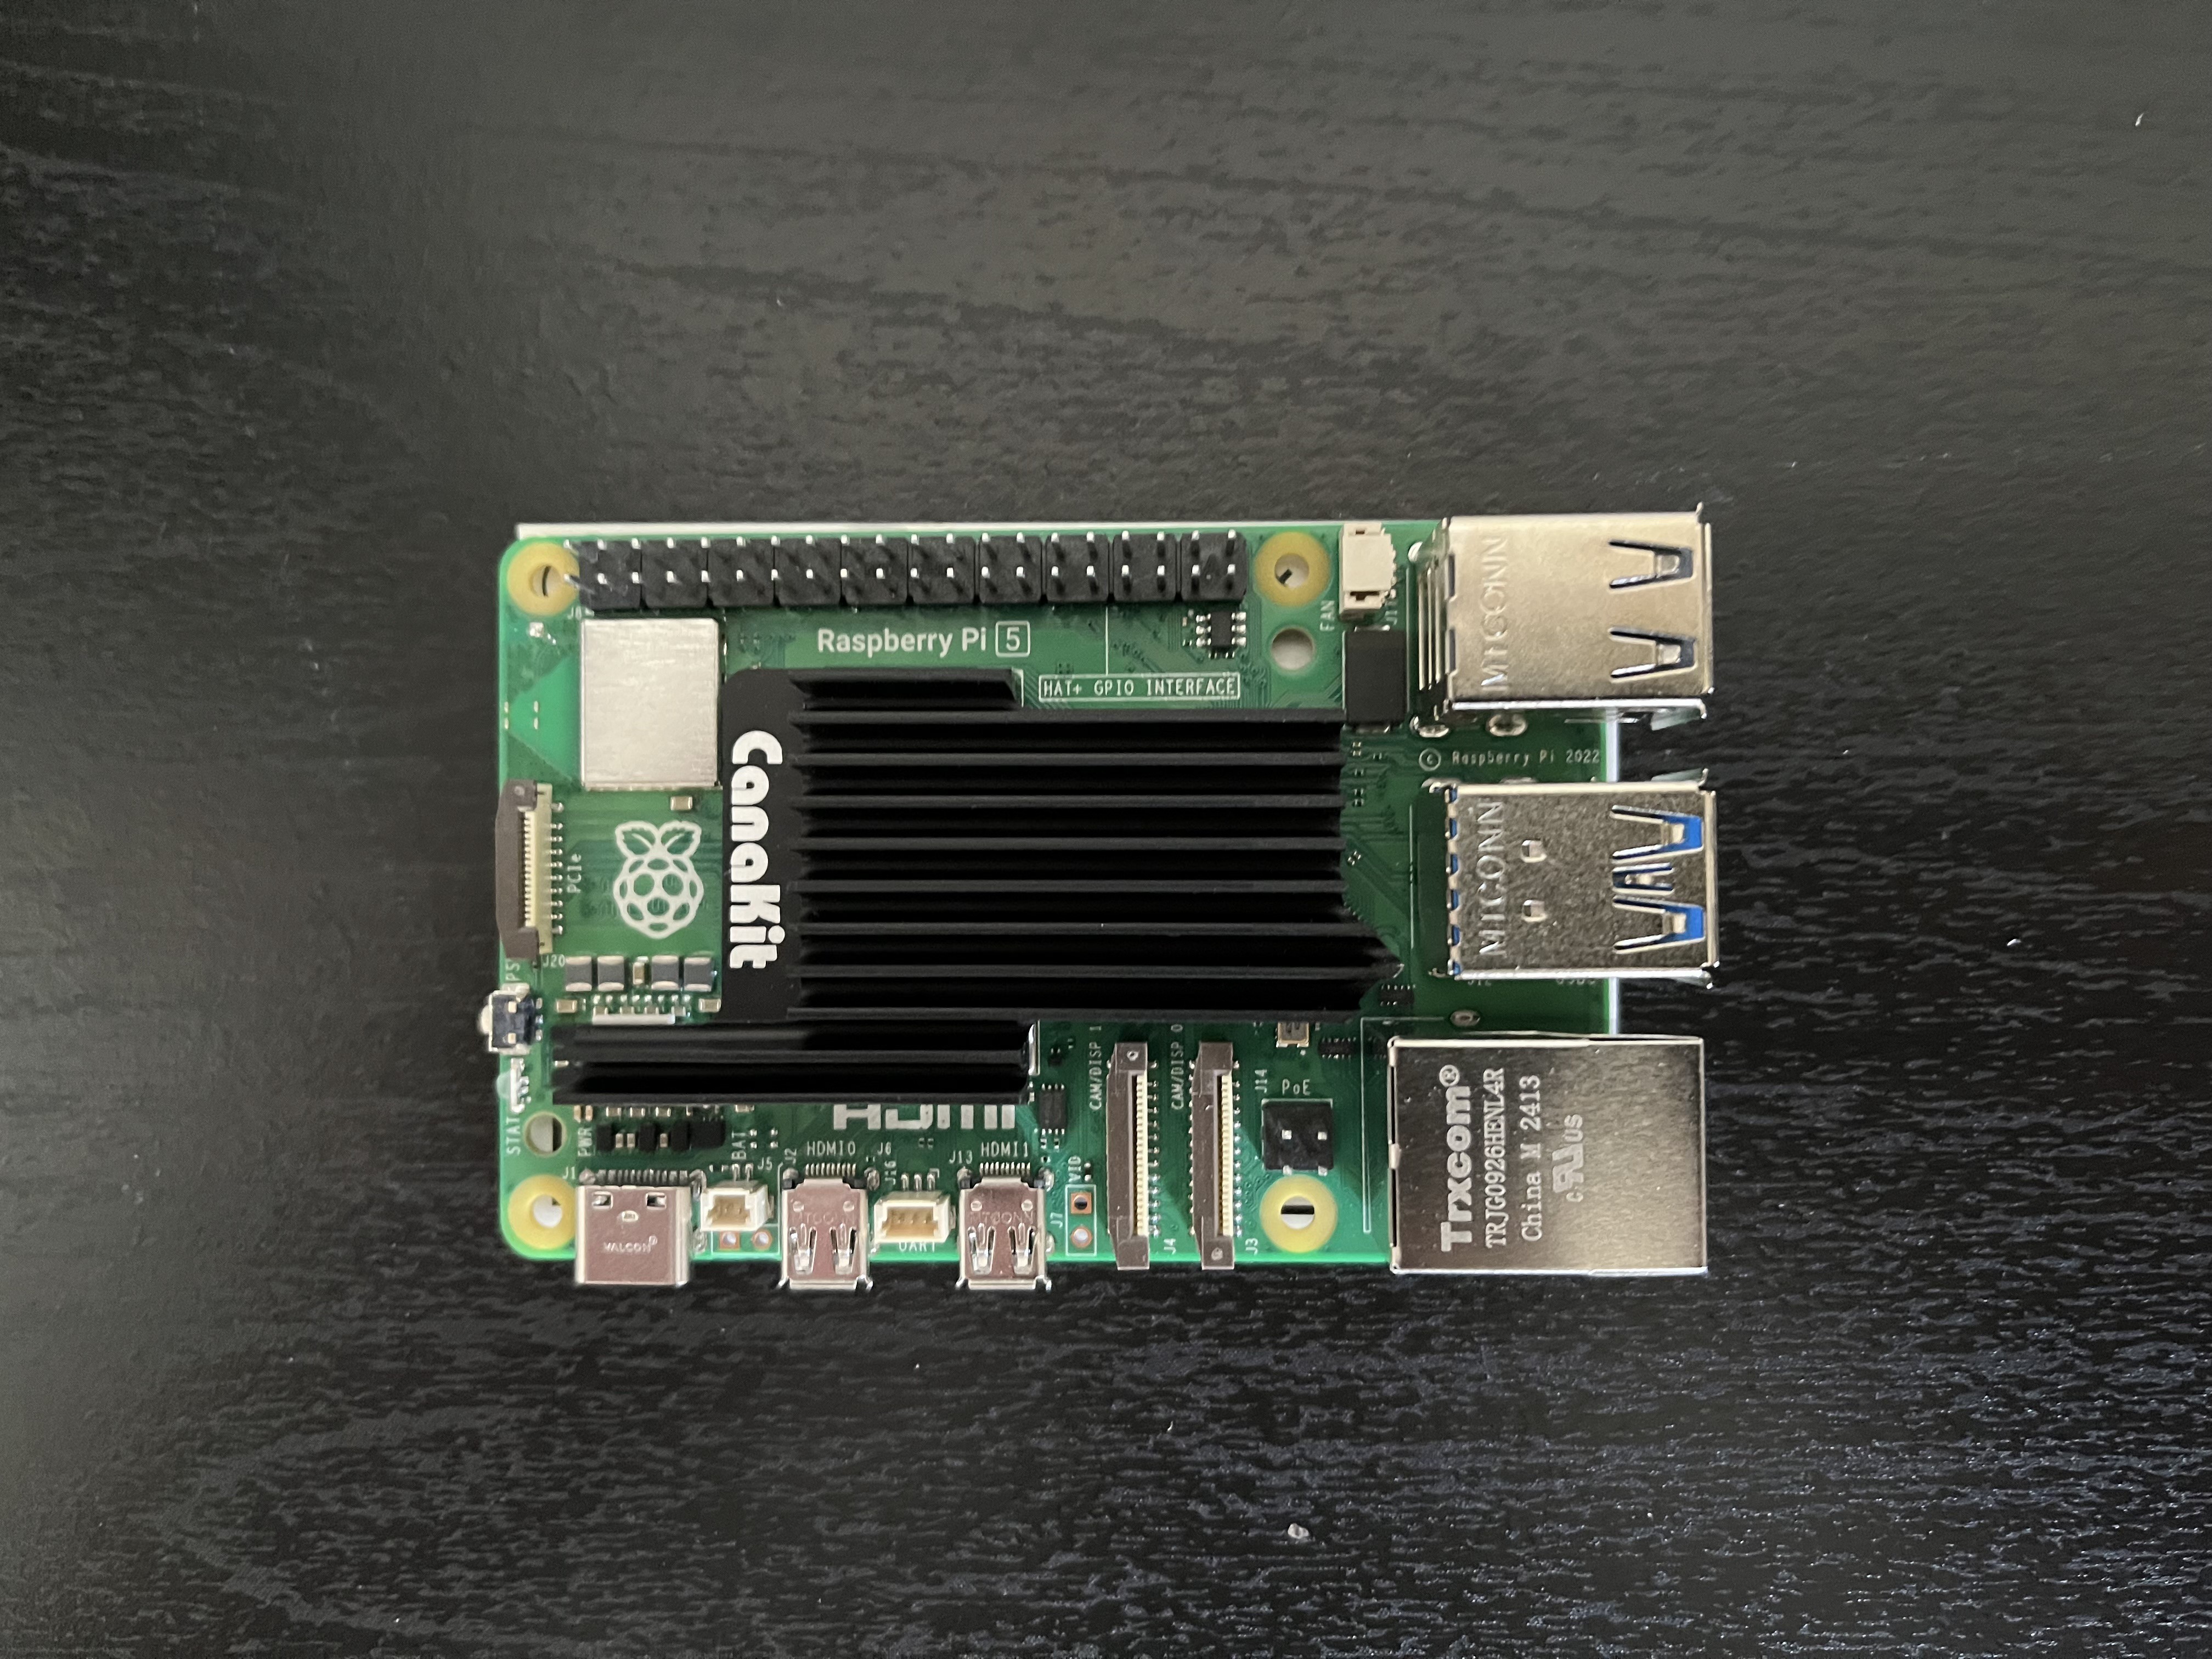
Step 1: Attach heat sink
The first step is to attach the heat sink. Remove the covers from the thermal pads on the bottom of the heatsink, align the heat sink with the chips on the Pi board, and press down firmly.
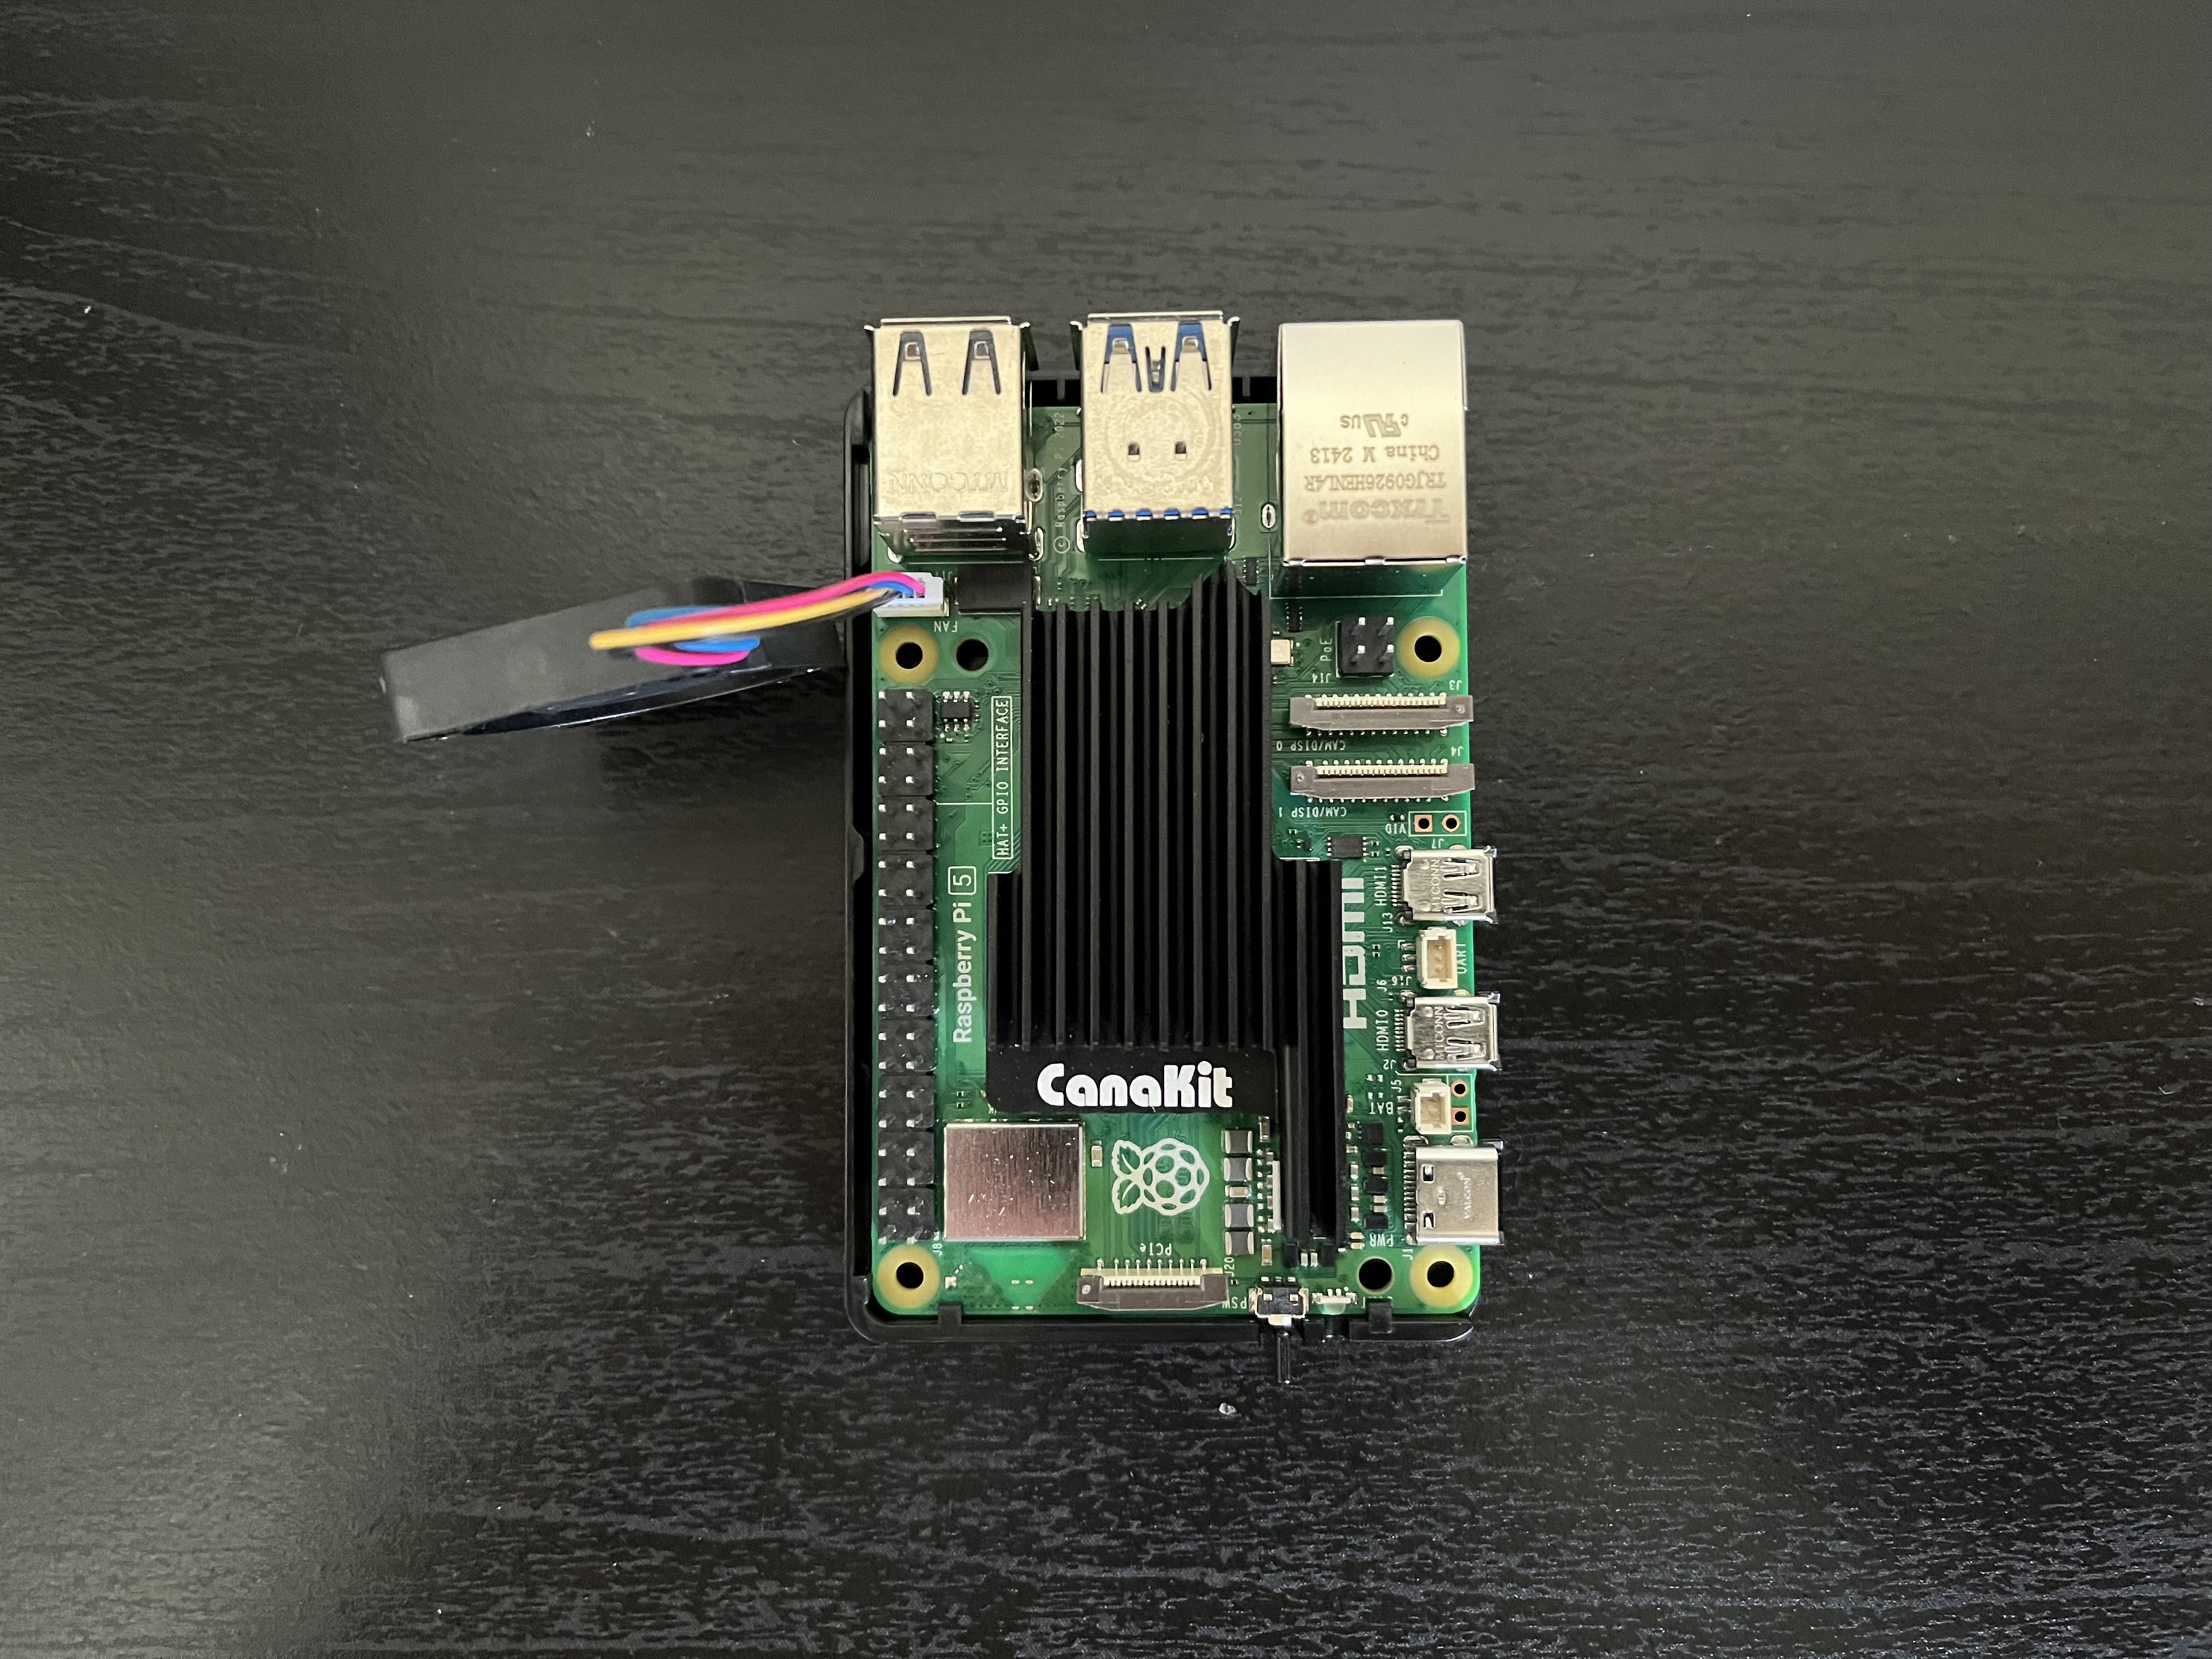
Step 2: Insert Pi board into bottom casing
Carefully insert the Raspberry Pi 5 board into the bottom casing.

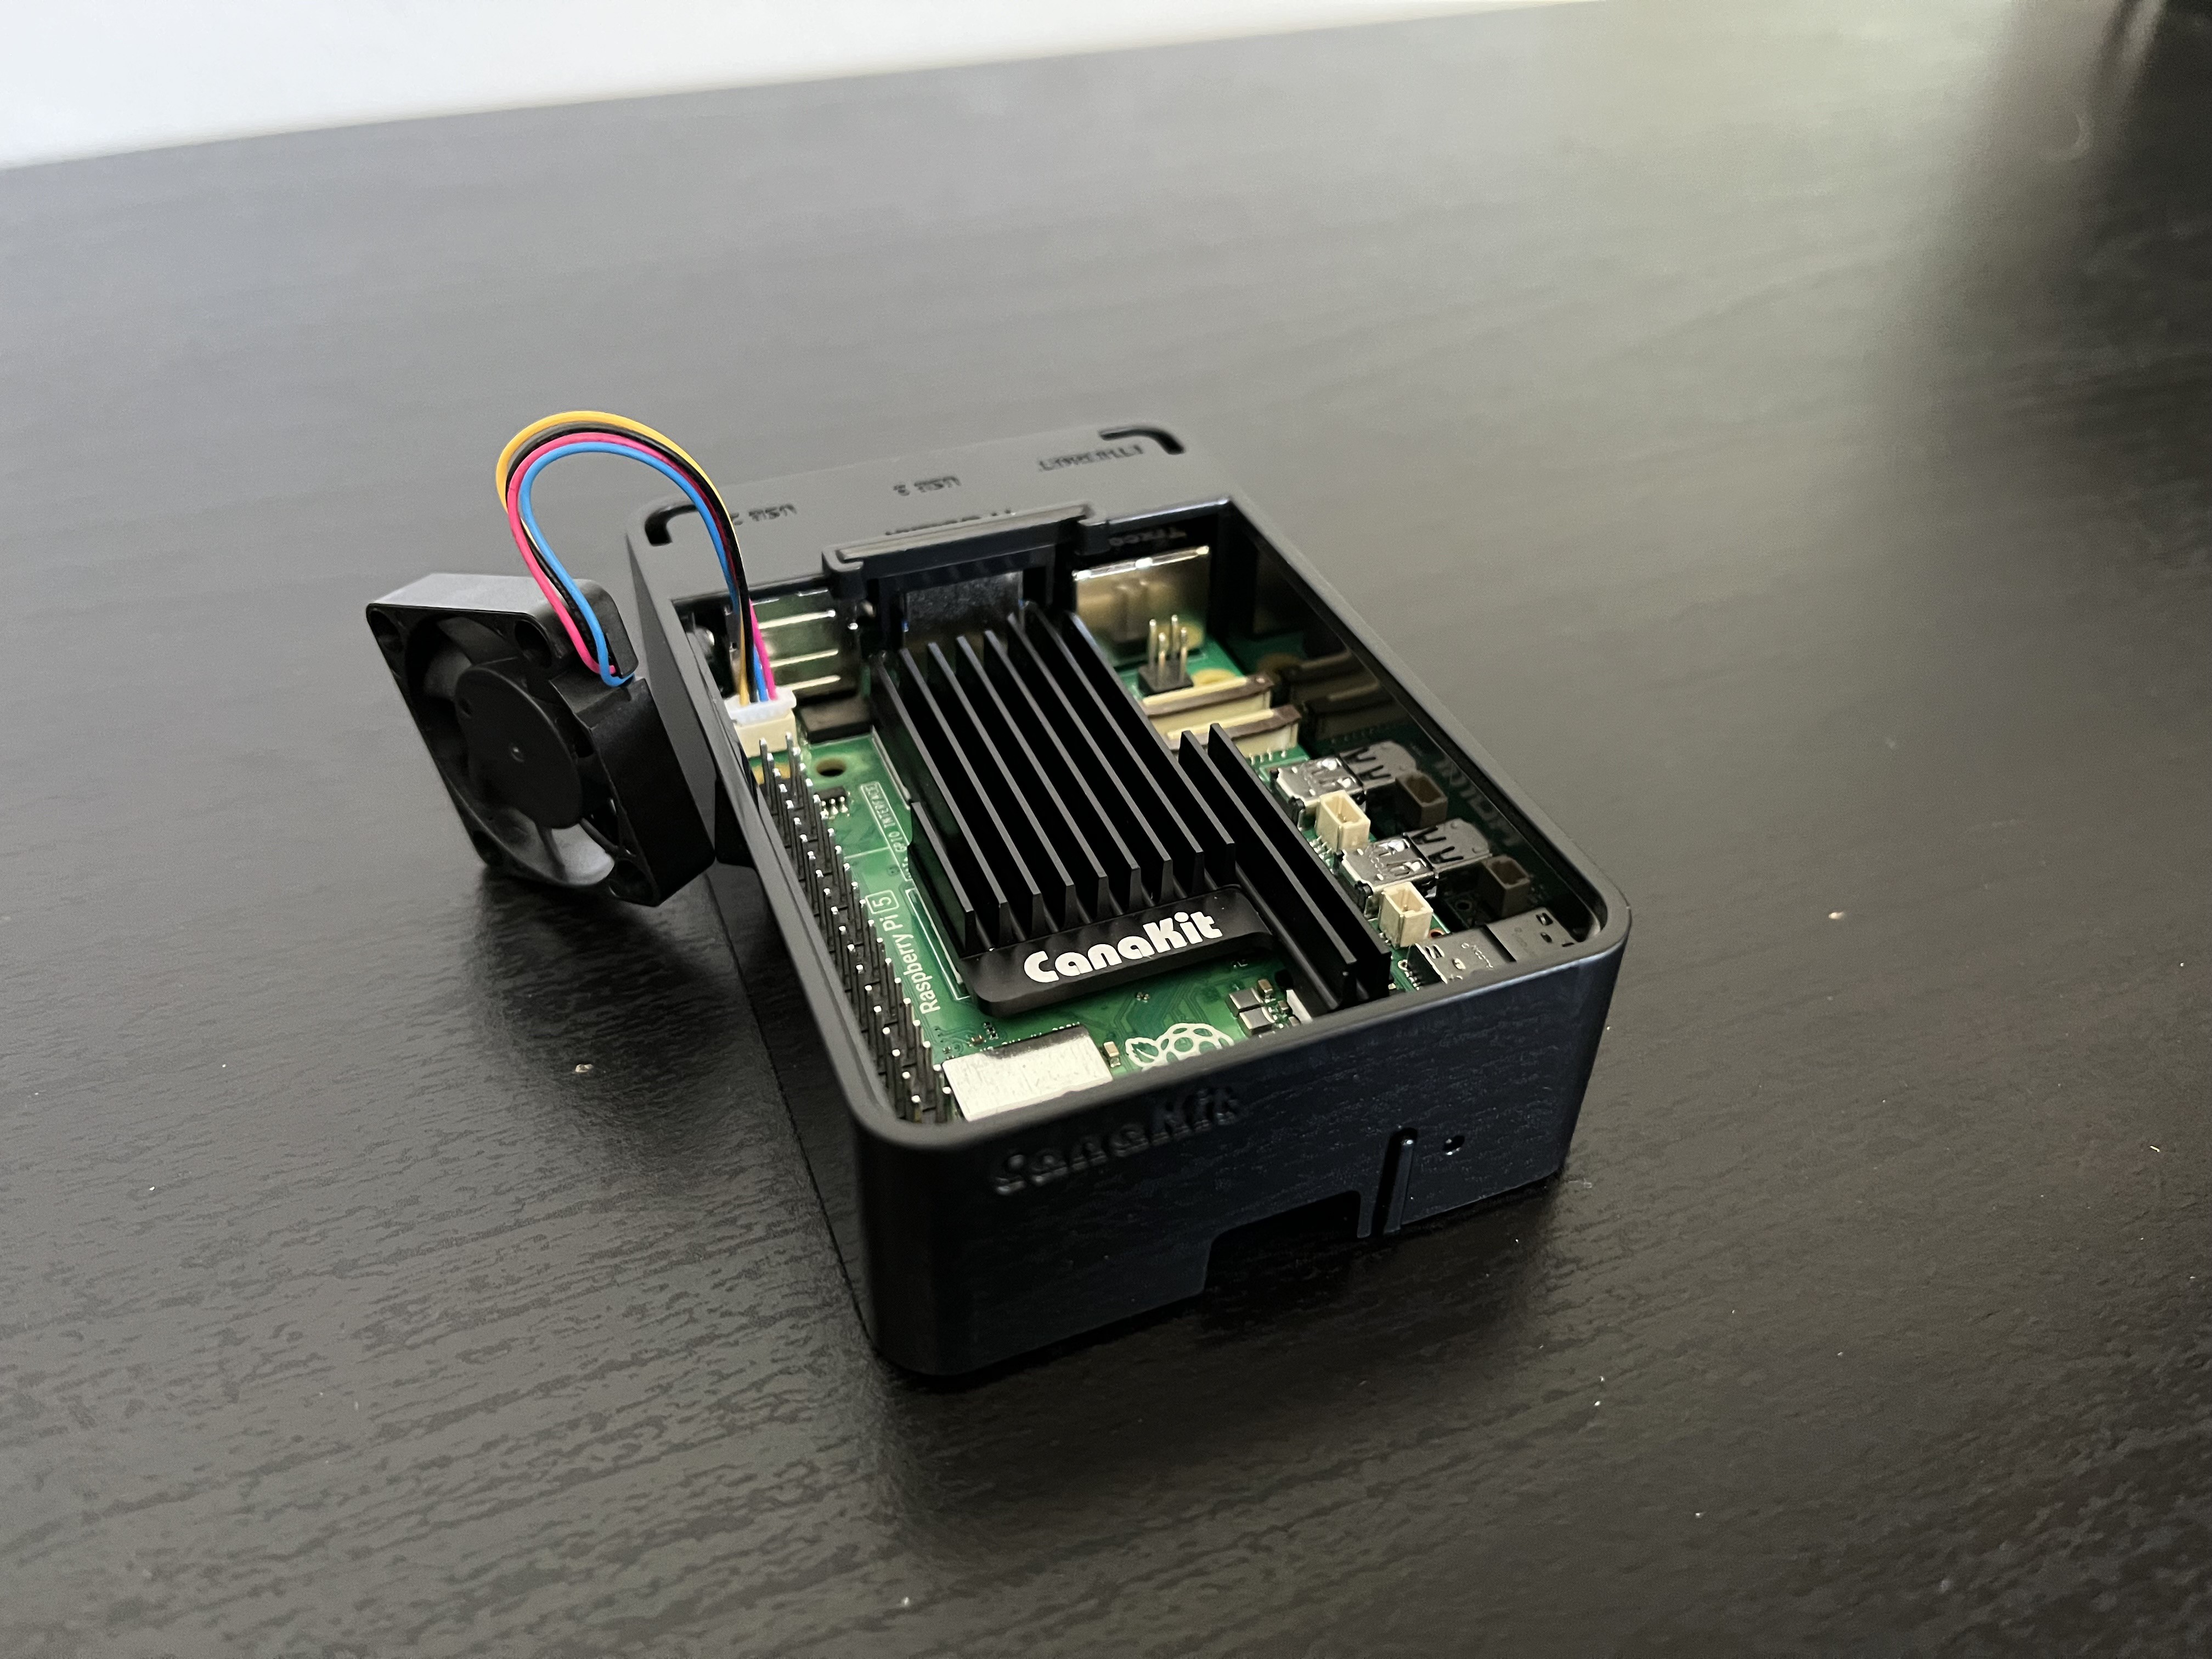
Step 3: Attach fan
Remove the cap from the fan connector on the Pi board and connect the fan cable.
Step 4: Connect middle casing
Connect the middle casing to the bottom casing.
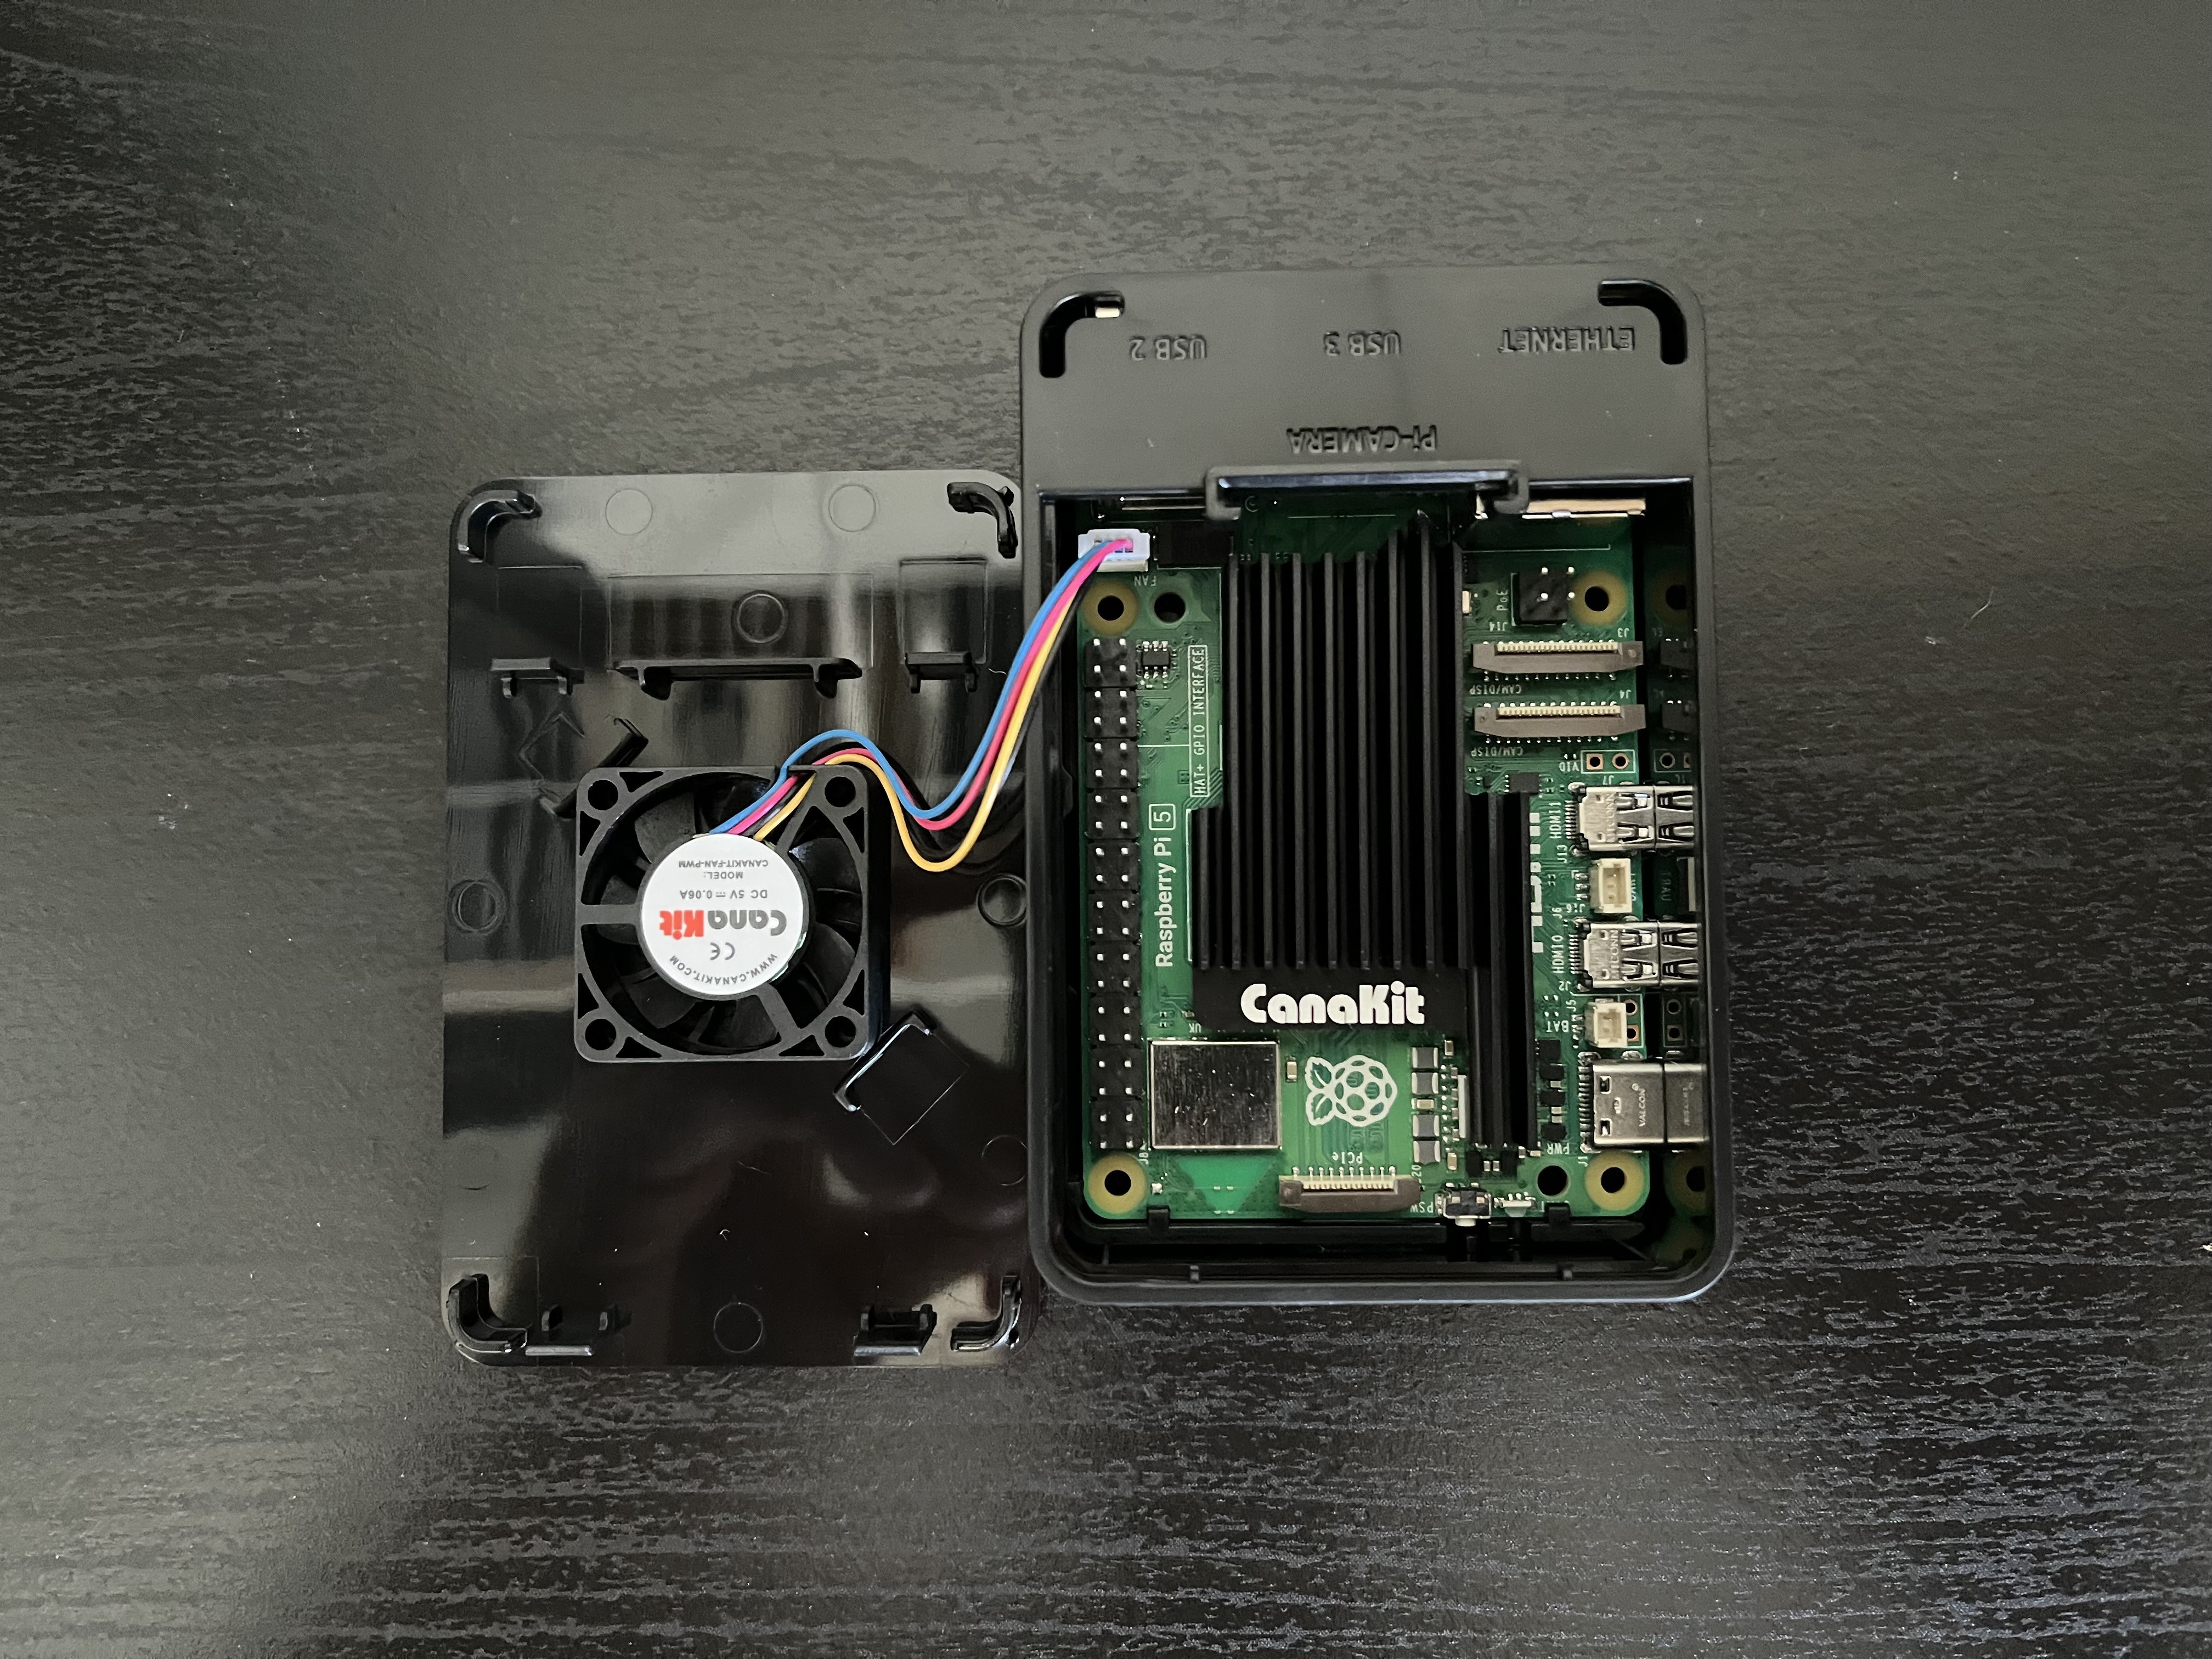
Step 5: Attach fan to top casing
Attach the fan to the top casing with the design facing outward.
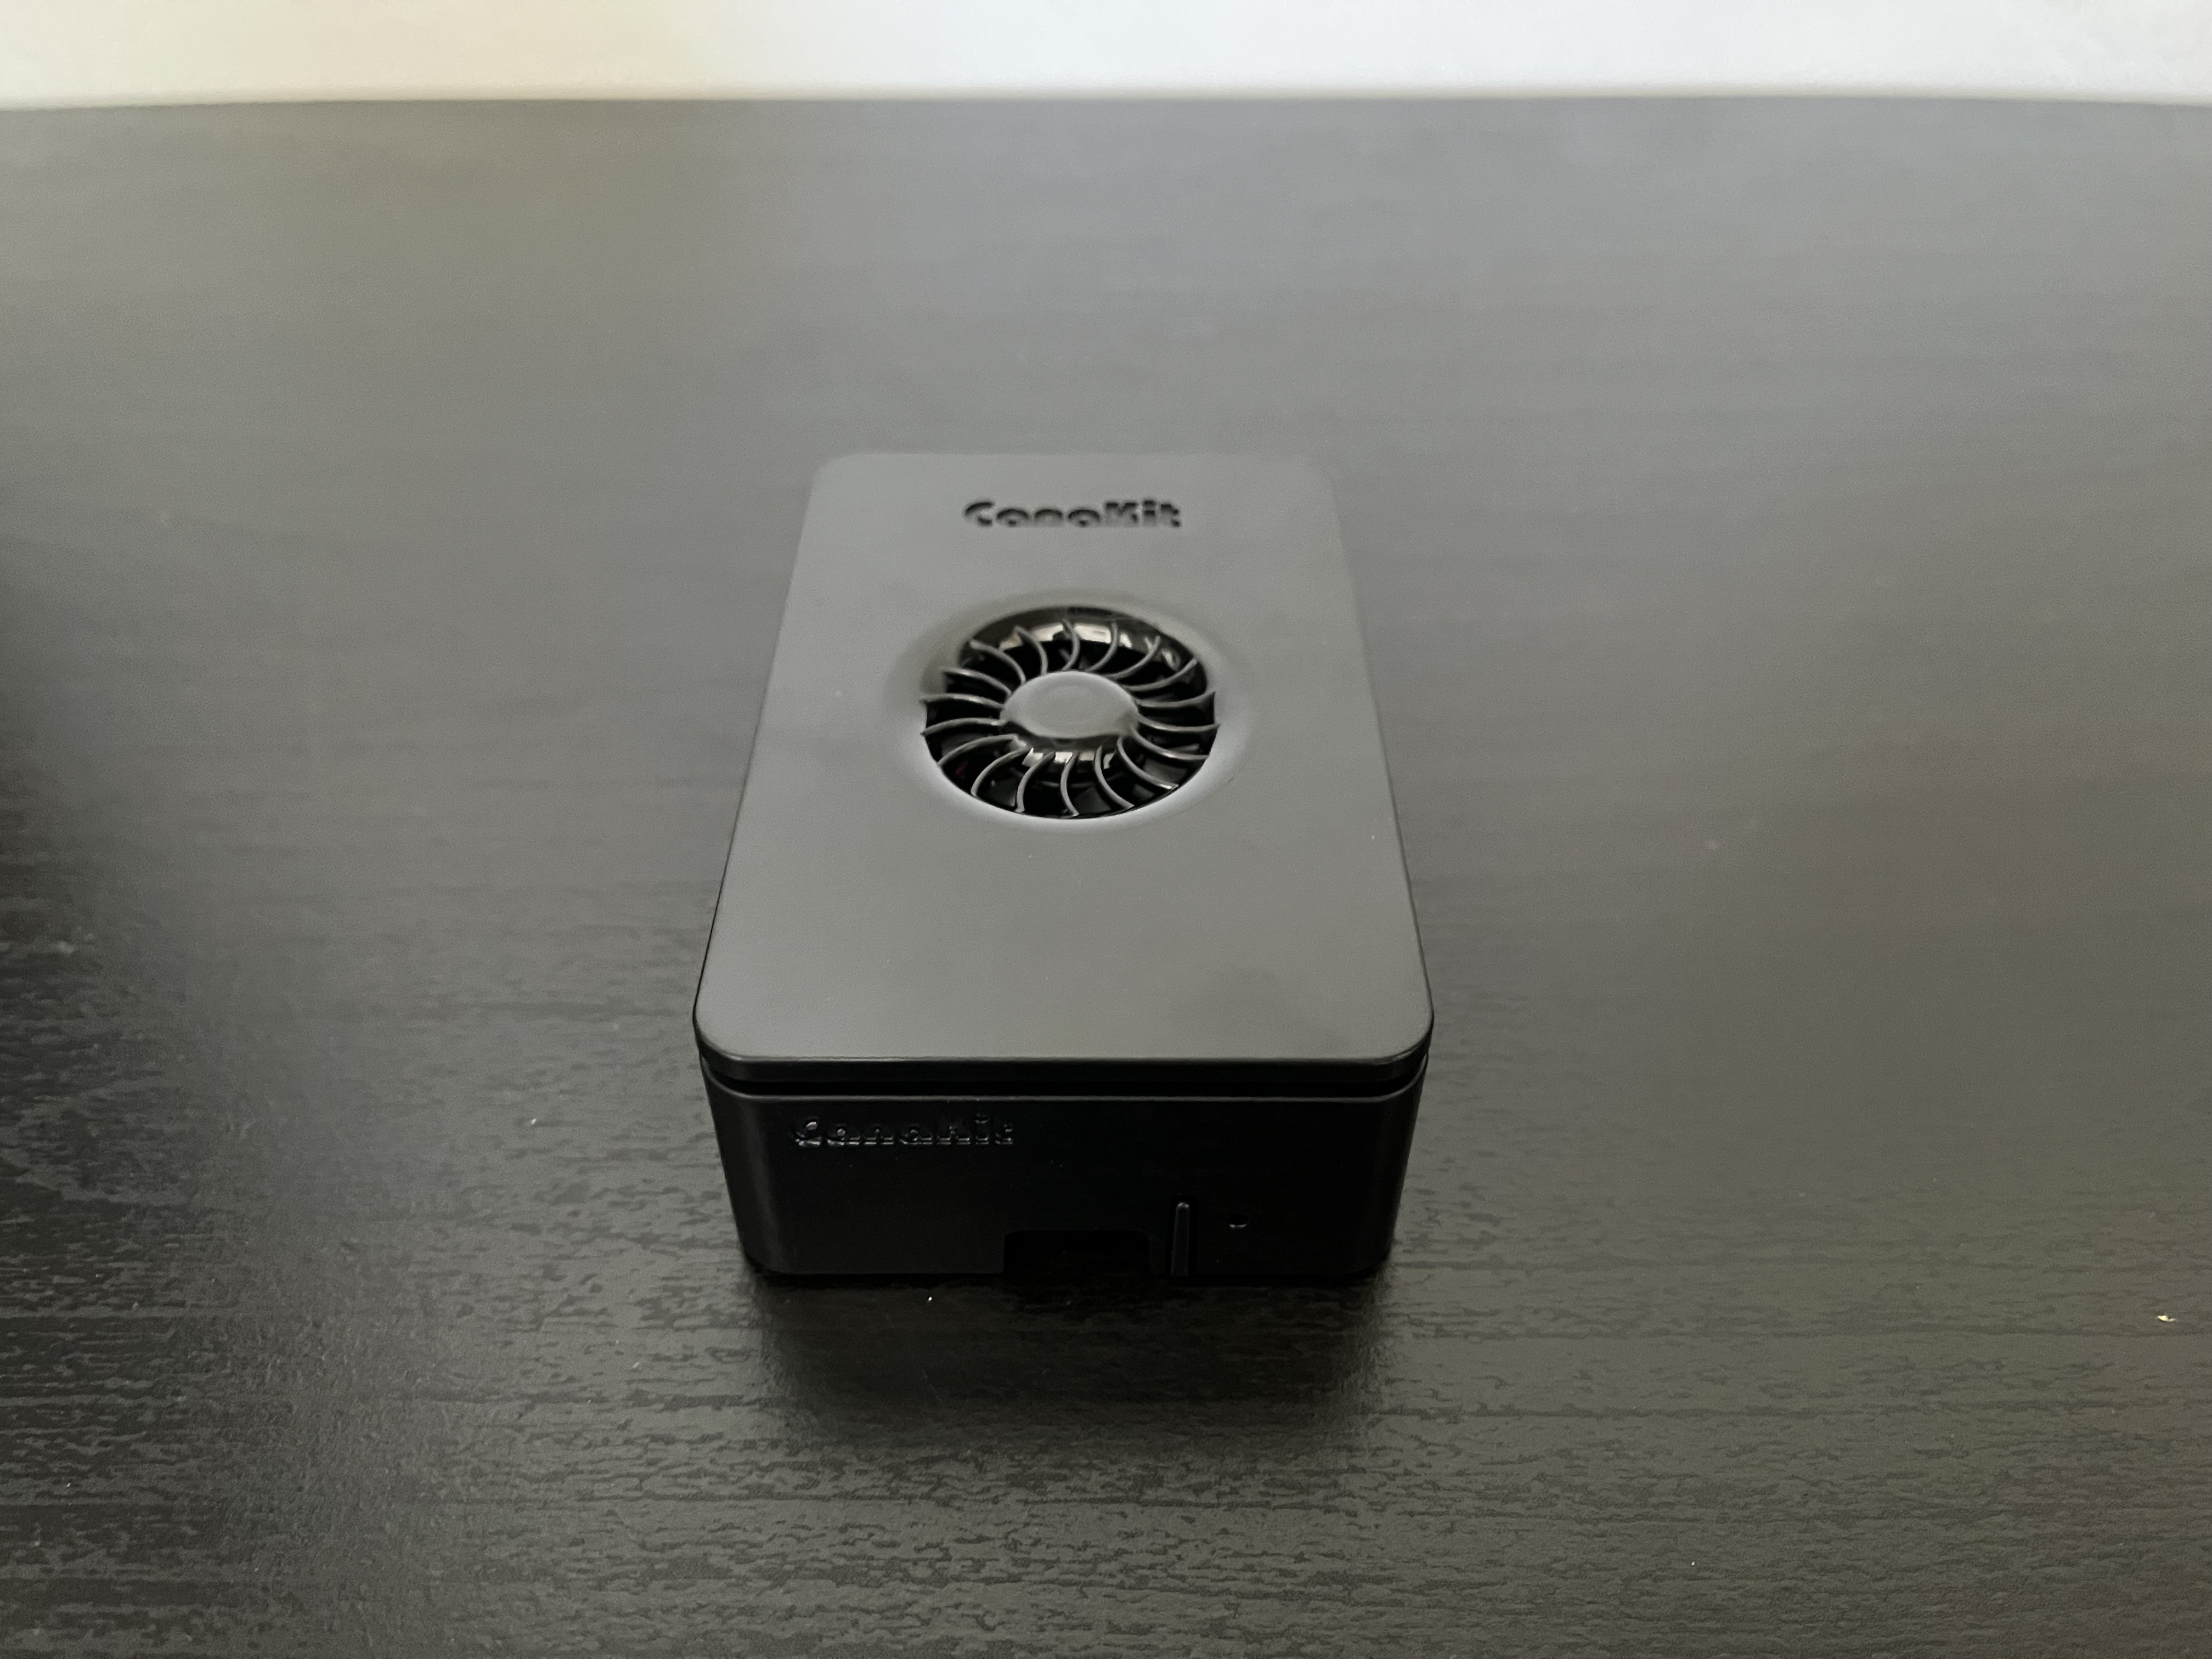
Step 6: Attach top casing
Attach the top casing to the Pi case to finish the assembly.
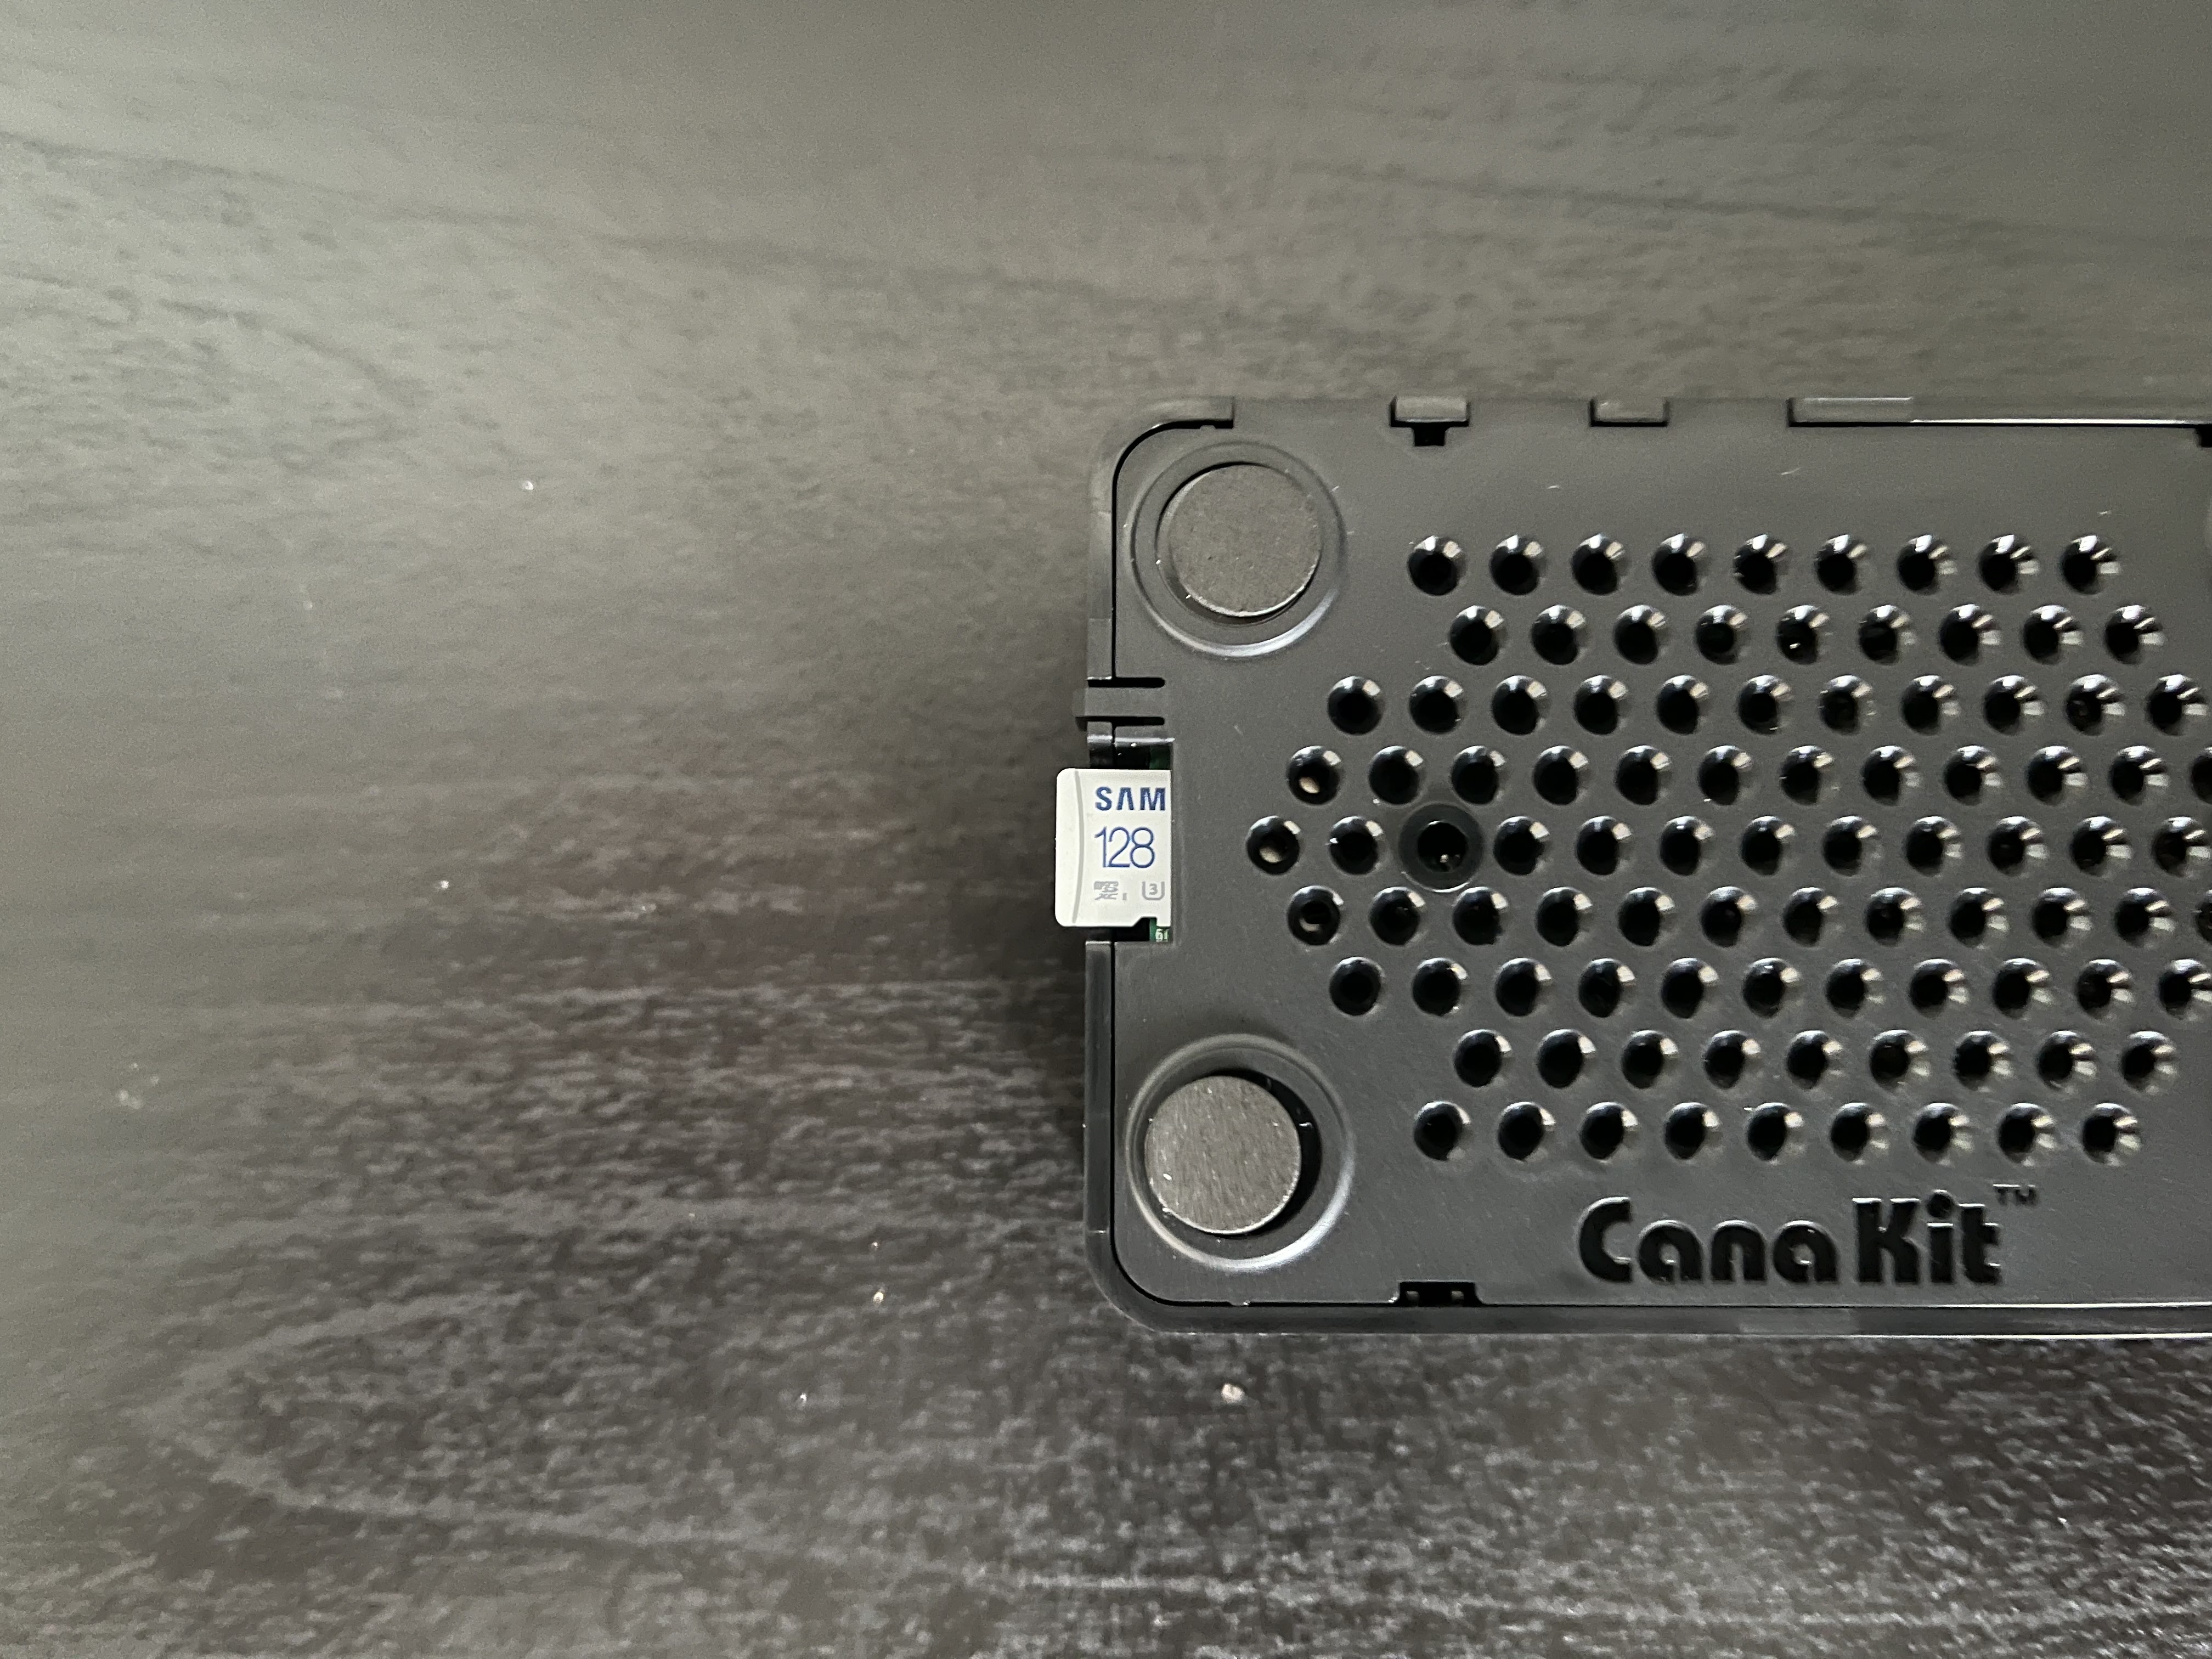
Step 7: Insert MicroSD card
Insert the MicroSD card into the MicroSD card slot on the Raspberry Pi 5. The MicroSD card included in the kit comes pre-loaded with Pi OS. If your using another SD card, you can download the Raspberry Pi Imager from raspberrypi.com/software to create a bootable SD card.
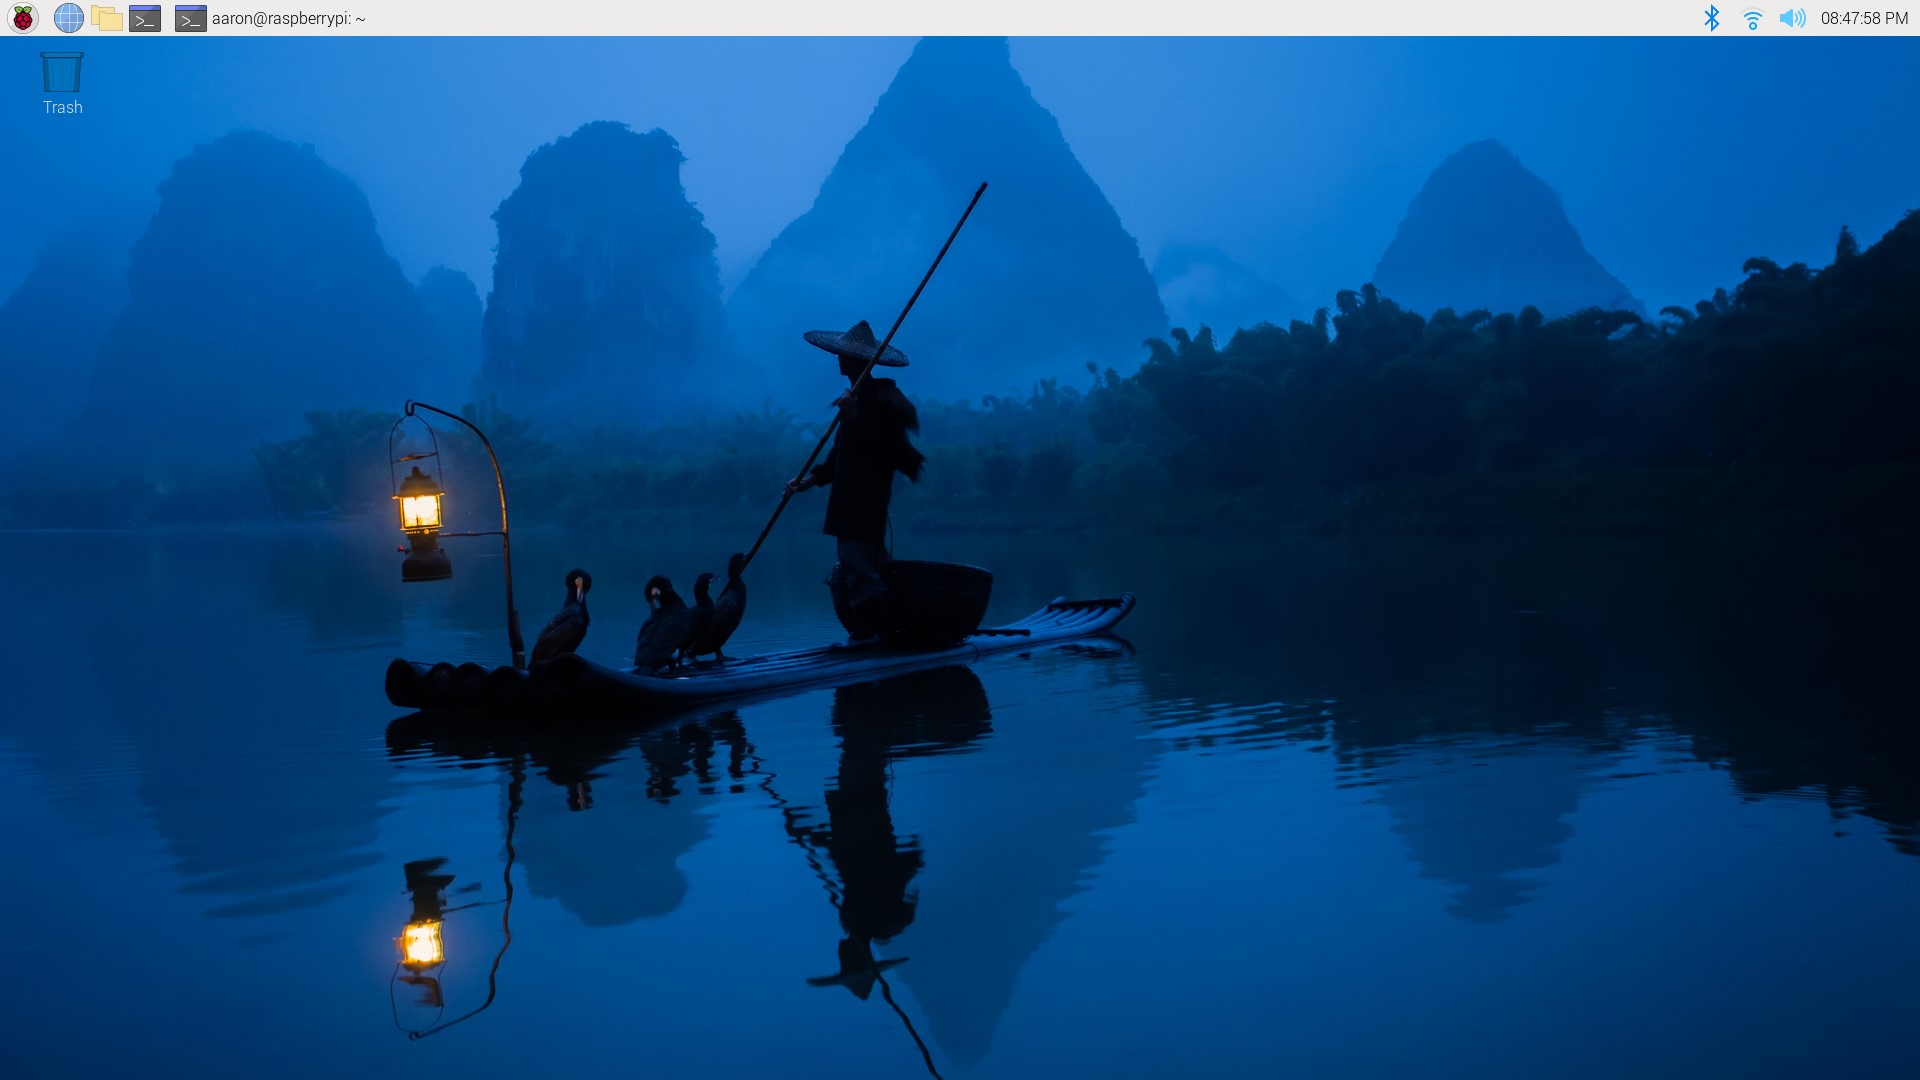
Step 8: Boot and Setup
Boot the Raspberry Pi 5 after connecting the 45W USB C power supply, micro HDMI cable, and any peripherals. Once you complete the desktop setup wizard, you’ll be greeted with the Raspberry Pi OS desktop.
Updates should have been applied during setup. However, you can make sure everything is updated by running the following commands:
1
2
sudo apt update
sudo apt full-upgrade
The Raspberry Pi 5 is now fully assembled and up and running.
Overall, I’m happy with the CanaKit Raspberry Pi 5 Starter Kit PRO. The starter kit came with everything needed to get started, and the Raspberry Pi 5 was easy to assemble. I’m excited to start experimenting with the Raspberry Pi 5 and I will provide future posts on some of the things I have done with it.